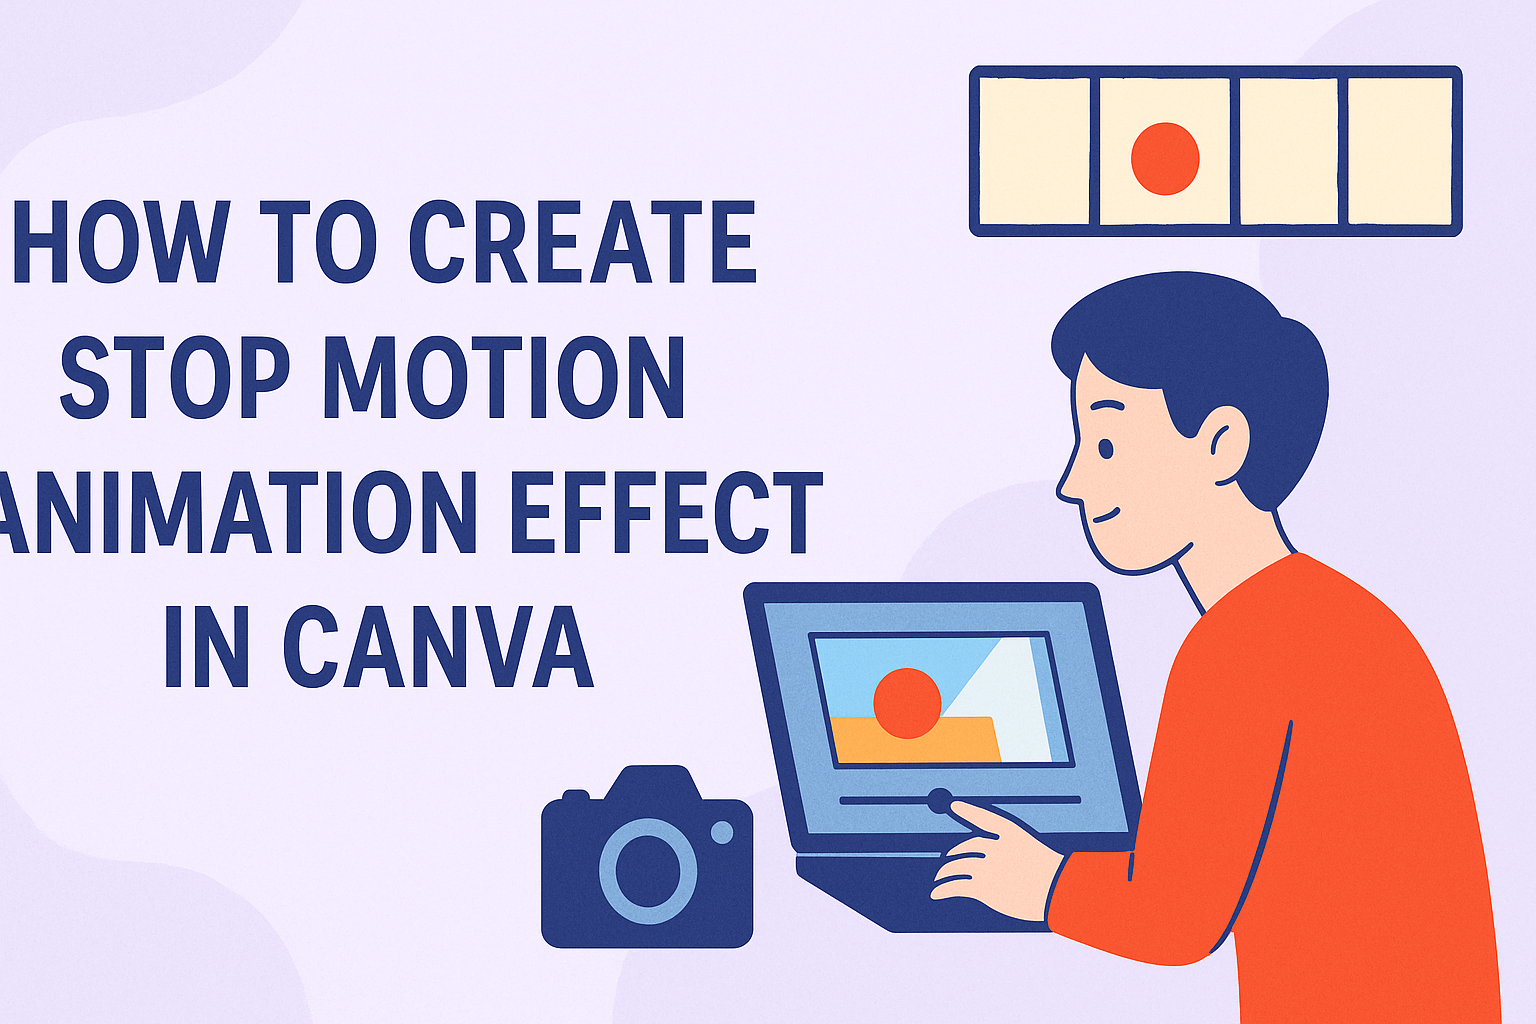
Creating a stop motion animation effect in Canva is easier than one might think. By using Canva’s animation tools, anyone can add movement to images for a dynamic visual effect.
This process can be both enjoyable and rewarding, whether they’re making content for a school project, social media, or personal use.
With its user-friendly interface, Canva offers a straightforward way to make stop motion animations.
Users can start by selecting an image and clicking the “Animate” button. From there, a variety of animation options become available, allowing complete customization.
For those who want more control over their animation paths, Canva even allows creating custom motions using the motion path feature.
Stop motion animations created with Canva offer endless creative possibilities. Whether looking to make educational content or fun clips for social media, this tool provides a space where creativity can thrive without the need for extensive video editing skills.
Designed for ease of use, it is perfect for people at all skill levels.
Understanding Stop Motion Animation
Stop motion animation is a technique that turns still images into a fluid video sequence. This method has a rich history and offers unique creative possibilities.
Using tools like Canva, the animation process becomes accessible and straightforward.
Defining Stop Motion
Stop motion is an animation style where objects are manipulated in small increments between photographed frames. When the images are played quickly, it creates the illusion of movement. This technique can involve clay figures, toys, and even cut-out-papers to tell stories or depict actions that seem alive.
It’s a meticulous process but incredibly rewarding, providing a distinct visual experience. It often requires patience and careful planning, ensuring each frame transitions smoothly to the next.
The History of Stop Motion
Stop motion has been captivating audiences for over a century. It began in the early 1900s, with pioneers like J. Stuart Blackton and Albert E. Smith, who brought inanimate objects to life.
Over time, stop motion gained popularity with classics like “King Kong” and “The Nightmare Before Christmas.”
These films showcased the potential of stop motion, sparking creativity across generations. Its tactile, hands-on nature makes it appealing for artists who enjoy crafting each frame physically.
Benefits of Using Canva for Animation
Canva simplifies the creation of stop motion animations. Unlike traditional methods that require complex setups, Canva allows users to design animations digitally.
It provides easy-to-use tools and a variety of templates to streamline the process.
Users can modify elements, adjust timelines, and add effects effortlessly. This accessibility opens up animation possibilities to even beginners, letting them create visual stories without needing specialized equipment.
By using Canva, aspiring animators can focus on creativity rather than the technicalities of animation production.
Preparing for Your Animation Project
Creating a stop motion animation in Canva involves careful planning. A well-organized workspace, the right materials, and a clear storyboard are key components. These elements ensure your project runs smoothly and that the final animation meets your creative vision.
Setting Up Your Workspace
Having a tidy and dedicated workspace helps anyone stay focused and efficient. Choose a flat surface with enough space for your setup, including a computer and any props needed for the animation.
Good lighting is essential for capturing clear images. Natural light can work well, but if that’s not available, desk lamps or LED panels can be useful.
Ensure your camera or smartphone is securely mounted to avoid shaky images. Tripods are ideal for this purpose.
Arrange everything within reach to avoid unnecessary movement that might disrupt the arrangement. Keeping the area organized allows for quicker adjustments and smoother workflow during the animation process.
Gathering Necessary Materials
The materials needed depend on the complexity of the project. Basic equipment includes a camera or smartphone with a good camera, a stable tripod, and a computer with Canva access.
If props are involved, gather all items in advance to avoid disruptions.
Consider any additional tools like scissors, tape, or markers for crafting your props.
Software, such as Canva, should be set up and ready before starting. Ensure that all electronic devices are fully charged to prevent any interruptions.
Preparing these tools and materials ahead of time makes the animation process efficient and stress-free.
Crafting a Storyboard or Script
A storyboard or script acts as a blueprint for any animation project. It outlines the sequence of events and helps maintain a coherent flow.
Start by sketching or jotting down each scene. Visualize how the animation will progress from start to finish.
Include notes on timing, camera angles, and any special effects to be added in Canva. This provides a clear guide throughout the project, minimizing guesswork and maintaining consistency.
Having a story plan allows them to focus on the creative aspects, ensuring the final animation aligns with their artistic goals.
Navigating Canva’s Interface
Using Canva for stop motion animation involves a few key steps: understanding the available tools, setting up your workspace to fit your needs, and bringing in your own images and elements. Each of these plays a crucial role in creating smooth animations.
Overview of Canva Tools
Canva offers a range of tools that are quite user-friendly. On the left side, users find the toolbar with options like Templates, Elements, and Text. These help add various design features quickly.
The Elements tab provides access to shapes, lines, and images that can enhance the stop motion animation.
The properties panel at the top includes options to adjust alignments, transparency, and positioning. This makes it easier to fine-tune the placement and appearance of each frame.
For animation effects, users can experiment with the Animate button, adding subtle movements to each design element.
The simplicity of Canva’s design tools ensures that even beginners can navigate and create compelling stop motion animations without feeling overwhelmed.
Customizing the Workspace
Customizing the Canva workspace lets users adapt features to fit their animation project better. In the File menu, they find settings to adjust the canvas dimensions, perfect for specifying the size of the animation.
Custom dimensions are crucial for specifying the resolution and aspect ratio appropriate for the project’s goal.
Users also have the option to show or hide rulers and guides. This feature is helpful for precision when positioning elements.
Another way to customize includes pinning frequently used tools in the toolbar for faster access, making repetitive tasks easier.
Being able to tailor the workspace means every creator can establish a more efficient process. It encourages better focus and smoother transitions during the creative workflow.
Importing Your Assets
Bringing assets into Canva is straightforward and critical for any stop motion project.
Users can upload files by clicking the Uploads tab on the left sidebar. Here, they can import a range of formats, including images, gifs, and videos, directly from their devices or cloud storage options like Google Drive.
Once uploaded, these assets are easily accessible from the library. Creators can simply drag and drop them into the workspace, placing them on the canvas where needed.
This arrangement is vital for setting up each frame in the animation.
Using these methods to import ensures that the project’s elements are organized and easy to access, allowing for a smoother animation creation experience.
Creating Your Animatable Elements
To make impressive stop motion animations in Canva, it’s essential to focus on designing animatable elements. This includes crafting unique characters, using appealing colors, and setting movement with keyframes. Each step adds personality and flow to the animation.
Designing Characters and Objects
Characters and objects form the core of any animation. When designing, it’s important to think about the personality and role of each element. A character might be a friendly monster or an adventurous cat.
Consider using Canva’s wide range of templates and design tools to create these. Start with simple shapes and gradually add details like eyes, clothes, or accessories. Use Canva’s drag-and-drop feature to arrange pieces into the desired form.
A good tip is to keep designs consistent to ensure seamless animation. Repeated shapes or styles across different elements help maintain a uniform look. This consistency makes the animation pleasing to watch.
Choosing Colors and Textures
Colors and textures significantly impact the feel of an animation. Bright colors can create a cheerful tone, while muted tones might convey something more serious.
Using Canva’s palette options can help in selecting harmonious colors that work well together.
For textures, consider using Canva’s texture tool to add depth. Textures can give the illusion of material, such as rough paper or soft fabric. This adds interest and realism to your objects.
It’s smart to test different combinations to see what looks best. Try to limit the color palette for a professional appearance. Too many colors can be overwhelming and distracting.
Creating Movement with Keyframes
Keyframes are the backbone of stop motion animation, helping to set up the movement of elements.
In Canva, keyframes are planned by tweaking the position and layout of objects frame by frame.
Begin with deciding the starting and ending positions of an object. Next, determine the in-between positions that will be shown in different frames. This helps in creating a smooth transition.
It can be helpful to map out the movement path on paper first. Then, adjust the objects slightly between frames to create fluid motion.
This method is especially useful for animating simple movements like bouncing or rotating.
By focusing on these details, the animated elements become dynamic and engaging.
Animating Your First Scene
Creating a stop motion animation in Canva begins with layering elements creatively, capturing each frame with precision, and making the right edits for timing. These steps ensure your scene comes to life smoothly and with visual impact.
Layering Elements for Effect
Layering elements is key to making your animation dynamic. You start by choosing different images or objects that will be part of your scene. Canva allows you to use its vast library of graphics or upload your own.
Position elements in a way that shows depth. For example, place larger objects in the background and smaller ones in the foreground. This creates a sense of perspective.
Use Canva’s tools to adjust the transparency of layers. This can add effects like shadows or give a sense of motion as one layer fades into another.
Experiment with different arrangements before settling on the final layout. Adjusting the order of layers can sometimes drastically change the look of your scene. Keep tweaking until you achieve the desired effect.
Capturing Frames Consistently
Consistency in capturing frames is crucial for smooth animation. Begin by setting your scene and adjust lighting to ensure all frames are visually consistent. Natural or stable lighting can prevent unwanted color shifts across frames.
It’s important to move elements slightly between each frame. This small movement adds to the animation effect. Canva lets you make minor adjustments easily by nudging elements.
Utilize a tripod or steady base if you’re photographing real objects. Even a slight movement can cause disruptions in continuity.
Take your time to ensure complete uniformity between shots.
Create a storyboard to plan each frame. This helps you visualize the sequence and ensure you’re capturing everything needed. Consistent frame rate choices ensure that the animation flows fluidly across the entire sequence.
Editing and Timing Adjustments
Editing is where your animation truly comes together. Canva provides intuitive editing tools to help refine and perfect your work.
Adjust the timing of each frame to suit the pace you want.
Set the duration for each frame based on the speed of movement in your animation. Faster movements may require shorter frame durations, while slower scenes benefit from longer durations.
Test different timing settings. This experimentation helps you decide the best pace for your animation. Sometimes, adding or removing frames enhances the final effect.
Use tools to preview the animation before finalizing. Reviewing the sequence allows you to pinpoint areas needing further tweaks to achieve seamless animation transitions.
Enhancing Your Animation
To make stop motion animations more engaging in Canva, consider adding background music, transitions, and using advanced features to refine your creations. These elements can increase visual appeal and capture the viewer’s attention.
Adding Background Music and Sound Effects
Incorporating audio elements can vastly improve the mood of your animation. Background music sets the pace and tone, while sound effects add depth.
Canva allows users to upload their own tracks or choose from a library of options.
To add sound, simply click on the Audio tab and select a track. Adjusting the volume is essential to ensure the audio complements rather than overwhelms the visual elements.
Consider using upbeat music for lively animations or subtle tunes for a more relaxed atmosphere.
Incorporating Transitions and Effects
Transitions help create a smooth flow between scenes in stop motion. Canva provides various options like fades, slides, and zooms to connect frames seamlessly. These features help maintain viewer interest and give the animation a professional touch.
To add a transition, click on a frame and select the Transition button. Choose from the available effects and customize duration and style.
Experimenting with different transitions can help achieve the desired flow and add a dynamic element to the animation.
Fine-tuning with Canva’s Advanced Features
Canva offers advanced tools to refine animations and make them stand out. The Motion Path feature lets creators design custom movement paths for objects, adding complexity to simple animations.
Users can also tweak animations with the Animation Timing option to control how long each effect lasts.
To access these features, select an element and click on Animate. Then choose Create an Animation to set a specific motion path or adjust timing.
Leveraging these advanced features can elevate an animation’s quality, offering more creative control and precision.
Exporting and Sharing Your Animation
When your stop motion animation in Canva is complete, it’s time to focus on getting it out there. This involves selecting the right file format, ensuring your animation looks good on different platforms, and sharing for feedback or collaboration.
Choosing the Right File Format
Picking the right file format is crucial for maintaining animation quality and ensuring compatibility with different devices.
MP4 is a popular choice because it’s widely supported and provides good quality with smaller file sizes. This format is ideal for sharing on social media and websites.
For higher quality, consider MOV files, especially if the animation is being included in professional projects. Though larger, MOV files preserve better visual fidelity.
Meanwhile, GIF formats are useful for short, looping animations. These are great for quick previews or simple animations online.
It’s important to know what platforms require or support specific formats, so always double-check before exporting your file.
Optimizing for Various Platforms
Different platforms have different needs. Adjust the animation settings to ensure your work looks its best everywhere.
Social media platforms often require short, engaging animations, so trimming unnecessary parts can be helpful. Also, consider the aspect ratio; square or vertical formats typically perform better on mobile platforms.
For video-sharing sites like YouTube, a horizontal format (16:9) is often best. Before uploading, make sure the resolution is high enough to look sharp on larger screens.
If using the animation in a presentation, focus on file size management to prevent slow loading times. Compressing the file slightly without sacrificing quality can make sharing and playback smoother.
Sharing for Feedback and Collaboration
Once optimized, sharing the animation is easy but should be done thoughtfully to get constructive feedback.
Cloud storage services like Google Drive or Dropbox are handy for sharing large files with others.
You can simply share a link to the file, making collaboration easy.
Utilizing online platforms with comment features allows viewers to give direct feedback.
Platforms that support version history or comments enable teams to work together effectively.
When seeking feedback, encourage specific comments to improve your animation.
Constructive suggestions help refine the final product and make it more engaging for the audience.