Creating custom T-shirt designs can be a fun and creative way to express personal style. With Pixlr, anyone can easily design unique shirts using a variety of tools and templates available on the platform. This blog post will guide readers through the process, making it simple for both beginners and experienced designers.
Using Pixlr’s features, users can add their own flair and customize each aspect of their T-shirt designs. From choosing colors to incorporating images, the possibilities are almost endless.
By following the steps laid out here, designers can create eye-catching shirts that stand out.
Whether for personal use, gifts, or even selling, learning how to create these designs can be rewarding. Readers will discover tips and tricks that elevate their T-shirt designs to the next level, making the experience enjoyable and fulfilling.
Setting Up Your Pixlr Workspace
Setting up your workspace in Pixlr is essential for creating custom T-shirt designs.
Knowing the interface and choosing the right canvas size will help streamline the design process.
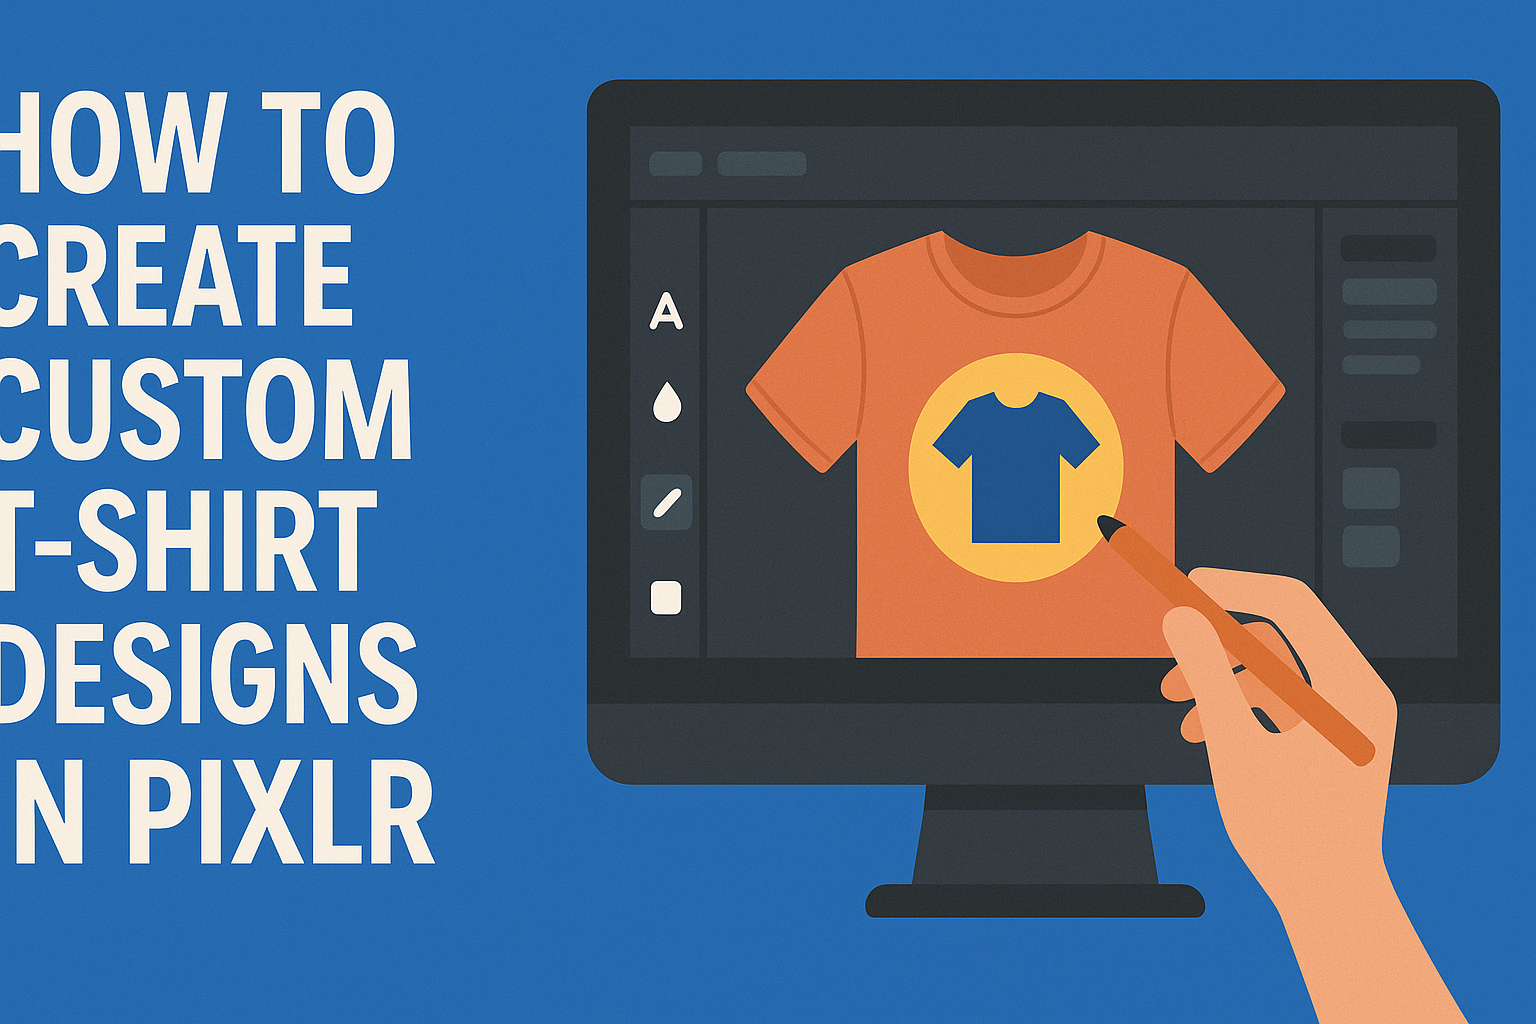
Understanding the Pixlr Interface
The Pixlr interface is user-friendly and well-organized. On the left side, designers will find tools for editing, cropping, and drawing.
The top menu bar provides options for file management, layers, and adjustments.
Layers play a crucial role in design. Each element can be treated as a separate layer, allowing for easy editing and adjustments without affecting the whole design.
Additionally, the right side displays the tools for customizing colors, filters, and effects. Familiarity with these features will help designers make better choices during their creative process.
Selecting the Right Canvas Size
Choosing the right canvas size is important for designing T-shirts. Start by considering where the T-shirt design will be printed. Common sizes for T-shirt graphics are 12 inches wide and 14 inches tall.
In Pixlr, designers can set the canvas size when starting a new project. To do this, click on “File,” then “New.” Enter the desired dimensions and resolution.
A higher resolution, like 300 DPI, is preferred to ensure the design prints clearly.
It’s helpful to check guidelines from the printing service. They might have specific recommendations for sizes and formats. This prevents any surprises during printing and helps ensure the design looks great on the final product.
Designing Your T-shirt
Creating a custom T-shirt design involves a few important steps. This section highlights how to select a theme and colors, work with text and fonts, and add images or graphics. Each step plays a crucial role in making the T-shirt visually appealing and meaningful.
Choosing a Theme and Colors
When selecting a theme for a T-shirt, it helps to consider the purpose and audience. Is it for a sports team, a fun event, or personal use?
Once the theme is clear, choose a color palette that complements it. Using two to three main colors often works best.
Think about color psychology. For example, blue can evoke trust, while red can energize.
It’s also essential to consider how the colors look together. Using a tool like a color wheel can help find complementary shades.
Working with Text and Fonts
Text is a key part of most T-shirt designs. Keep the message simple and clear. A short phrase or word can make a strong impact.
When choosing fonts, mix a bold font for titles with a simple font for secondary text. This creates a nice contrast.
It’s important to ensure that the text is readable from a distance. Avoid overly fancy fonts that can be hard to decipher.
Consider text placement too; center-aligned text often looks balanced, while left or right alignment can create a modern look.
Adding Images and Graphics
Graphics can add personality to a T-shirt design. This could be photos, illustrations, or icons that relate to the theme.
When adding images, consider their resolution; they should be high-quality for a clear print.
Placement matters. A graphic can be placed on the front, back, or even sleeves. It’s important to leave some space around it to prevent a cluttered look.
Using software like Pixlr, designers can easily adjust image size, color, and effects to fit the overall design.
Using Layers and Effects
Layers and effects are essential tools in creating custom T-shirt designs in Pixlr. They allow for flexibility and creativity, enabling the designer to manipulate images and text in ways that enhance their overall design.
Mastering Layer Management
Layer management is crucial when working with Pixlr. Each element of the design can exist on a separate layer, making adjustments easy.
To start, users can create new layers by clicking the “+” icon in the Layers panel.
Designers can rearrange layers by dragging them up or down, which changes the order of what appears on the shirt. Lower layers will show behind upper layers. This feature is especially useful when combining multiple elements, like text and images.
Opacity control is also important. Designers can lower a layer’s opacity to create transparency effects, allowing background designs to show through.
Applying Effects for Impact
Applying effects effectively can make a T-shirt design stand out.
Pixlr offers many options for layering effects to enhance images.
To add effects, users first select the layer they want to modify and head to the effects menu.
Options like shadows, blur, and highlights can elevate the design.
For instance, using a slight blur can create a dreamlike quality, adding depth to a T-shirt design.
Moreover, adjusting transparency can allow for creative blends of elements, making the design pop.
It’s often beneficial to experiment with different blend modes, which change how layers interact with each other.
This experimentation can lead to unique and visually appealing results.