Creating custom photography pricing sheets can greatly enhance a photographer’s business. Using PicMonkey, photographers can easily design attractive pricing sheets that showcase their services and catch a client’s eye.
This user-friendly tool allows for customization, making the final product reflect personal style and professionalism.
In a competitive market, standing out is essential. Photographers can add unique touches, including personal logos and specific package details, to ensure their pricing sheets are memorable. They can also incorporate attractive graphics and fonts that align with their brand identity.
With PicMonkey’s simple features, anyone can create professional-looking pricing sheets without needing advanced design skills. This not only saves time but also allows photographers to focus on what they love best—capturing beautiful moments.
Getting to Know PicMonkey
PicMonkey is a versatile tool for creating stunning visuals, especially useful for photographers. Getting started with PicMonkey involves creating an account and familiarizing oneself with its interface.
This section covers the important steps to help users hit the ground running.
Account Creation and Setup
To start using PicMonkey, a user must first create an account. This can be done by visiting the PicMonkey website and clicking on the Sign Up button.
Users can register with an email address or sign in through social media accounts like Facebook or Google.
Once the account is set up, users will need to choose a plan. PicMonkey offers a free trial for new users, allowing them to explore its features before committing to a subscription.
After selecting a plan, users can begin using the editor.
Interface Overview
When users open PicMonkey, they are greeted by an intuitive interface. The main workspace is divided into several sections, making it easy to navigate.
On the left side of the screen, users will find the toolbar. This toolbar includes options for editing, adding text, and incorporating graphics.
The Edit tab provides basic photo editing features like exposure and contrast adjustments.
At the top of the workspace is the menu bar, where users can create a new project or open existing ones. Additionally, PicMonkey offers various templates for users to start from, enhancing the creative process.
Familiarity with these components boosts confidence in exploring PicMonkey’s many features.
Designing Your Pricing Sheet
Creating an appealing pricing sheet is crucial for showcasing photography services. It should clearly present packages and attract potential clients while reflecting the photographer’s style.
Selecting a Template
Choosing the right template sets the foundation for the pricing sheet. PicMonkey offers a variety of customizable templates specifically designed for photographers.
Look for a layout that aligns with the photographer’s brand. Consider styles that are clean and professional. Templates with sections for images alongside text work well to give clients a visual idea of the services offered.
Once a template is chosen, it can be easily edited to fit specific needs.
Customizing the Design Elements
After selecting a template, it’s time to customize the design. Adjust colors and fonts to match the photographer’s branding. This creates a unified look across all marketing materials.
It’s also important to add visual elements like borders or background images. These can add interest and highlight key information effectively.
Using high-quality images from past work can draw attention. Ensure that the design is not overcrowded. Simplicity often leads to a more professional appearance.
Adding Text and Pricing Information
Next, adding text and pricing information is essential. Keep package descriptions clear and concise.
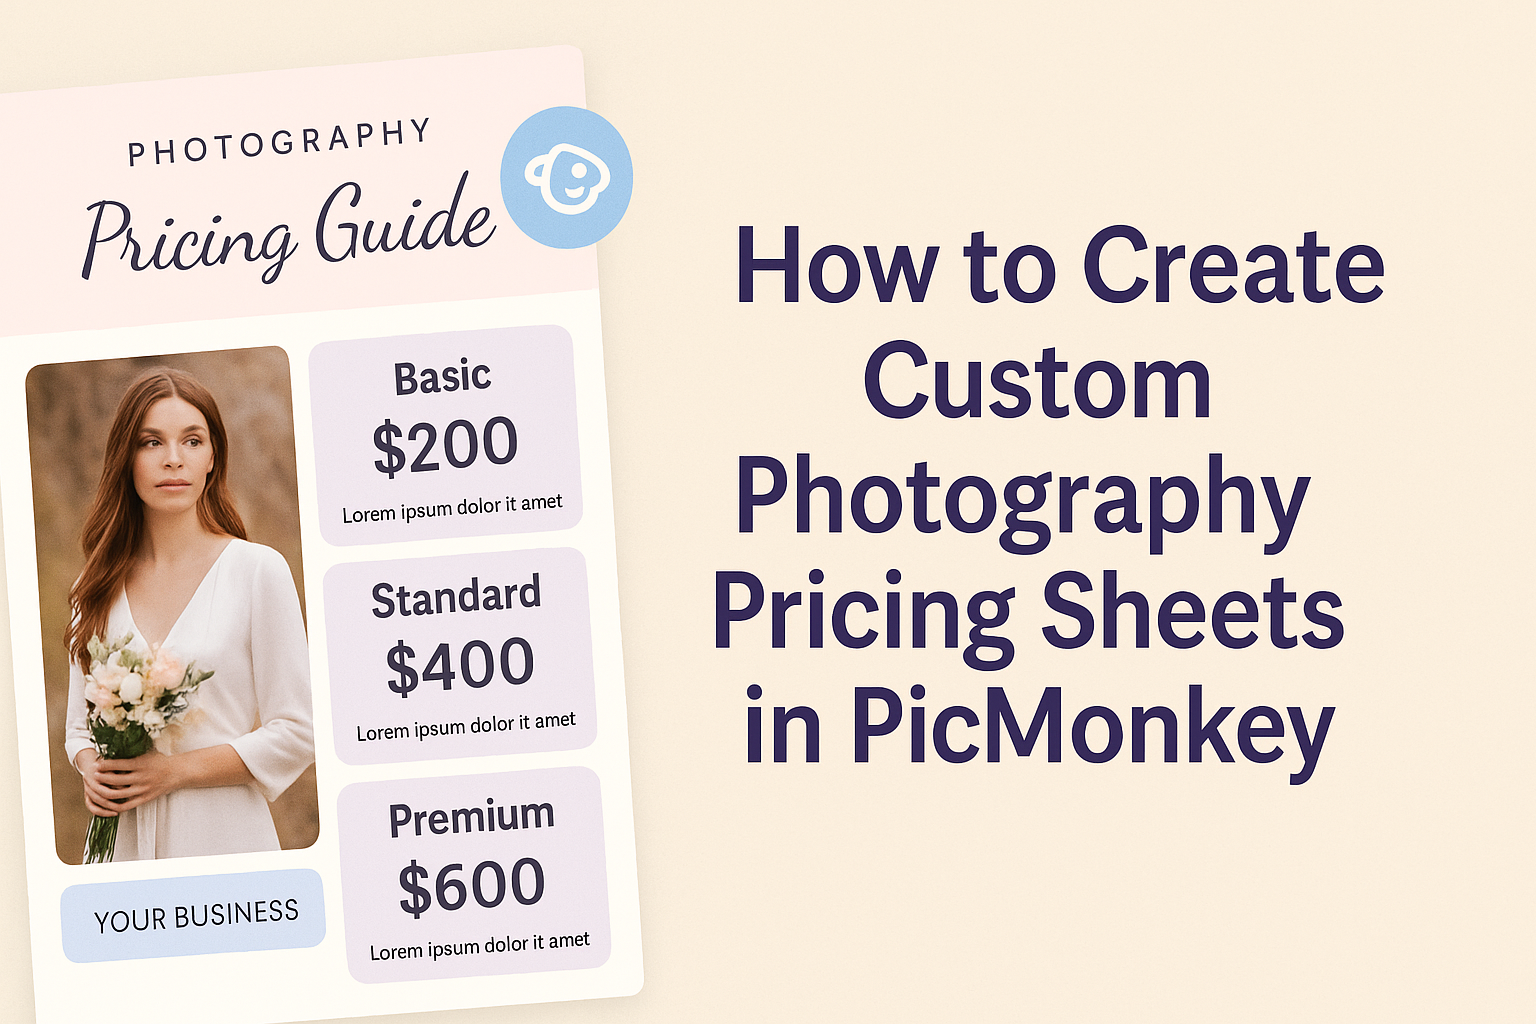
Use bullet points for easy reading. Each section should include the package name, services provided, and the price. For example:
- Basic Package: $200 – One hour of shooting, 20 edited images.
- Deluxe Package: $400 – Two hours of shooting, 50 edited images, and a photo book.
Make sure to highlight popular packages, as this can guide clients in their decision-making process.
Lastly, include any relevant terms, such as deposits or additional fees. Clear communication helps set the right expectations with clients.
Advanced Customization Techniques
Customizing photography pricing sheets can greatly enhance a photographer’s presentation. By focusing on elements such as fonts and branding, one can create a unique and professional look that reflects their style.
Using Custom Fonts
Custom fonts can elevate the appearance of pricing sheets. PicMonkey offers a variety of fonts that help create a distinctive feel.
Steps to add custom fonts:
- Access the Text Tool: Click on the text option in the toolbar.
- Choose Your Font: Browse or search for a font that matches your brand’s identity.
- Adjust Font Size and Color: Make your text stand out by adjusting its size and color.
Using bold or elegant fonts can draw attention to key information like prices or special offers. It’s important to maintain readability while showcasing creativity. A good mix of fonts can also help differentiate sections of the pricing sheet.
Incorporating Branding Elements
Including branding elements is vital for creating a cohesive visual identity. This can include logos, color schemes, and imagery that reflect the photographer’s style.
Key branding elements to consider:
- Logo Placement: Position the logo prominently at the top or bottom of the sheet.
- Color Palette: Use colors from the brand to create harmony.
For example, if the brand uses pastel tones, incorporate those colors consistently. - Images: Adding personal touches, like sample photos or backgrounds, enhances the connection with clients.
Consistency is key when incorporating these elements. It ensures that the pricing sheet not only communicates price effectively but also represents the photographer’s unique brand.