Creating a custom logo is an exciting step for any business or creative project. Using CorelDRAW, this task becomes a breeze. CorelDRAW offers a variety of tools that make designing intricate logos simple and fun.
With CorelDRAW, users can experiment with shapes, colors, and fonts to craft a logo that perfectly represents their brand. For instance, the Ellipse tool and Freehand tool help create unique designs easily. Vibrant colors and bold font choices can make a logo stand out, capturing the essence of what makes the brand special.
Whether they are seasoned designers or just starting, anyone can create professional logos with CorelDRAW. There are many step-by-step guides available to help users navigate the process. With practice, creativity, and the right tools, the possibilities for designing logos are endless.
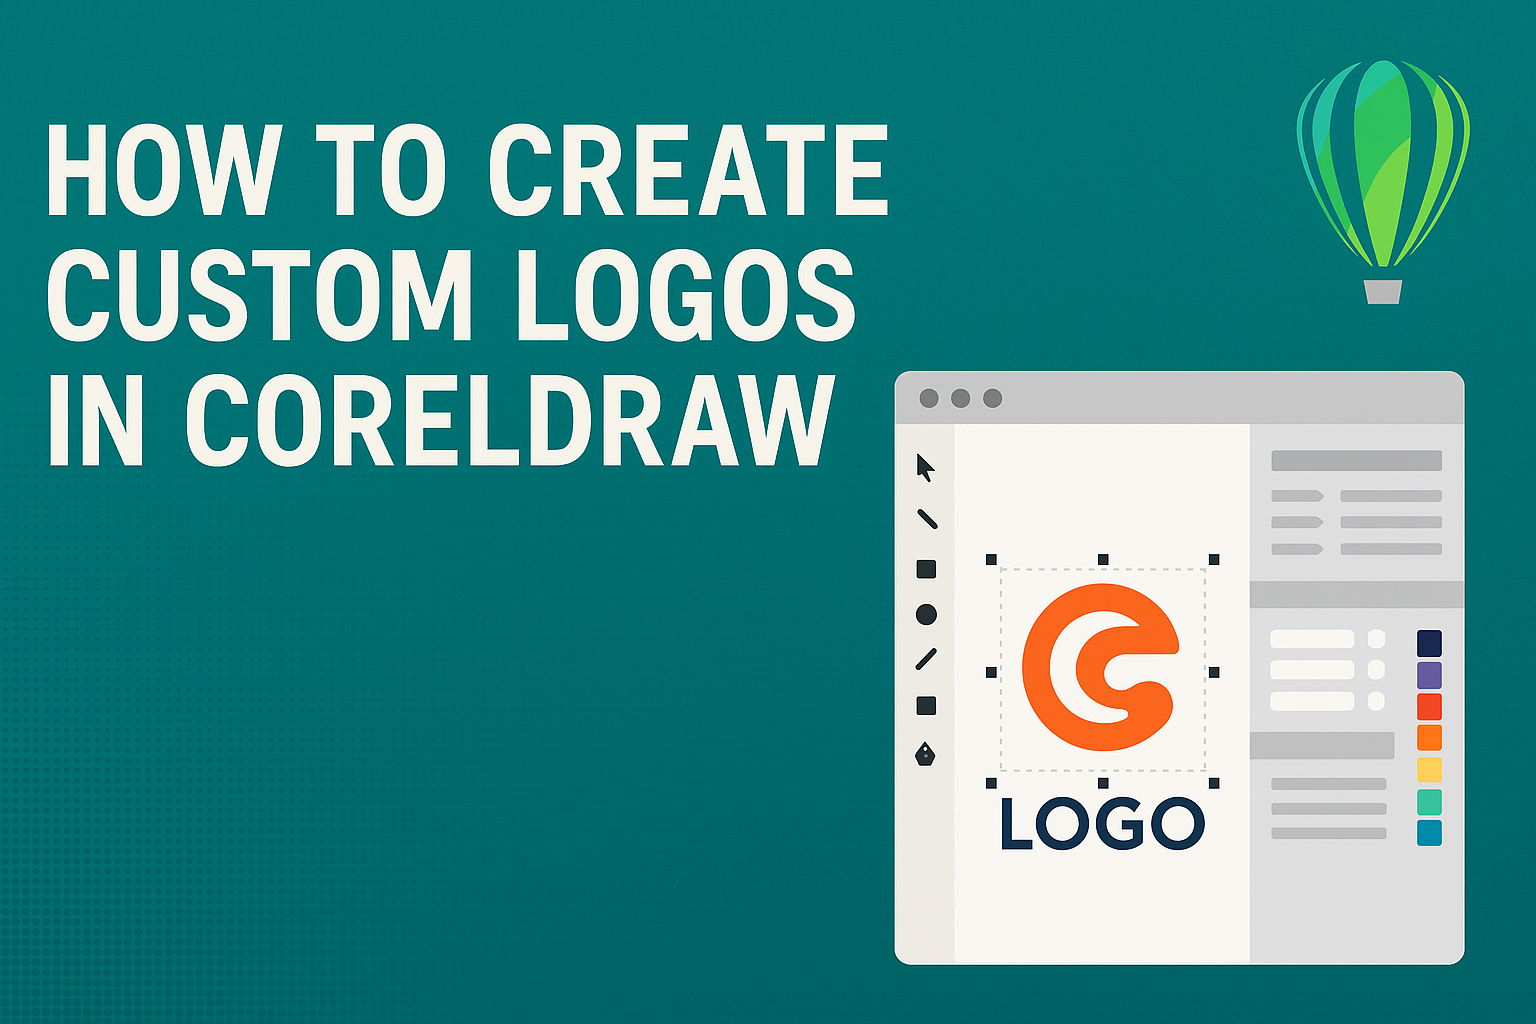
Exploring CorelDRAW’s Interface
CorelDRAW’s interface is designed to be user-friendly, even for beginners. Users will find a variety of tools neatly arranged in a toolbox on the left side. These tools are crucial for creating shapes, lines, and modifying objects with ease.
The property bar at the top adapts to the selected tool. This bar allows for quick adjustments specific to each tool. For example, when a shape tool is active, users can change size and color right from this bar.
Take note of the dockers, which provide additional controls and settings. They can be customized based on the user’s needs, and are accessible through the Window menu. This flexibility helps streamline the workflow by keeping frequently used options within easy reach.
Another helpful feature is the navigator found in the bottom right corner. This helps users zoom in and out, and move around large canvases without hassle. The status bar, displaying essential information about selected objects or tools, is located at the bottom.
For guidance, the Corel Discovery Center offers various tutorials. Their step-by-step guides enhance the user experience by aiding in mastering the interface and tools efficiently. Most importantly, they encourage exploration and creativity in logo design.
Setting Up Your Workspace
Setting up your workspace in CorelDRAW is the first step to creating efficient designs. A well-organized workspace helps designers access tools quickly and streamline their workflow.
To start, they should open CorelDRAW and navigate to the Customization Options. Under this menu, users can find the “Workspace” setting, which allows them to create a new workspace tailored to their needs.
Creating a new workspace involves clicking on “New” to start setting it up. They can then name this workspace and provide a brief description. This makes it easy to identify and switch between different setups.
Toolbars and menus can be customized to include frequently used tools. Designers prefer to arrange these tools where they are most easily accessible, saving time during projects.
Shortcut keys are another essential part of customization. Setting up shortcuts for commonly used commands can significantly boost efficiency. They should choose key combinations that they find easy to remember.
It’s also helpful to adjust the screen layout, including the position and size of toolbars and panels. This ensures that everything is clearly visible and within easy reach.
Designers who take the time to set up their workspace will find it much easier to create designs in CorelDRAW. A structured and organized space can lead to a smoother, more enjoyable design process. For more detailed instructions on customizing the CorelDRAW workspace, check out this guide.
Understanding Vector Basics
Vector graphics are an essential part of modern design. Unlike raster images, vectors use mathematical equations to create shapes and lines. This makes them scalable without losing quality. Whether designing a small icon or a large banner, vector graphics remain crisp and clear.
One of the key features of vector design is its ability to be resized easily. Designers can create intricate designs that can be adjusted for various uses without pixelation. This flexibility is crucial for logo design, where a logo might be used on anything from a business card to a billboard.
Common tools used in vector design include lines, curves, and shapes. Tools like the Freehand tool in CorelDRAW allow users to draw precise lines and curves. This provides detailed control over the design process. The Guide to Vector Design outlines these features and how they differ from other formats.
Logos often rely on symmetry and balance to convey stability. Curved shapes can imply movement or energy. This aspect is explained in The Definitive Guide to Designing a Logo, where symmetry and movement are considered critical for effective logo design.
Understanding these basics can enhance a designer’s ability to create stunning visuals in tools like CorelDRAW. With the right foundation, bringing creative ideas to life becomes much easier.
Starting a New Logo Project
To start a new logo project in CorelDRAW, the first step is opening the program and selecting New Document from the welcome screen. This will allow the user to set the document size and resolution. It’s helpful to choose a size that suits the final use of the logo, like a standard A4 size.
Next, it’s a good idea to explore the toolbox on the left side of the screen. Tools like the Rectangle Tool and Ellipse Tool are essential for creating basic shapes. Holding the Ctrl key while using these tools helps draw perfect squares or circles.
Selecting the Freehand Tool is useful for adding custom elements. Users can start drawing by clicking on the canvas and holding the Ctrl key, which ensures straight lines. This technique is handy for more precise designs.
Users can add text elements by selecting the Text Tool from the toolbox. They can type directly onto the canvas and adjust font style and size from the Property Bar. For example, using bold fonts makes the logo stand out.
For inspiration, users might want to look at tutorials like this one from the Corel Discovery Center. It guides users through the process of starting and designing a logo, offering tips on using different tools effectively.
Joining online communities or forums can also be helpful. Other designers often share tips and projects, providing a supportive environment to learn and improve logo design skills.
Designing Your Logo
Creating a custom logo in CorelDRAW involves a thoughtful combination of fonts, colors, shapes, and styles. These elements work together to convey your brand’s identity and message effectively.
Choosing the Right Font
Selecting the right font sets the tone for the entire logo. Fonts can communicate a brand’s personality, whether it’s modern, classic, or playful. Simple fonts like Arial may convey clarity and professionalism, while script fonts can add elegance.
When choosing fonts, consider readability at various sizes. Logos often appear small on business cards or large on signage. Experiment with bold or italic styles to add emphasis, but avoid using too many fonts in one logo. This keeps the design clean and avoids confusion.
CorelDRAW offers a wide selection of fonts. Users can experiment with different styles to see what fits best. It’s also possible to adjust spacing between letters to ensure balance and alignment.
Selecting Colors and Textures
Colors play a critical role in how a logo is perceived. They evoke emotions and set the tone. Red might convey urgency or excitement, while blue can appear calm and trustworthy. When choosing colors, think about the message the brand wants to send.
Combining colors involves more than just aesthetics. Colors should work well together, creating harmony rather than clashing. CorelDRAW’s color palette helps in testing different color combinations easily.
Textures add depth and interest to a logo. These can be subtle gradients or more pronounced textures like wood or metal, depending on the brand’s image. Experimenting with textures can help in developing a unique look that stands out.
Adding Shapes and Lines
Shapes and lines define a logo’s basic structure. They guide the viewer’s eye and create focus. Simple geometric shapes like circles and squares can symbolize unity or stability.
CorelDRAW tools make it easy to create, resize, and rotate shapes as needed. Lines, whether curved or straight, can add movement and direction to a design. They can also separate elements or emphasize specific parts of the logo.
It’s essential not to overcrowd the design with too many shapes and lines. Keeping it simple ensures the logo remains memorable and easily recognizable. Adjusting line thickness can bring different levels of attention to various parts of the logo.
Utilizing Effects and Styles
Using effects and styles can elevate a logo’s design. Shadows, highlights, and gradients can give a 3D appearance or emphasize certain areas. CorelDRAW provides options to apply these effects with precision.
Effects should enhance, not overpower, the main design. Subtle use of styles can add sophistication and depth without complicating the message. It’s important to maintain a balance, ensuring that the logo is both visually appealing and functional.
Experimentation is key. Trying out different effects can lead to discovering unique combinations that truly represent the brand. CorelDRAW’s interface allows for easy adjustments, enabling designers to refine their logos until they are perfect.
Using CorelDRAW Tools
CorelDRAW offers a wide range of tools to help users create custom logos with precision and creativity. Below are some of the key tools that can make designing logos in CorelDRAW efficient and enjoyable.
The Shape Tool
The Shape Tool in CorelDRAW is essential for refining and editing shapes after they are created. Users can click on nodes and move them to adjust curves and angles. This allows for precise control over the logo’s lines and structure.
To edit shapes, simply select the shape and use the Shape Tool to drag control points. This helps in smoothing out curves or sharpening angles to fit design needs. Users can also add or delete nodes to refine the shape further. This flexibility is valuable when creating custom logos.
Another feature is converting curves to straight lines and vice versa. This is useful for achieving the desired geometric look. For a more organic feel, using smooth nodes can help. Mastering the Shape Tool results in logos with professional, polished edges.
The Bezier Tool
The Bezier Tool lets users draw curves and lines with precision by placing anchor points. Creating custom paths with the Bezier Tool is straightforward. Users click to place points that define a path, then adjust the curves by dragging handles.
This tool provides great control over the shape of lines and curves, making it ideal for detailed logo design work. It is especially handy for creating smooth, flowing lines. Users can also convert segments between different curve types for varied design styles.
Consistency in line work is achieved through precise angle and length adjustments. The Bezier Tool offers the capability to create intricate designs that maintain their clarity when scaled. This is important in logo design, ensuring the logo looks good at any size.
The Freehand Tool
The Freehand Tool in CorelDRAW is perfect for sketch-like illustrations in logo creation. This tool allows users to draw freehand lines by clicking and dragging the mouse. Lines can be straight or follow natural curves, depending on the user’s movements.
Once the main line is drawn, users can refine it with the Shape Tool to achieve a clean finish. This combination provides flexibility in achieving both organic shapes and structured designs. For beginners, experimenting with the Freehand Tool can be a great way to brainstorm and visualize design ideas quickly.
With the Freehand Tool, making expressive and unique logo elements becomes easier. It encourages creativity and suits those who prefer to sketch ideas before refining them into precise vector shapes.
The Artistic Media Tool
The Artistic Media Tool adds flair to logos with a variety of brush effects and preset shapes. Users can create strokes that mimic real-world media, such as paintbrush or pen. These effects add depth and character to logos.
Applying a brush stroke can transform simple lines into dynamic design elements. Users may choose from different stroke types and adjust their width, making it adaptable for various design styles. Additionally, custom strokes are easy to create, allowing for unique branding elements.
This tool is versatile for enhancing designs with texture and artistic flair. By integrating Artistic Media effects, a logo can quickly gain a distinctive and eye-catching quality, perfect for standing out in competitive markets.
Fine-Tuning Your Design
Creating a custom logo requires careful attention to detail. This phase is all about making sure that elements are aligned properly, layers are used effectively, and the right level of transparency is applied for a polished look.
Aligning and Positioning Elements
When working on a logo, precise positioning makes a big difference. CorelDRAW offers several tools to help with alignment. Elements should be aligned using guidelines that can be unlocked from the ruler bar.
In addition, distribute tools evenly to ensure that objects are spaced properly. Snap features are available as well, assisting in placing elements so they line up perfectly. Use the alignment toolbar to center, align left, or distribute objects evenly across the canvas. These features ensure the logo looks professional and balanced.
Working with Layers and Grouping
Using layers makes the design process much easier. Each element can be placed on a separate layer to allow for independent editing. This method helps in making adjustments without affecting the rest of the design.
Grouping elements is another way to handle complex logos. By grouping, you can move multiple objects simultaneously, keeping their relative positioning intact. Layers can be adjusted in the Object Manager, where they can be locked or hidden to focus on specific parts. Proper layer use streamlines the workflow and enhances creativity.
Adjusting Transparency and Blend
Transparency adds depth and interest to logos. In CorelDRAW, users can adjust transparency for subtle effects or bold statements. The Transparency tool is used to change how much of an element is see-through.
Blend modes are also available to combine different elements creatively. Different modes, like Multiply or Overlay, can be applied to achieve unique effects. This allows designers to play with color overlaps and gradients, creating a dynamic and appealing result. Fine-tuning transparency draws attention to specific areas, giving the logo a unique character.
Saving and Exporting
Creating a logo in CorelDRAW is just the beginning. It’s crucial to know how to save and export your work correctly, ensuring it looks great in every format. Understanding the different file types and resolution settings is key to preserving your design’s quality.
File Formats Explained
When saving a logo in CorelDRAW, it’s important to choose the right file format. The default CorelDRAW format is CDR, which is perfect for editing. For sharing and compatibility with other programs, formats like PNG, JPEG, and EPS are very useful.
PNG is a popular choice for web use because it supports transparency. EPS is commonly used for printing purposes, and it retains the vector qualities of the logo. When choosing formats, it’s important to consider where and how the logo will be used.
Using the File > Export option in CorelDRAW allows designers to select from a range of formats. Each format has its advantages depending on the needs of the project. Checking the compatibility with other software is also helpful to ensure flexibility when sharing designs.
Resolution and Export Options
Resolution plays a critical role in how sharp and clear your logo appears. For high-quality results, especially in print, setting a higher DPI (dots per inch) is recommended. Typically, 300 DPI is the standard for printing, while 72 DPI works well for web use.
In CorelDRAW, the export dialog offers options to adjust the resolution according to the desired output. Options also include color mode settings like CMYK for print and RGB for digital use. Designers can preview the logo before exporting to ensure all settings are correct.
Selecting the right options can make a big difference in how the final logo appears. Whether the goal is to print banners or post on a website, making informed choices ensures the logo looks professional in every context.
Tips for Effective Logo Design
Creating a successful logo involves understanding the brand’s identity, keeping the design simple, and ensuring adaptability. These key elements help in crafting logos that are both memorable and functional.
Understanding Brand Identity
To create an effective logo, it’s important to grasp the essence of the brand it represents. A logo should reflect the values, aims, and culture of the company. Think of it as a visual summary. A good starting point is to brainstorm keywords that describe the brand. These words can guide the choice of colors, shapes, and fonts used in the design.
Researching competitors’ logos can provide insight into industry standards and help in differentiating the brand. A unique style can set a brand apart from others and make it easily recognizable. This connection between design and brand identity makes the logo meaningful and impactful.
Keeping It Simple
Simplicity is a crucial factor in logo design. Simple logos are easier to remember and recognize at a glance. Overly complicated designs might look cluttered or confusing. Think of iconic logos like Nike’s swoosh or Apple’s apple; they are simple yet powerful. Limiting the use of colors and elements can also enhance clarity.
When designing, focus on one main idea or theme to avoid overcrowding. Simple logos also translate better across different mediums and can be resized without losing clarity. In this way, simplicity helps in maintaining the logo’s effectiveness and ensures it communicates the intended message clearly.
Adaptability and Scalability
A logo should be adaptable and scalable, meaning it works well in different sizes and formats. Whether on a business card or a billboard, it should maintain its appeal and communicate the brand message effectively. Testing the logo in both color and black-and-white versions can ensure versatility.
Logos must also adapt to various contexts, whether digital or print. They should look just as good on a mobile screen as they would on merchandise. This adaptability ensures consistency across platforms and enhances the brand’s professional appearance. When designing, utilize software like CorelDRAW for precision and flexibility, making sure the logo remains effective in any situation.