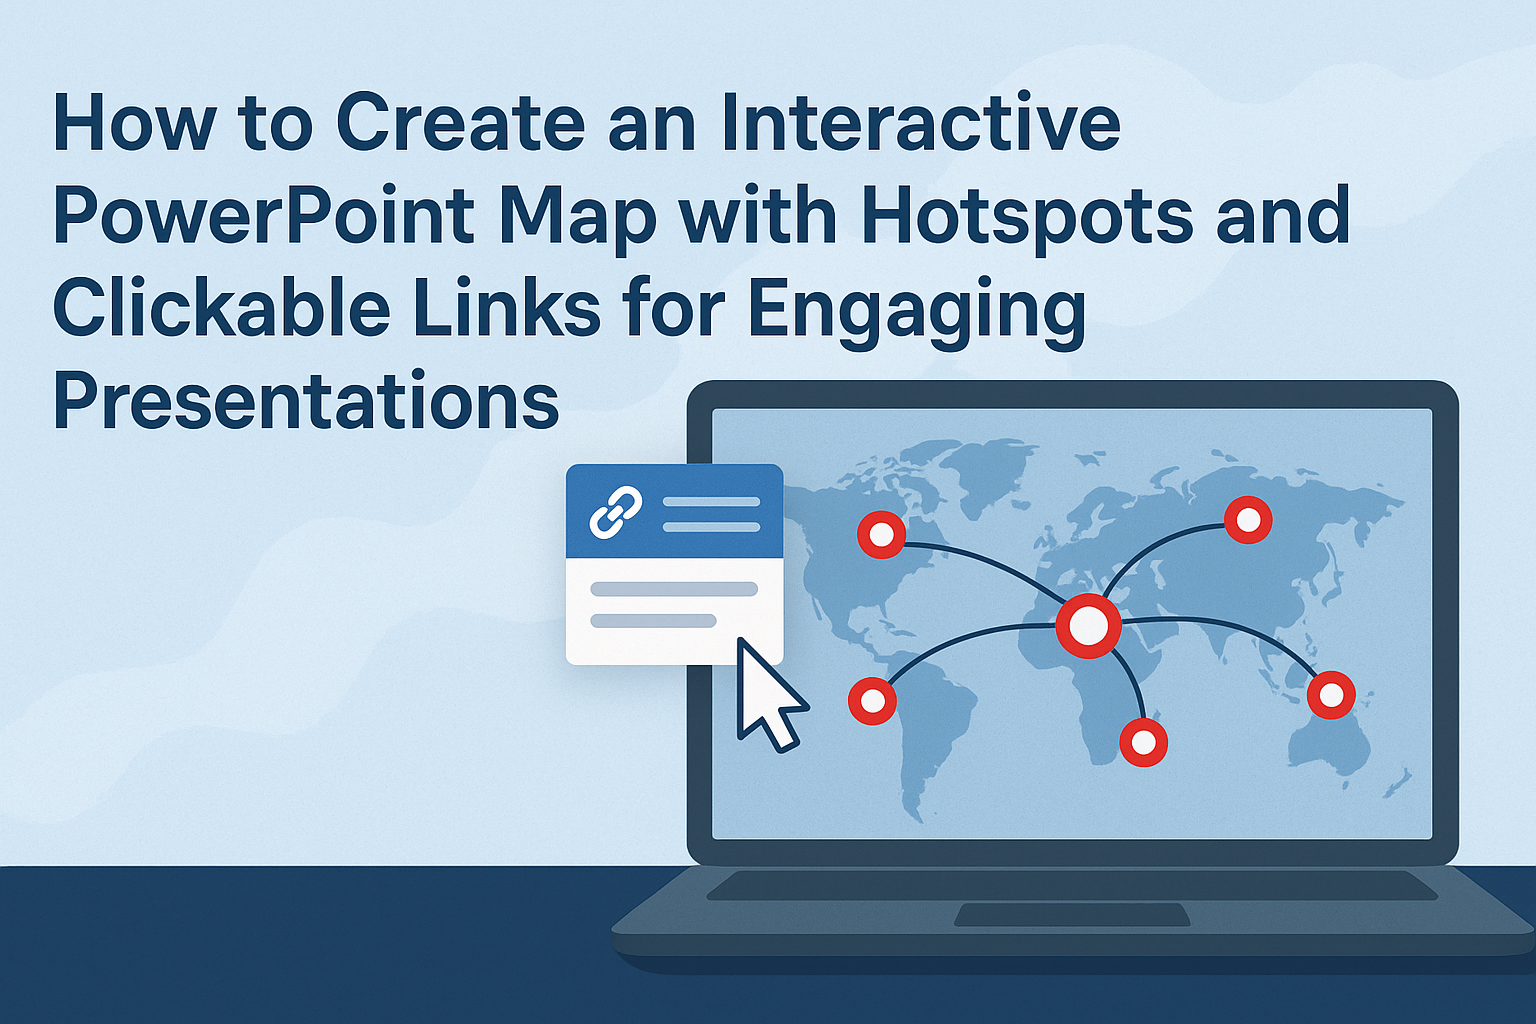
Creating an interactive map in PowerPoint can elevate presentations to a new level by engaging audiences more effectively. By adding hotspots and clickable links, anyone can turn a simple slide into an interactive experience that captures attention and encourages exploration.
This feature makes information more accessible and memorable, making it ideal for educational or business settings.
Learning to use these tools is easier than one might think. With a few simple steps, anyone can design a map that not only informs but also invites audience participation.
The process can transform a standard presentation into a dynamic visual experience.
Whether it’s for teaching, training, or presenting a project, interactive maps can provide a fun way to share important information. With the right techniques, an engaging PowerPoint map is well within reach, making it an essential skill for anyone looking to enhance their presentations.
Understanding PowerPoint Maps
PowerPoint maps are valuable tools that enhance presentations. They provide a visual representation of data and allow for interactive elements that engage the audience effectively.
What Are Interactive PowerPoint Maps?
Interactive PowerPoint maps are slides that include clickable areas, known as hotspots. These hotspots can link to websites, additional slides, or reveal more information.
The maps can display various data points, such as geographic locations or statistics.
Creating such maps allows presenters to transform dull data into engaging stories. They can showcase information dynamically, making it easier for the audience to grasp key concepts.
For example, a presenter might use a map to highlight different regions of a country and link them to data about population or sales figures.
Benefits of Using Maps in Presentations
Using maps in presentations offers many benefits. First, they simplify complex information, making it accessible to everyone.
Visualizing data through maps helps viewers understand relationships between different parts of the content.
Secondly, interactive elements keep the audience’s attention. When viewers can click on areas to learn more, they are more likely to stay engaged.
Maps also allow for flexible presentations where the presenter can choose what to show based on the audience’s interest.
Finally, incorporating maps can make a lasting impact. Engaging visuals, along with interactive components, can enhance memory retention.
Presenters can communicate data-driven insights effectively while encouraging audience participation.
Preparations Before Creating Your Map
Before diving into the creation of an interactive PowerPoint map, some important preparations can make the process smoother.
Gathering Map Resources
The first step is collecting the necessary map resources. Start by deciding which type of map is needed, such as a world map or a regional map. Look for high-quality images or vector graphics that are clear and easy to read.
It’s beneficial to have a few different versions of the map, such as blank maps for hotspots and labeled maps for context. Websites that provide free or licensed images can be quite helpful.
Consider including additional assets like icons or images that will act as clickable elements on the map. This preparation will save time and help in creating an engaging presentation.
Setting Up Your PowerPoint Template
Next, it’s essential to set up the PowerPoint template properly.
Open PowerPoint and create a new slide for the map. Choose a blank layout to provide a clean slate for designing.
Adjust the slide size if needed to fit the map dimensions. The standard size for presentations is 16:9, which works well for most maps.
Import the chosen map image to the slide. Make sure to position it correctly and resize it as needed.
A well-structured template will create a strong foundation for adding interactive elements later.
Planning the Interactive Elements
Planning the interactive elements is a key step.
He or she should identify which areas of the map will serve as hotspots. These hotspots can link to other slides, websites, or documents.
It is also helpful to decide what actions will occur when a hotspot is clicked. For example, will it show more information, jump to another slide, or display an image?
Sketching these interactions can guide the design. Write down the purposes of each hotspot.
Keeping a clear plan will make creating the interactive map easier and more effective.
Designing Your Map
Creating an engaging map in PowerPoint involves careful selection and placement of images, as well as defining clickable areas. This process enhances the interactivity of the presentation.
Inserting and Editing the Map Image
First, the user starts by selecting an appropriate map image. This could be a world map, a country map, or any specific area needed for the presentation.
In PowerPoint, they click on the “Insert” tab and choose “Pictures” to add the desired image.
Once the image is in place, it can be resized and positioned for optimal visibility. Users should consider fitting the image to the slide dimensions.
To edit, they can use tools like “Format” to adjust brightness, contrast, and color for clarity.
Keeping the image vibrant will help ensure that it captures the audience’s attention.
Defining Regions with Shapes
Next, users define interactive regions on the map by using shapes. They can find these shapes under the “Insert” tab by selecting “Shapes.” Rectangles or circles work well to outline specific areas.
After selecting a shape, it’s important to adjust transparency. This allows the original map to remain visible while creating clickable areas.
Users can find the transparency option under the “Format Shape” settings. Once set, they should link the shapes to relevant slides or URLs.
This setup allows viewers to click on different regions for more information or to navigate within the presentation.
Creating Hotspots
Creating hotspots in PowerPoint allows users to add interactive elements to their presentations. This makes content engaging and helps guide the audience through the material. The following steps will cover how to draw the hotspot areas and apply hyperlinks to shapes.
Drawing Hotspot Areas
To create hotspot areas, the user needs to select shapes or images on the slide. Common shapes include rectangles, circles, or custom shapes that align with the content.
- Insert a Shape: Go to the “Insert” tab, select “Shapes,” and pick a shape.
- Draw the Shape: Click and drag on the slide to create the shape over the desired area. This shape will act as the clickable hotspot.
- Make It Invisible (Optional): If desired, the user can right-click the shape, go to “Format Shape,” and adjust the fill to “No Fill” and the line to “No Line.” This keeps the visual clean while maintaining interactivity.
Applying Hyperlinks to Shapes
After drawing the hotspot, the next step is to apply hyperlinks that lead to additional content. This allows the audience to access more information or navigate to another slide.
- Select the Shape: Click on the shape to highlight it.
- Insert Hyperlink: Right-click the shape and choose “Hyperlink.” A new window will appear.
- Link Options: In the hyperlink window, users can link to a web page, a different slide in the presentation, or even an email address. Fill in the relevant information and click “OK.”
By following these steps, users can create effective hotspots that enhance their PowerPoint presentations.
Linking to Additional Content
Adding links within a PowerPoint map can help enhance interactivity and provide viewers with extra information. This section covers how to create clickable links and connect slides through hyperlinks effectively.
Creating Clickable Links
To create clickable links in PowerPoint, users need to first select the object or text they want to make interactive. Then, they should follow these steps:
- Highlight the chosen object or text.
- Right-click to open the context menu and choose “Hyperlink.”
- In the dialog box, users can link to various destinations such as websites or specific slides in the presentation.
It’s essential to ensure that the links are relevant to the content.
For example, linking to external resources can provide additional context, while internal links can guide viewers to deeper insights.
Testing the links before presenting is crucial to ensure they work correctly and direct to the intended resources.
Connecting Slides through Hyperlinks
Links can also connect different slides within the same presentation, creating a non-linear navigation experience. To do this, the user should:
- Select the text or object intended for linking.
- Right-click and choose “Hyperlink.”
- Instead of linking to an external site, select “Place in This Document” from the options.
This feature allows presenters to jump between sections based on audience interests or questions.
Using action buttons or images with hyperlinks can make navigating the presentation smoother.
Ensuring that links are clear and easy to follow improves viewer engagement and understanding.
Enhancing User Interaction
To engage the audience more effectively, incorporating interactive elements in a PowerPoint map is essential. By adding animation effects and zoom features, the presentation becomes lively and encourages user participation.
Adding Animation Effects
Animation effects make a PowerPoint map visually appealing. By applying simple animations, elements can enter, exit, or emphasize with a click, adding excitement to the presentation.
Popular animations include Fade, Wipe, and Grow/Shrink.
To add animations, follow these steps:
- Select the object or shape on the map.
- Navigate to the Animations tab.
- Choose the desired animation from the options available.
Tracking how animations occur helps keep the flow smooth, ensuring they enhance rather than distract from the information.
A well-timed animation can also guide viewers’ attention to specific areas of the map.
Incorporating Zoom Features
Zoom features allow users to focus on particular parts of a PowerPoint map. This lets them explore details without overwhelming them with too much information at once.
To add a zoom effect, select the Insert tab and then click Zoom. Options include Summary Zoom and Slide Zoom.
When using these features, users can click on specific sections of the map to zoom in for a closer look. By seamlessly integrating this into the presentation, it transforms static maps into interactive elements that invite exploration.
Using both animation and zoom effects can enhance the learning experience, making information more accessible and engaging.
Finalizing Your Interactive Map
After creating an interactive map in PowerPoint, it’s essential to ensure everything functions as intended. This includes testing the interactivity and addressing any common issues that may arise.
Testing Interactivity
Before presenting, it’s crucial to test the interactive elements of the map. This involves clicking on all hotspots to verify they lead to the correct slides or links.
- Run the Presentation: Start the slideshow and navigate through the map.
- Check Links: Click each hotspot and confirm it opens the correct content.
Make a list of any issues encountered during this process. This allows for quick reference when troubleshooting later.
It’s also helpful to have a colleague review the map, as a fresh pair of eyes can spot overlooked problems.
Troubleshooting Common Issues
If issues arise during testing, here are some common solutions to consider:
- Hotspots Not Working: Ensure they are correctly linked to the intended slides. Sometimes re-establishing the link can resolve the problem.
- Animations Not Responding: Check the animation settings to guarantee they are set to trigger properly when clicking the hotspots.
Another tip is to ensure the shapes used as hotspots are not overlapped by other elements, which can cause them to be unresponsive.
Taking these steps helps ensure that the interactive map functions smoothly, making the presentation more engaging.
Best Practices for Presentation
Creating an effective interactive PowerPoint map requires attention to both clarity and accessibility. By focusing on these aspects, presenters can ensure their audience understands the material while engaging with the content.
Maintaining Clarity and Readability
It is essential to use clear fonts and appropriate sizes in the presentation. A sans-serif font, like Arial or Calibri, is often easier to read.
Titles should be larger, while body text can be smaller but should remain legible from a distance.
Using contrasting colors enhances visibility. For instance, dark text on a light background works well. Avoid overly busy backgrounds that can distract from the main content.
Incorporating bullet points or numbered lists helps break down information. This makes it easier for the audience to scan and absorb key points quickly.
Each map hotspot should have concise and direct labels that invite engagement without cluttering the slide.
Ensuring Accessibility
Accessibility ensures that all individuals can engage with the presentation.
Including alternative text for images and maps is vital for those using screen readers. This allows them to process the content effectively.
Color contrast is not just about aesthetics; it impacts visibility for individuals with color blindness.
Tools exist to check color contrast ratios, which can guide choices in design.
Providing captions for any videos or audio used in the presentation helps accommodate those with hearing impairments.
Additionally, using simple language ensures that the content is understandable to a wider audience, fostering better engagement overall.
Sharing Your Interactive Map
Sharing an interactive map in PowerPoint can enhance presentations and engage viewers.
There are several effective ways to do this, including exporting to different formats or sharing online.
Exporting to Different Formats
When it comes to sharing an interactive map, exporting it to various formats allows for more flexibility.
PowerPoint offers several options, including PDF, video, and presentation formats.
- PDF: Exporting as a PDF keeps the layout intact. However, it won’t support interactivity.
- Video: Creating a video captures the presentation with animations and transitions. This is great for viewers who may not have PowerPoint.
- PowerPoint Show: Save as a PowerPoint Show (.ppsx) to allow anyone to open it directly in presentation mode.
Choosing the right format depends on the audience’s needs and the desired level of interactivity.
Sharing Online
Sharing online makes it easy to reach a wider audience.
Several platforms allow for quick sharing and collaboration.
- OneDrive: Uploading to OneDrive enables sharing links. This way, others can view or edit the map based on permissions set.
- SharePoint: This platform is useful for team-based projects. It allows multiple users to access and collaborate on the interactive map.
- Cloud Services: Utilizing cloud services like Google Drive or Dropbox is another option. Users can share links directly with others.
Sharing online fosters collaboration and makes presentations accessible, regardless of where the viewer is located.