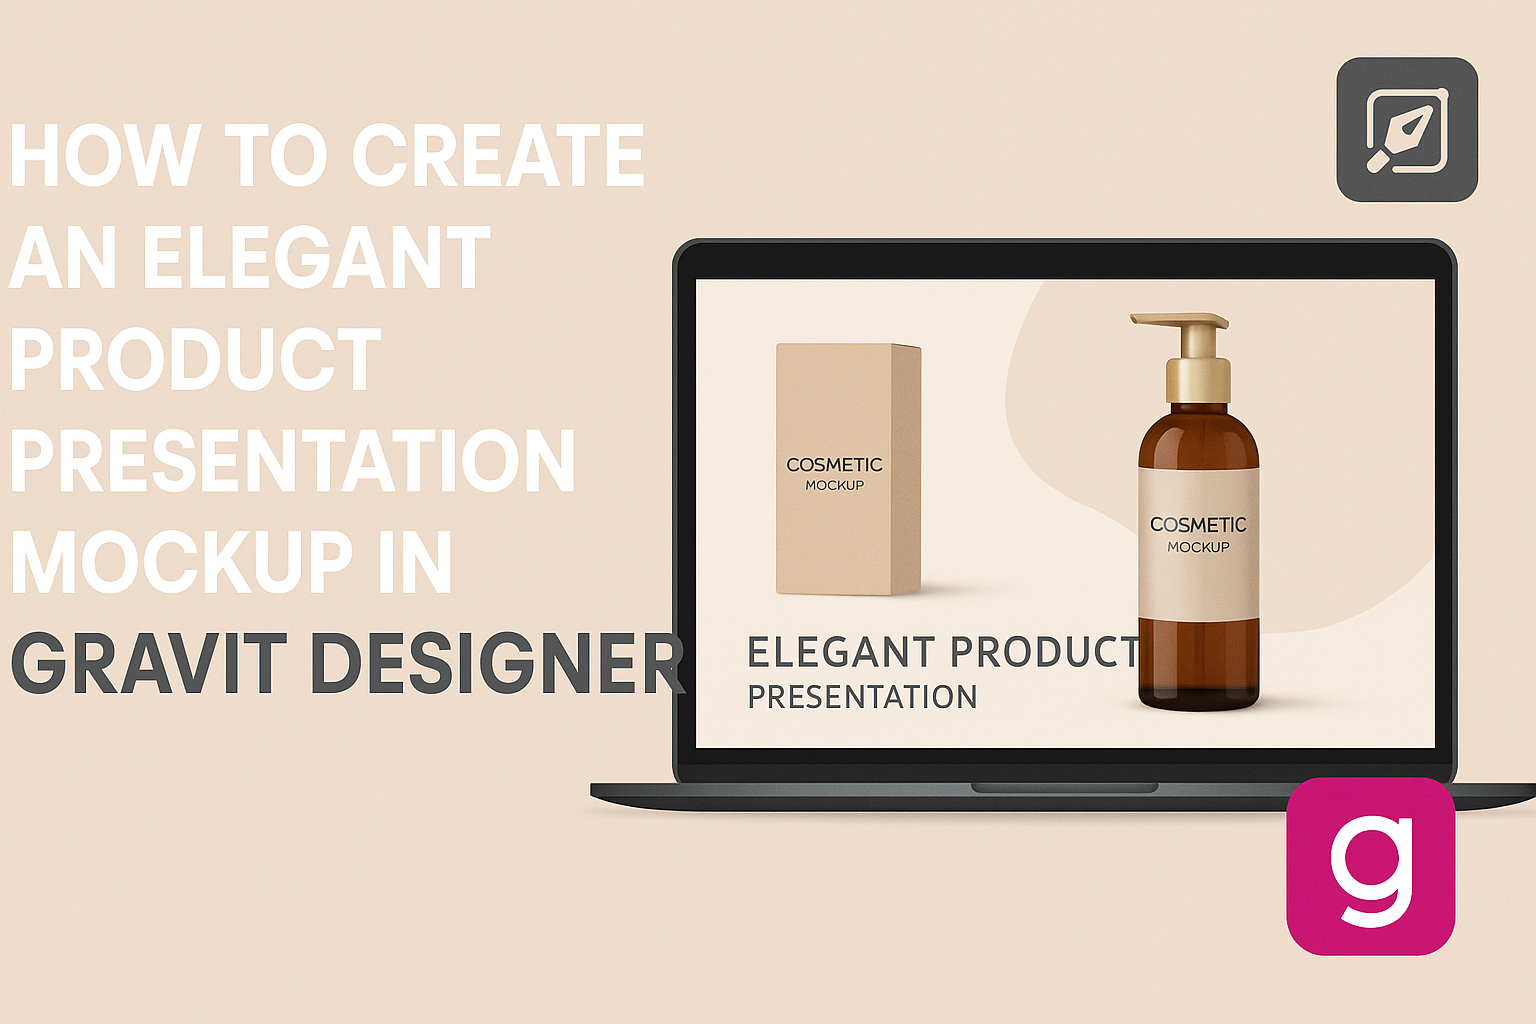
Creating a stunning product presentation mockup can make a big difference in how a product is perceived.
By using Gravit Designer, anyone can design elegant mockups that showcase their products in a professional light. This tool is user-friendly, making it accessible for both beginners and experienced designers.
In this blog post, readers will learn step-by-step how to create eye-catching mockups that captivate audiences. Gravit Designer offers features that allow for customization and creativity, ensuring each mockup reflects the brand’s identity.
Whether preparing for a pitch, a marketing campaign, or simply showcasing a design, mastering this skill can elevate the overall look and feel of any product presentation. Readers will find valuable tips and tricks that will enhance their design process and yield impressive results.
Getting Started with Gravit Designer
Gravit Designer provides a powerful platform for creating elegant designs. Understanding the interface and setting up the canvas is essential for an effective workflow.
Overview of Gravit Designer Interface
The Gravit Designer interface is user-friendly and designed for both beginners and experienced users.
Upon launching, users will see a sleek dashboard that includes options for creating new projects or accessing tutorials.
Key features include:
- Toolbar: Located on the left, it contains tools for shape creation, text, and drawing.
- Inspector Panel: On the right, this panel allows users to adjust properties like color, size, and alignment.
- Canvas Area: The center space is where all design action happens. Users can zoom in and out for detailed work.
Navigating this layout efficiently will enhance the design experience.
Setting Up Your Canvas
Setting up the canvas correctly is important for any design project.
Users can start by selecting the canvas size based on the project requirements. Gravit Designer offers preset sizes for popular formats like A4, web banners, and mobile screens.
To set up the canvas:
- Select New Design: Click on the “New Design” button.
- Choose Dimensions: Opt for a preset size or enter custom dimensions.
- Orientation: Decide if the design will be portrait or landscape.
Once set, users can also adjust the grid and guides in the canvas for better alignment. These features help in maintaining structure, making designs look polished and professional.
Designing Your Product Mockup
Creating an elegant product mockup involves careful selection and customization of design elements. This enhances the overall presentation and ensures the mockup accurately reflects the product’s features.
Selecting the Right Template
Choosing the right template sets the foundation for an effective mockup. Gravit Designer offers various templates that cater to different products like electronics, apparel, or packaging.
A good template matches the product style and purpose. A tech gadget might need a sleek, modern look, while a handmade item could benefit from a rustic design.
When selecting, keep in mind the dimensions of your product. Templates that require resizing can complicate the design process. Aim for a template that fits the product perfectly to make customization smoother.
Utilizing Layers for Organization
Layers are crucial for keeping the design organized.
In Gravit Designer, using multiple layers allows for easy adjustments without altering other elements. They enable designers to isolate specific parts of the mockup, such as backgrounds or design components.
By naming each layer descriptively, it becomes easier to find and edit elements as needed.
For example, separate layers for text, images, and backgrounds help maintain a clear structure. This organization simplifies the process if adjustments are necessary later in the design stage.
Customizing Design Elements
Customizing design elements is where creativity comes into play. Gravit Designer allows users to change colors, fonts, and sizes easily.
Start by adjusting the colors to match the brand’s identity. Consistency in colors enhances brand recognition.
Next, select fonts that reflect the product’s tone. A fun product might use playful fonts, while a luxury item could benefit from elegant typography.
Also, consider adding shadows or highlights for depth. These details make the mockup look more realistic.
Finally, always keep the target audience in mind to ensure the design resonates with them.
Enhancing the Presentation
To make a product presentation mockup stand out, focusing on visual elements is essential. By carefully adding effects, textures, typography, and branding, the presentation can become more engaging and professional.
Adding Effects and Textures
Effects and textures can significantly enhance the visual appeal of a mockup. Designers often use shadows, gradients, and highlights to add depth and dimension. This technique helps the product appear more realistic.
Textures can also bring an additional layer of interest. Applying subtle textures like paper or fabric makes the mockup feel tangible and relatable.
It’s important to balance these effects so they don’t overpower the design.
A good practice is to use effects that complement the product’s purpose. For instance, a high-tech gadget might benefit from sleek, modern elements, while a handmade product looks great with warmer, organic textures.
Incorporating Typography and Branding
Typography plays a crucial role in conveying the brand’s message. Using fonts that resonate with the brand’s identity helps establish a connection with the audience. A strong typographic hierarchy guides viewers through the presentation smoothly.
Branding should be consistent throughout the mockup. Incorporating the brand’s logo and color palette reinforces recognition.
These elements should be placed strategically to maintain visual balance without being distracting.
It’s also vital to consider the readability of the text. Clear, legible fonts at appropriate sizes ensure that key information stands out. This consideration enhances the overall presentation and fosters better communication with the audience.
Exporting and Sharing Your Mockup
Once the mockup is complete, the next steps involve exporting the design and sharing it with others. Choosing the right file format is key to ensuring the mockup retains its quality and is suitable for its intended purpose. Sharing for feedback allows for valuable insights that can enhance the design.
Choosing the Right File Format
When exporting a mockup, the file format chosen will impact how the design looks and how it can be used. Common formats include:
- PNG: Good for quality and transparency, ideal for web use.
- JPEG: Compressed format, takes up less space, best for photographs.
- PDF: Preserves layers and is great for printing.
Consider the mockup’s end use.
For digital presentations, PNG is often preferred for its sharpness. If the mockup requires printing, exporting as a PDF can be beneficial since it maintains quality.
Always ensure to select the correct resolution to reflect the intended professionalism.
Sharing for Feedback
Gathering feedback is essential in the design process.
Sharing the mockup can be done through various methods:
- Email: Sending files directly to peers for quick reviews.
- Cloud Services: Platforms like Google Drive and Dropbox allow sharing and commenting.
- Design Tools: Some tools have built-in sharing features for real-time collaboration.
Encourage colleagues to provide specific comments.
This can help identify areas needing improvement.
Timely feedback enables designers to make adjustments before finalizing the project.