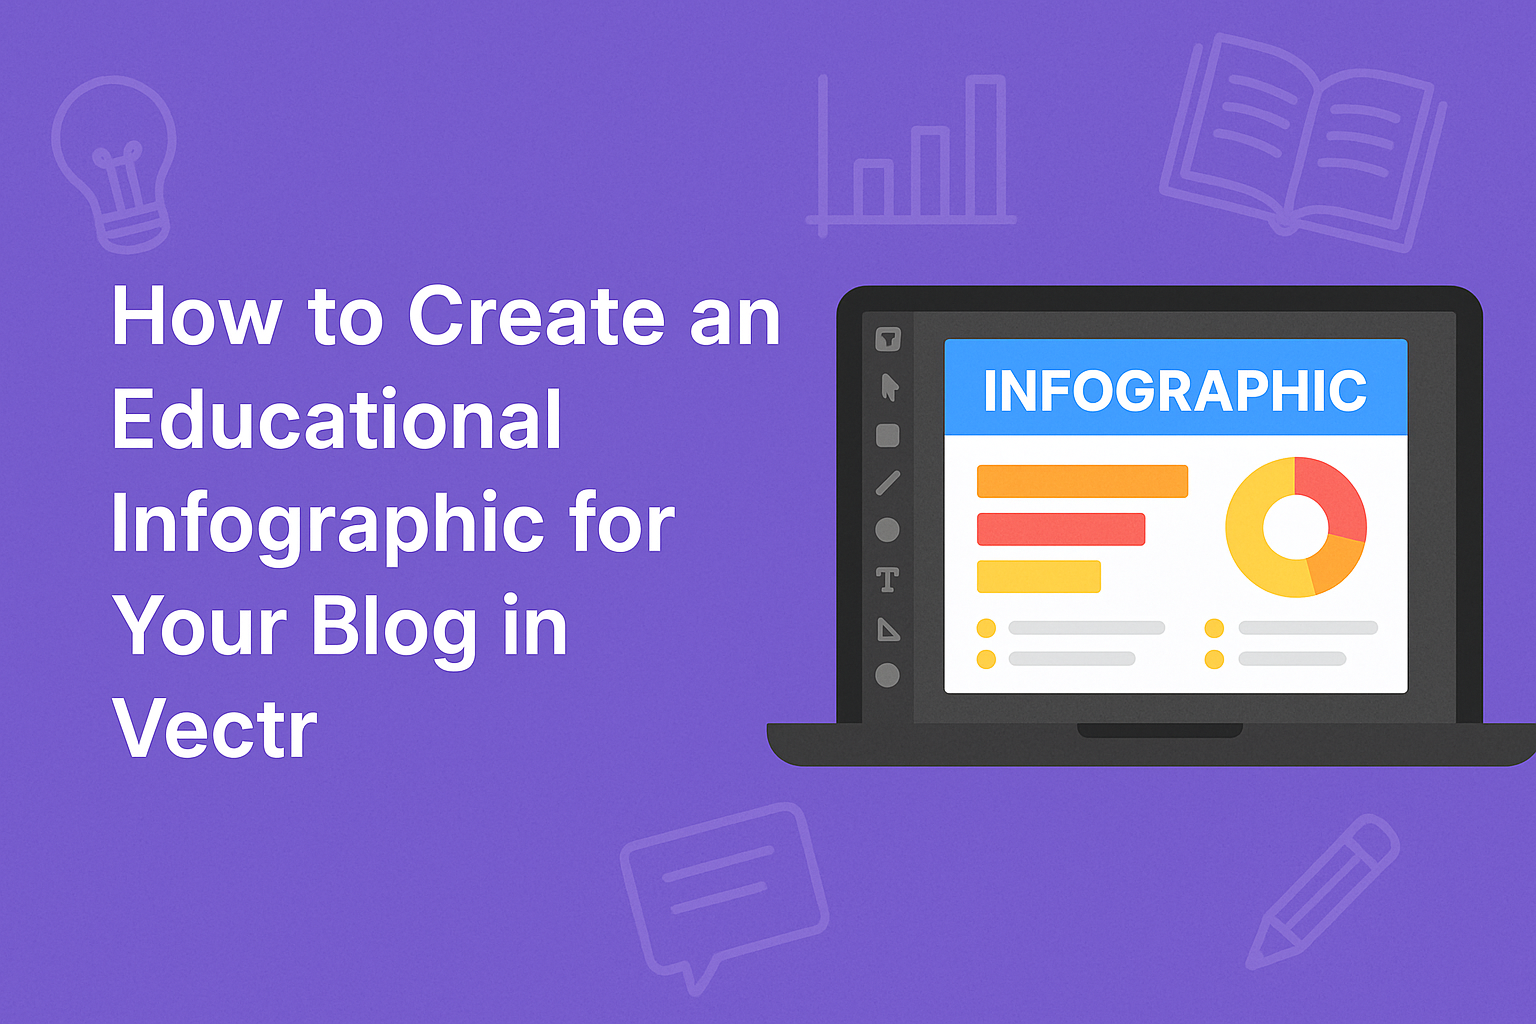
Creating an engaging educational infographic can make a big difference in how information is presented on a blog.
Using Vectr, anyone can design an infographic that captures attention while clearly conveying important concepts.
With the right approach, it becomes simple to turn facts and figures into visually appealing content.
In today’s digital world, visuals play a crucial role in learning.
Infographics help break down complex ideas into easy-to-understand graphics, making them perfect for blog posts.
They provide a quick overview of topics that can enhance readers’ understanding and retention of information.
By following a few essential steps, anyone can create an informative and attractive infographic.
With tools like Vectr, the process is user-friendly, allowing for creativity while ensuring the data is accurate.
This guide will explore how to get started and make the most of infographics in a blog setting.
Understanding Infographics
Infographics combine visuals and information to create an engaging way to present knowledge. They make complex data easier to grasp and can be particularly beneficial in educational settings.
The Power of Visual Learning
Visual learning is a strong tool for comprehension.
People often remember information better when it is presented graphically. Infographics can simplify difficult subjects by turning text-heavy content into visual stories.
Colorful images, charts, and diagrams catch a reader’s attention. This format engages different learning styles, making it easier for everyone to understand the material.
By highlighting key points visually, infographics help retain information for longer periods.
Using icons and symbols can also convey meanings quickly. When data is easy to digest, learning becomes more enjoyable. Infographics transform educational content into a format that motivates learners to explore further.
Benefits of Infographics in Education
Infographics provide multiple benefits for students and educators.
They can summarize large amounts of information concisely. A well-designed infographic gives clarity without overwhelming the viewer with text.
These visuals enhance presentations and lectures. They can serve as excellent supplementary materials during lessons.
Infographics are also shareable online, making them useful for blog posts or social media.
Including infographics in education helps spark discussions. They promote critical thinking as students analyze and interpret the data presented.
With infographics, educators can encourage interactive learning environments that cater to diverse needs.
Getting Started with Vectr
To begin using Vectr, users should understand the platform’s basics, create an account, and navigate its interface. This will help them on their journey to creating compelling infographics.
Introduction to Vectr
Vectr is a free, online graphic design tool that makes it easy to create professional designs.
Users can access it from any browser without downloading software. Vectr offers powerful features for designing, including shapes, text, layers, and more.
Its user-friendly interface is perfect for beginners and experienced designers alike.
The tool is ideal for making infographics, as it allows users to integrate text and images seamlessly. Data representation becomes visually appealing, helping to convey messages effectively.
Vectr also supports real-time collaboration, enabling multiple users to work on a project simultaneously.
Setting Up Your Account
To use Vectr, the first step is creating an account.
Users can sign up quickly with their email or by linking their Google account. Once the account is set up, a welcome dashboard appears, showing options for new projects or designs.
Account settings allow for easy management, including profile customization and project organization. Users can also check their saved designs from any device, as all work is stored in the cloud.
This means that access to infographics can happen anywhere, making it convenient for users on the go.
Navigating the Interface
After logging in, users will see a simple and intuitive interface.
The primary elements include a menu bar, a side panel, and a canvas area for creating designs. The menu bar contains options for editing, importing images, and saving projects.
The side panel shows various tools, such as shapes, text options, and color pickers. Users can drag and drop items directly onto the canvas for easy arrangement.
With multiple layers available, each element can be adjusted individually. This makes editing simple and efficient. Understanding these components will help users maximize their experience in creating educational infographics.
Designing Your Infographic
Creating an engaging infographic involves various design elements that come together harmoniously. Each aspect, from choosing the right template to adding text and data, plays a vital role in conveying information clearly and attractively.
Choosing a Template
Selecting an appropriate template is the first step in designing an infographic. It sets the foundation for the entire layout. Vectr offers a variety of templates tailored for educational content.
When picking a template, consider the message being communicated. Choose a layout that highlights the most important information.
For example, a grid layout is great for comparison, while a flowchart template can effectively show processes.
Additionally, Vectr allows users to customize templates easily. This flexibility ensures that the design reflects the blog’s branding and style while serving its educational purpose.
Customizing Colors and Fonts
Colors and fonts play a major role in making an infographic visually appealing.
It is essential to choose a color scheme that aligns with the blog’s theme. Opt for contrasting colors to ensure readability. For instance, dark text on a light background is easier to read than the opposite.
Fonts should be chosen with care. Combining a bold headline font with a simple body font can create a professional look.
Limit the number of different fonts used to two or three to maintain consistency throughout the infographic.
Ensure that the colors and fonts work well together. A unified color palette and font selection will make the infographic look more polished and cohesive.
Incorporating Graphics and Icons
Graphics and icons enhance the visual appeal of an infographic. They help illustrate ideas and break up text, making information easier to digest. Vectr has a library of free graphics and icons to choose from.
When incorporating these elements, consider their relevance to the content.
For example, a lightbulb icon can symbolize an idea, while a book icon may represent education. These visuals should support the text, not distract from it.
It is also important to maintain a consistent style among graphics. Using similar color palettes and design styles across icons will unify the overall look of the infographic.
Adding Text and Data
The text and data in an infographic should be concise and clear.
Bullet points can help break down complex information. Use short sentences to focus on key facts and insights.
When presenting data, visual elements like charts and graphs can be very effective. They offer a quick way for readers to grasp information.
Ensure all data is accurate and sourced from reliable material.
Lastly, hierarchy matters. Use larger text for headings and smaller text for details. This helps guide the reader’s eye through the infographic, ensuring they pick up the main points easily.
Finalizing and Sharing
Once the infographic is complete, it’s time to finalize the design and consider how to share it effectively. This ensures that the infographic reaches the intended audience and looks great on the blog.
Exporting Your Design
Before sharing, exporting the infographic correctly is essential.
Vectr allows users to export designs in various formats like PNG and JPG, ideal for web use.
To export, he should go to the menu and select the export option. He can adjust the quality settings. High-resolution images are best to maintain clarity when viewed on different devices.
It’s also wise to keep a copy in Vectr’s native format for future edits. After exporting, he should check the image to ensure it looks good and is free from errors.
Embedding into Your Blog Post
Embedding the infographic into the blog post is the next crucial step.
First, he can upload the exported image to the blog’s media library.
Once uploaded, he should grab the image URL.
In the blog editor, he can insert the image using the “add media” button.
It’s helpful to include alt text that describes the infographic. This improves accessibility and SEO.
Finally, he can preview the post to ensure the infographic appears as intended before publishing.