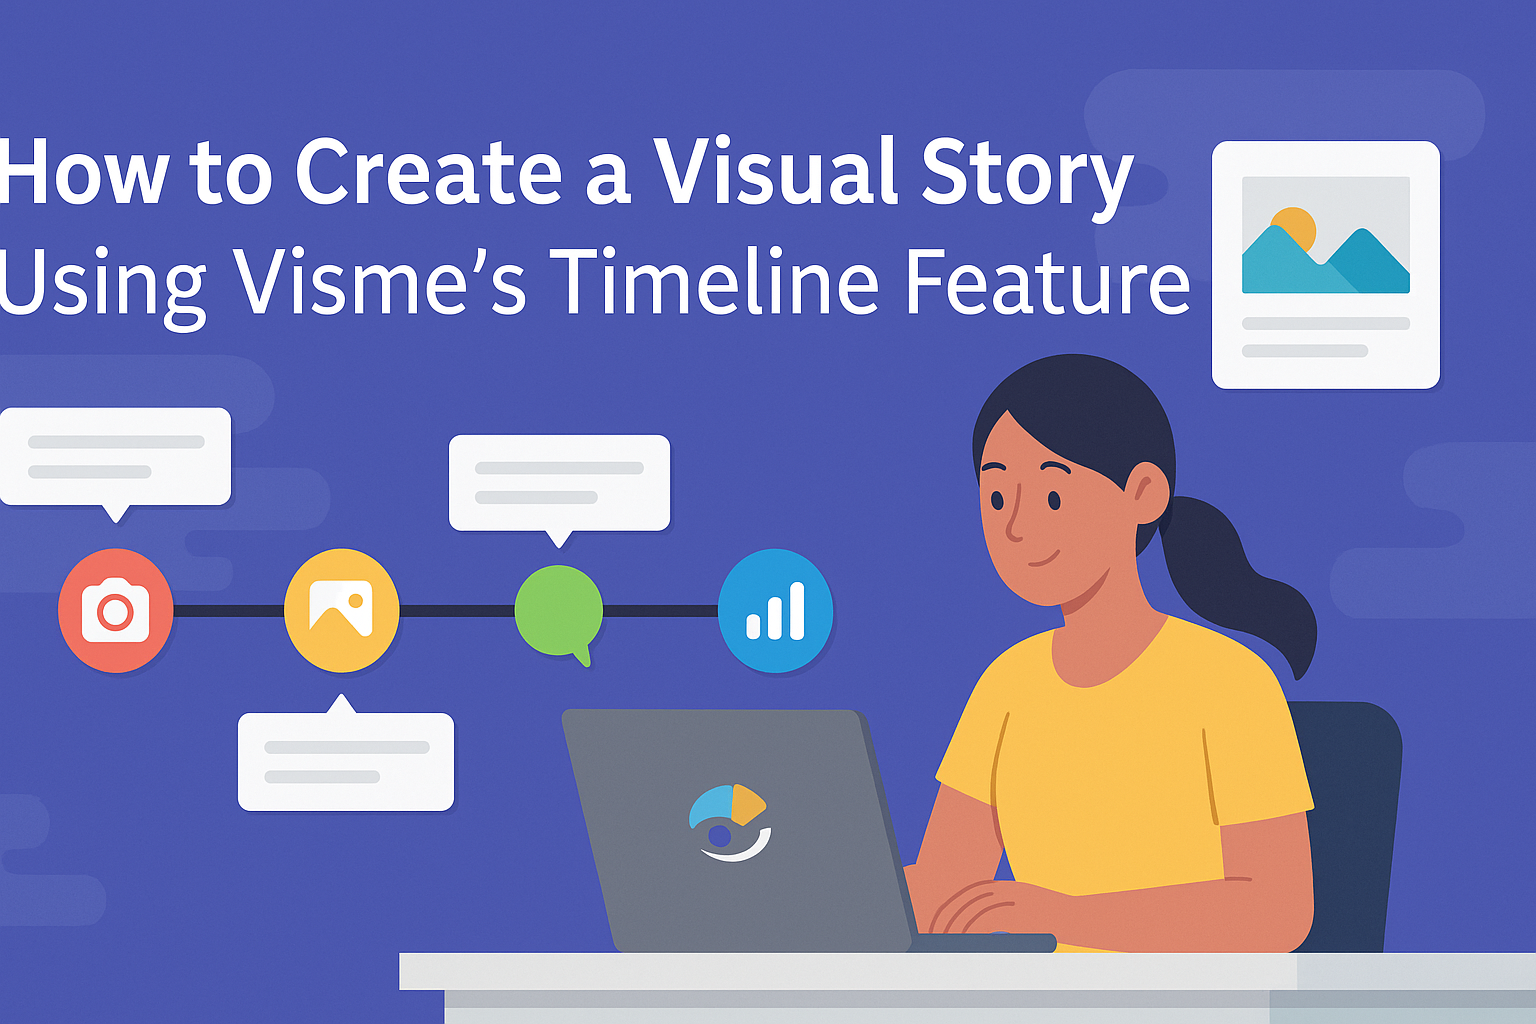
Creating a visual story can captivate your audience and make information more engaging. Visme offers tools to transform ideas into compelling visuals with its timeline feature. This tool lets users showcase milestones and events seamlessly through vibrant, customizable timelines.
Using Visme’s timeline feature, users can easily present complex data or life stories in a clear and visually appealing format. With a range of templates, this tool is perfect for both personal projects and professional presentations. Whether it’s showcasing historical events or planning future goals, Visme provides a user-friendly way to map out important moments effectively.
Still, understanding how to use Visme’s features is key to maximizing its potential. By integrating text, images, and icons, users can craft unique narratives tailored to their needs. With these capabilities, anyone can turn their ideas into a dynamic and interactive experience that captures the essence of their story.
Getting Started with Visme
Visme is a versatile tool for creating a variety of visual content, including timelines, presentations, and infographics. To make full use of Visme, one must first set up an account, understand its user interface, and get familiar with its timeline feature.
Signing Up for an Account
Creating an account on Visme is simple and quick. Users can start by visiting the Visme homepage and clicking on the signup option. New users have the choice to sign up using an email address or social media accounts like Google or Facebook.
Once registered, Visme offers a range of plans, including free and premium versions tailored for students, educators, and professionals. These plans provide different levels of access to Visme’s full suite of tools and templates, depending on personal or organizational needs. Signing up ensures users have the necessary tools to bring their ideas to life through engaging visual stories.
Overview of Visme Interface
The Visme interface is designed to be user-friendly, enabling users to create content effortlessly. After logging in, users are greeted by the dashboard, which provides quick access to their projects and templates.
The left-hand menu is where users can explore the various features, such as presentations, infographics, and social media graphics. Additionally, there are options for customizing colors, fonts, and layouts. The top toolbar allows users to save, share, or download their projects. This easily navigable design ensures that creating visual content is a seamless experience.
Understanding the Timeline Feature
Visme’s timeline feature is perfect for illustrating chronological events effectively. Users can select the timeline template from the project options, available in the dashboard’s dropdown menu. This enables them to start building engaging timelines easily.
Creating a timeline involves adding events along a linear format, with options for different styles, colors, and icons. Users are guided by prompts to incorporate titles, subtitles, and supporting details. For further enhancement, users can incorporate graphics and multimedia elements to make the timeline interactive. This feature enables users to present complex information in a clear and visually appealing manner, ideal for presentations and reports.
Planning Your Visual Story
Creating a powerful visual story requires thoughtful planning. This involves setting clear objectives, gathering relevant content, and structuring the information in a logical sequence. This structured approach helps convey the story effectively to the audience.
Defining Your Story Objectives
The first step in planning a visual story is defining its objectives. Story objectives act as a backbone, guiding the entire storytelling process. Whether the goal is to inform, persuade, or entertain, having clarity on the objectives is crucial.
Think about what you want your audience to gain or feel after experiencing the story. Are you aiming to showcase the history of a product or explain a complex process? These goals will shape everything from content to design elements.
Additionally, having clear objectives helps in making decisions about what information to include and how it will be presented. This clarity ensures that every part of the visual story aligns with its purpose and engages the audience efficiently.
Researching and Gathering Content
Once the objectives are set, it’s time to dig into research and gather content. This step involves collecting all relevant information, visuals, and data that support the story’s goals.
Effective research starts with identifying credible sources. Look for articles, books, images, and statistics that add depth and validity to the narrative. Make sure to keep track of sources for easy access later.
Organizing this content efficiently is essential. Creating a digital folder or using tools like Visme’s templates can streamline this process. These resources can help in compiling everything needed to craft a compelling story.
Organizing Information Chronologically
With all the content gathered, the next step is organizing it in a chronological order. A timeline structure can be very effective here, allowing the story to unfold in a logical sequence.
Start by identifying key events or points in the story. List these events in the order they occurred or should be experienced. Each point should connect smoothly to the next, painting a clear picture for the audience.
Using a tool like Visme’s timeline features helps in visually arranging the content. This tool makes it easy to customize timelines with images, text, and interactive elements, creating an engaging experience for viewers.
Creating a Timeline
Creating a timeline in Visme involves selecting a suitable template, adding important dates and events, and customizing design elements. Each step is crucial for achieving a polished and visually appealing timeline.
Selecting the Right Timeline Template
Choosing the right template sets the foundation for the timeline. Visme offers a variety of options based on the intended use, whether it’s for personal, educational, or business purposes.
Before making a choice, users should consider the complexity and length of the timeline. They can start with a pre-made template or choose to build from scratch. Templates come with customizable features like color schemes and layout structures, which help in creating a design that aligns with the overall theme.
Adding Dates and Events
Adding dates and key events is what brings the timeline to life. Users can input significant milestones or events directly onto the timeline. These include past occurrences or future plans that need illustrating.
To make the timeline informative, it’s essential to keep the content concise and clear. Important events should be highlighted effectively without crowding the timeline. Users can also incorporate images or icons to represent different events for added engagement. Using bold text for dates makes them stand out.
Customizing the Design Elements
Customizing design elements helps personalize the timeline to suit specific needs. Visme provides various tools to modify the timeline’s appearance, such as color, font style, and background.
Colors can be used strategically to differentiate between sections or highlight key events. Fonts should be readable and enhance the timeline’s appearance without distracting. Background choices also play a role in the clarity and appeal of the timeline. Visme’s drag-and-drop tools make it easy to adjust these elements, allowing users to create a cohesive and visually appealing timeline that captures the audience’s attention.
Enhancing Your Timeline
Enhancing your timeline involves more than just placing events in order. It requires a mix of visual elements, thoughtful color and font choices, and engaging interactivity. Each element plays a vital role in making your timeline both informative and attractive.
Incorporating Visual Elements
Visual elements bring life to your timeline. Images, icons, and shapes can help illustrate points clearly. Adding relevant graphics for each event or milestone can make the timeline more engaging.
Another option is to use arrows or lines to connect different parts, indicating progress or relationship. This not only clarifies the sequence but also guides the viewer’s eye smoothly across the timeline.
Tools within Visme allow easy integration of these visuals, providing a range of options to suit various needs. Including textures or patterns can further add depth, making the timeline aesthetically appealing and easier to follow.
Using Colors and Fonts Effectively
Colors and fonts serve a dual purpose: they grab attention and convey information. It’s important to choose a color scheme that aligns with the timeline’s theme. Consistent use of color can also differentiate between sections or types of events.
When selecting fonts, readability should be the priority. Opt for simple, clear typefaces that maintain legibility at different sizes. Highlight important events by using a bolder or larger font.
Visme offers customizable options to easily adjust colors and fonts. Utilize their tools to create a visually unified and professional look without overwhelming the viewer.
Adding Interactivity with Visme
Interactivity can make timelines more engaging. Features such as clickable links or hover effects allow viewers to explore details as they choose. This keeps their experience dynamic and personalized.
Visme provides options to embed videos or animations, offering deeper exploration of specific events. This feature is especially useful in project timelines where additional information is beneficial.
Incorporating these interactive elements not only enlivens the timeline but also encourages user engagement. It transforms a static timeline into an interactive journey, inviting viewers to participate actively in the storytelling process.
Collaboration and Sharing
Collaborating in Visme helps teams work together effectively on projects. Sharing timelines is easy, allowing broader access and engagement. Embedding on websites and blogs offers seamless integration with a broader audience.
Working with Others on Visme
Visme offers several tools that facilitate teamwork on visual projects. Team members can join the same platform, making it easy to brainstorm and develop ideas. Features like comments let users provide feedback directly on the design, which streamlines communication.
By adding departments or external collaborators, everyone stays in sync. Keeping brand consistency across all visuals becomes manageable for large teams. It also supports different roles, allowing each member to work within their area of expertise. This collaboration results in more polished and professional content.
Sharing Your Timeline
Visme makes sharing timelines straightforward and flexible. Once a timeline is ready, users can share it directly via email. There is an option to create a shareable link, which can be sent to collaborators or clients.
Another useful feature is setting permissions. Control over who can view or edit the timeline ensures that sensitive content remains secure. This flexibility is especially beneficial for educators, marketers, and managers who need input from different groups.
Embedding on Websites and Blogs
Embedding a Visme timeline on a website or blog can enhance visual storytelling. The process is simple and integrates smoothly into existing content. Visme provides an embed code that users can easily copy and paste into a website’s HTML.
Visual timelines can make content more engaging for readers. This feature benefits bloggers, educators, and businesses looking to improve user experience. By embedding interactive timelines, users can explore information in a dynamic way, keeping them engaged longer.
Tips for a Compelling Visual Story
Creating a visual story with Visme’s timeline feature involves crafting a smooth narrative, keeping the audience interested, and blending text with images gracefully. Each element plays a crucial role in drawing viewers into the story.
Narrative Flow in Timelines
A well-constructed timeline guides the viewer through the story from start to finish. Each point on the timeline should connect naturally to the next, creating a sense of progression. This helps in maintaining a logical sequence, which is pivotal for clarity.
When using Visme’s timeline feature, it’s helpful to start with a storyboard. Planning the key events and moments ensures that the visual story has a clear direction. Visual cues, like arrows or lines, can also aid in guiding the viewer’s eye along the timeline, enhancing understanding and interest.
Maintaining Audience Engagement
Keeping the audience engaged requires interactive elements and thought-provoking content. Using interactive features like clickable layers or embedded links in a timeline can draw viewers deeper into the story. These elements invite exploration and provide additional context or details.
A mix of dynamic visuals and succinct text keeps the audience’s attention. An engaging title or question at each timeline point can also spark curiosity. Using varied colors and styles helps in maintaining interest without overwhelming the viewer. Engaging narration paired with these elements can amplify the impact of the visual story.
Balancing Text and Imagery
Striking the right balance between text and imagery is essential. Too much text can overwhelm, while too little may leave gaps in understanding. Using Visme’s tools, creators can integrate text and visuals in a way that complements each other.
For effective storytelling, visuals should convey emotion or illustrate a point quickly. Text should be concise, supporting the imagery without dominating it. Using bullet points or short phrases can help in maintaining this balance. Designers can enhance readability by leaving enough white space around the text, making it easy to read and visually appealing.
Effective layout strategies, such as alignment and spacing, ensure that the audience remains focused on the story. Balancing these elements allows the visual story to be both informative and aesthetically pleasing.