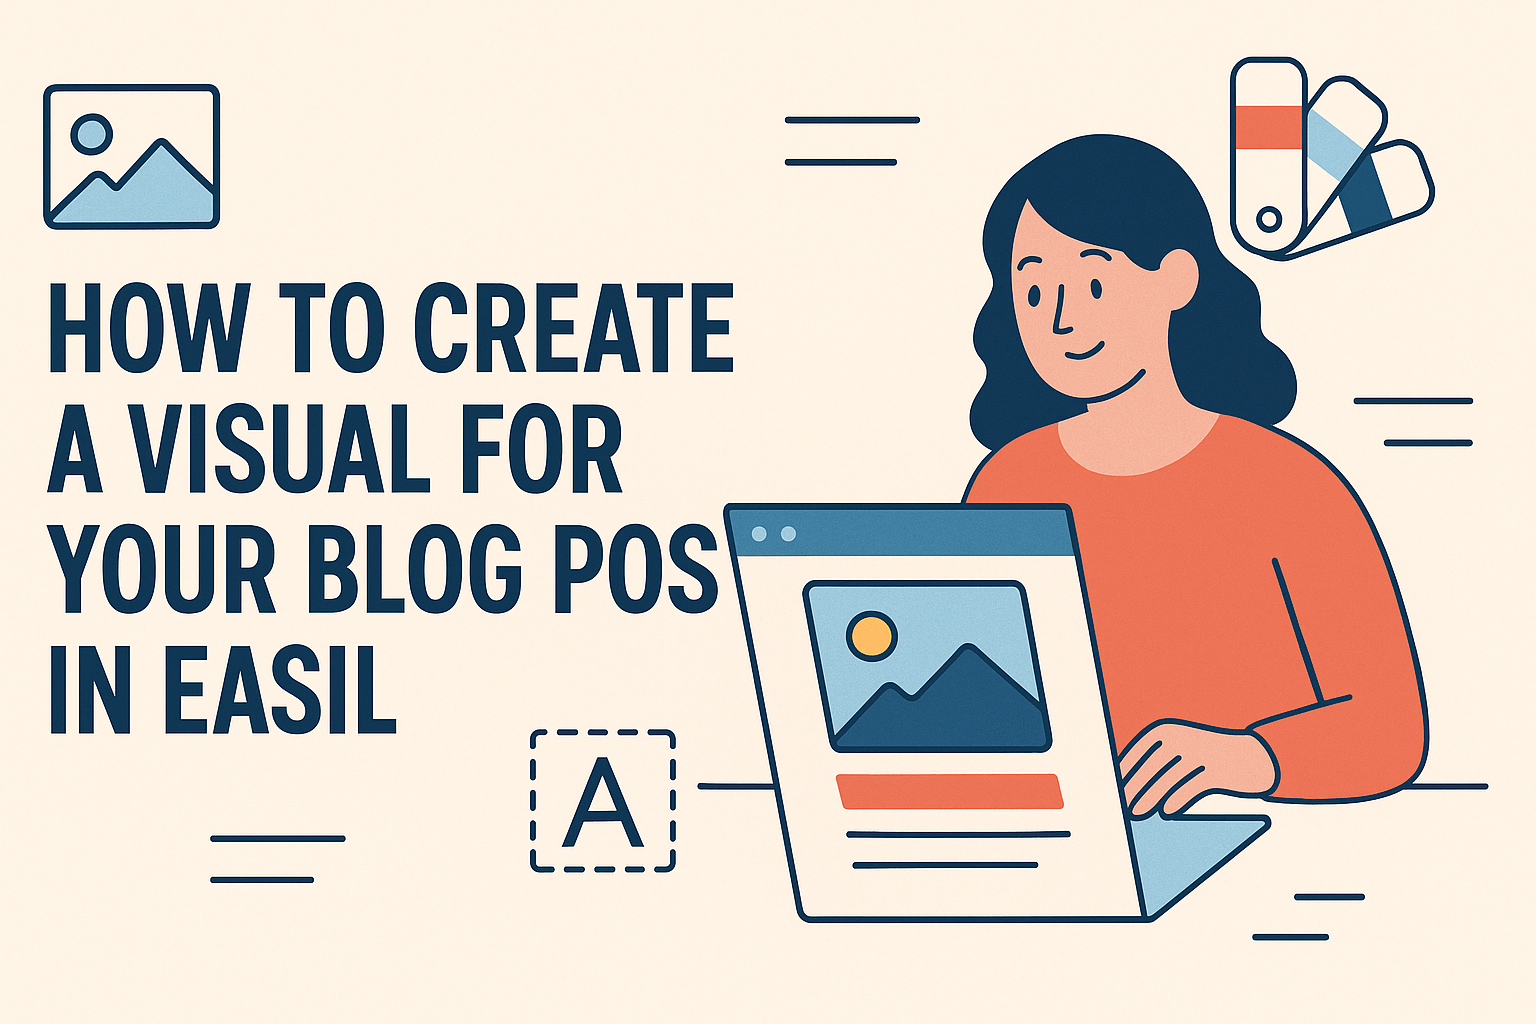
Creating visuals for a blog post can enhance its appeal and engagement.
Easil offers user-friendly tools that make designing stunning graphics simple and effective.
By utilizing templates and design features, anyone can easily craft eye-catching visuals that reflect their blog’s theme.
Many bloggers struggle with the technical aspects of design, but Easil simplifies this process.
With its drag-and-drop interface, it allows users to focus on creativity rather than getting lost in complicated software.
This means that even those with little design experience can still produce professional-looking images.
Visual content plays a significant role in capturing readers’ attention. By learning how to effectively use Easil, bloggers can elevate their content and communicate their message more clearly.
This guide will walk through the steps to create vibrant visuals that will attract and retain an audience.
Understanding Your Audience’s Preferences
Knowing what the audience likes can make a big difference in creating visual content. When a blogger understands their audience, they can choose the right images, colors, and styles that resonate.
Consider these key factors:
- Demographics: Age, gender, and location can influence what visuals appeal to them.
- Interests: What topics does the audience find engaging? Tailoring visuals around these can increase interest.
- Platform: Different social media platforms have distinct styles. It’s useful to know which visuals work best on each.
Ask yourself:
- What do they share on their social media?
- Do they prefer bright, bold colors or soft, muted tones?
- Are they drawn to specific types of imagery, like infographics or photographs?
Gather feedback from the audience to refine choices. Simple surveys or polls can help understand preferences better.
Great visuals not only attract attention but also help convey messages more effectively. When the visuals match their tastes, readers are more likely to stick around.
Choosing the Right Type of Visual Content
Selecting the right type of visual content can significantly enhance a blog post. Different visuals serve unique purposes and can engage the audience in different ways. Here are some effective options for visual content.
Infographics for Data Presentation
Infographics are excellent for breaking down complex data. They turn numbers and statistics into engaging visuals that are easier to understand. A well-designed infographic can summarize key points, making information more digestible.
To create an effective infographic, it’s important to focus on clarity. Use clear headings, bullet points, and visuals that help convey the message. This makes it easier for the reader to absorb the information at a glance.
Infographics also encourage sharing on social media. When readers find the information valuable, they are more likely to share it with their network, increasing the reach of the blog post.
Custom Illustrations to Showcase Creativity
Custom illustrations can bring a unique flair to a blog post. They allow for personal expression and can reflect the blog’s theme or tone. These visuals can capture attention and provide an artistic touch that stock images may lack.
Creating custom illustrations means an opportunity to stand out. Illustrations can be tailored to fit the specific context of the content. This makes the post more memorable for readers.
When designing custom illustrations, the style should match the blog’s voice. Consider using bright colors or playful designs for a light-hearted theme, or opt for minimalist styles for a more serious tone.
Photography for Authenticity
Authentic photography adds a personal touch to any blog post. Real images resonate with readers and can create a sense of trust. Whether it’s product photos, behind-the-scenes shots, or candid moments, they bring life to the content.
To choose effective photos, highlight relevant subjects. Quality matters here; well-lit, high-resolution images tend to attract more attention.
Using personal photos can increase engagement. Readers often connect more deeply with images that reflect genuine experiences, helping to foster a loyal audience.
Designing the Visual: Practical Steps
Creating an engaging visual for a blog post is an exciting process. It involves thoughtful choices about color schemes, fonts, and text placement, ensuring the end result resonates well with the audience.
Selecting Color Schemes and Fonts
When designing a visual, choosing the right color scheme is essential. Colors can evoke emotions and set the tone for the content. A harmonious palette can include 2-4 main colors that complement each other.
Considerations for Color Choices:
- Brand Colors: Use colors that reflect the brand’s identity.
- Contrast: Ensure text stands out against the background for easy readability.
- Accessibility: Choose colors that are friendly for color-blind users.
Fonts also play a critical role in conveying the message. He or she should pick fonts that are legible and align with the visual tone. Combining two or three fonts can add interest while keeping a professional appearance.
Using Templates and Brand Assets
Templates can greatly simplify the design process. Many platforms like Easil offer ready-made templates tailored for various types of content. These templates help maintain a consistent look without starting from scratch.
Tips for Using Templates:
- Customization: Adjust templates to fit specific needs while keeping key elements.
- Brand Assets: Incorporate logos and unique brand assets to enhance recognition.
- Save Time: Using templates allows for quicker designs without sacrificing quality.
Choosing the right template can make the visuals more appealing and cohesive.
Incorporating Text in Your Visuals
Text can be a powerful element in visuals, adding context and capturing attention. It’s important to strike a balance between text and imagery. Too much text can overwhelm viewers, so he or she should aim for clarity.
Text Placement Tips:
- Hierarchy: Use different font sizes to establish a clear hierarchy. Titles should be larger, while supporting text can be smaller.
- Alignment: Ensure that text is aligned properly, making it easy to read and aesthetically pleasing.
- Brevity: Keep the wording short and impactful. Use phrases that summarize key points without cluttering the design.
By carefully considering these aspects, the visual will not only attract attention but also effectively communicate the intended message.
Optimizing and Uploading Your Visual
When creating visuals for a blog post, optimization is crucial for performance and accessibility. Proper file formats, SEO practices, and consideration for all users help enhance the effectiveness of the visual.
File Formats and Compression
Choosing the right file format is important for clarity and load time. Common formats include JPEG, PNG, and GIF.
- JPEG is great for photographs due to its compression, but it may lose some quality.
- PNG retains image quality and transparency, making it ideal for logos or simple graphics.
- GIF works well for simple animations but has a limited color palette.
Compressing images reduces their file size without significant quality loss. Online tools like TinyJPG and Compressor.io can help with this. Smaller files lead to faster loading times, which improves user experience.
Visual SEO Best Practices
Optimizing visuals for search engines can drive more traffic to a blog. Start by naming images with clear, descriptive file names. Instead of “image1.jpg,” use “blue-sweater-fashion-trends.jpg.”
Adding alt text is another key practice. This text describes the image for screen readers and helps search engines understand the content. It should be clear and relevant, ideally containing keywords related to the post.
Additionally, including image captions can provide context for the visual and engage readers further. Search engines value this information, helping to boost visibility.
Accessibility Considerations
Accessibility is essential to ensure everyone can enjoy your content.
Using alt text, as mentioned, is a fundamental step. It helps visually impaired users understand the visuals.
Color contrast should also be considered.
Ensure that text is easy to read against the background. Tools like the WebAIM Color Contrast Checker can assist with this.
Finally, keep in mind that videos should include captions or transcripts.
This makes the content available to those who are deaf or hard of hearing.
These practices make the blog more inclusive and user-friendly.