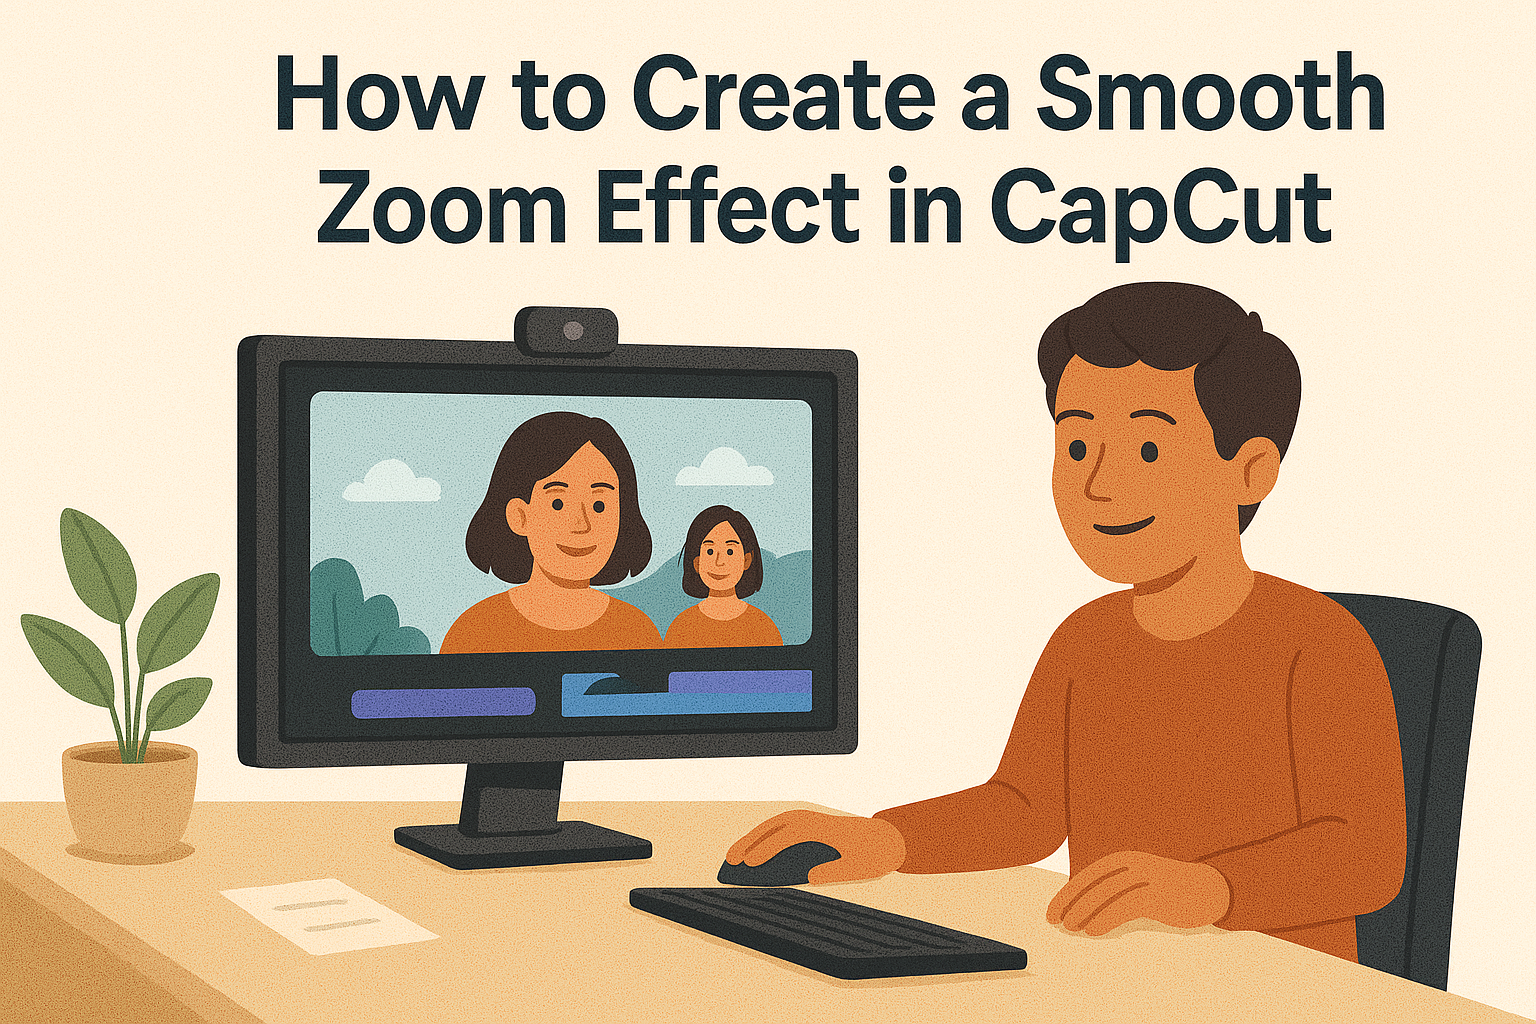
Creating a smooth zoom effect in CapCut can elevate the quality of any video project. With just a few simple steps, anyone can achieve a professional-looking zoom that adds depth and engagement to their footage. Whether it’s for social media clips, vlogs, or creative video presentations, mastering this technique is a valuable skill.
Many users enjoy CapCut for its user-friendly interface and powerful features. This article will guide readers through the process of adding smooth zoom effects, making it accessible even for beginners. By using keyframes and easy adjustments, the zoom can enhance storytelling in videos.
Understanding how to implement this effect can transform static visuals into dynamic scenes. With practice, anyone can create captivating content that keeps viewers interested from start to finish. Let’s dive into the steps to master the smooth zoom effect in CapCut!
Getting Started with CapCut
CapCut is a user-friendly video editing app that offers a variety of powerful features. This section will cover its main tools and how to install the app on different devices, helping anyone to get started with their video projects.
Overview of CapCut Features
CapCut provides a wide range of features that make editing videos fun and easy. Some key features include:
- User-Friendly Interface: The layout is simple, allowing newcomers to navigate with ease.
- Transitions: Different effects, like the smooth zoom effect, enhance the visual appeal of videos.
- Text and Stickers: Users can add text, emojis, and stickers to personalize their projects.
- Audio Editing: CapCut allows users to add music and sound effects to enhance their videos.
- Filters and Effects: A variety of filters can improve video quality and style.
These features make CapCut suitable for both beginners and experienced editors, ensuring creative flexibility and ease of use.
Installing CapCut on Your Device
Installing CapCut is a straightforward process. It is available for both mobile and PC users. Here’s how to get started:
-
For Mobile Users:
- iOS: Open the App Store, search for “CapCut,” and tap “Get” to download.
- Android: Go to the Google Play Store, search for “CapCut,” and click “Install.”
-
For PC Users:
- Visit the official CapCut website.
- Click on the download link for the PC version and follow the instructions.
Once installed, users can create an account or log in to start exploring all the features CapCut has to offer.
Understanding Zoom Effects
Zoom effects can enhance video content by drawing attention to key elements. Different types of zoom effects serve unique purposes, while knowing when to use them can significantly impact the viewer’s experience.
Types of Zoom Effects
There are several types of zoom effects in video editing. The most common include:
-
Smooth Zoom In: This effect gradually brings the viewer closer to a subject. It is great for emphasizing details or creating intimacy.
-
Smooth Zoom Out: This effect pulls the viewer away from the subject. It can provide context to a scene or show a broader landscape.
-
Instant Zoom: The focus shifts abruptly to a new scene or detail. This grabs attention quickly but may feel jarring if overused.
Each type has its place. Smooth zooming tends to feel more natural, while instant zoom can energize the pace.
When to Use Zoom Effects
Knowing when to use zoom effects can enhance storytelling. A smooth zoom in works well during emotional moments, helping viewers connect with the character or action.
Conversely, a smooth zoom out can be effective in establishing shots. It provides context, making viewers aware of the surroundings.
Instant zooms are best for action scenes or dramatic reveals. They heighten excitement and can create suspense.
Using zoom effects aptly can elevate video quality and viewer engagement. They guide attention and evoke emotions, making the content more compelling.
Preparing Your Video Clip
Getting your video ready for editing in CapCut is essential for creating a smooth zoom effect. This involves importing the video and making any basic edits to ensure it’s perfect for the final touches.
Importing Your Video into CapCut
To begin, the user should launch CapCut on their device. Once open, they can click on the “New Project” button.
Next, they should select “Import” to choose the video clips they want to work with. The application will allow the user to browse through their device’s gallery or file folders.
After selecting the desired video, tapping “Add” will import the clip into the timeline. This is a crucial step, as it sets the stage for all future edits.
Basic Video Editing
After importing, users should conduct basic edits to enhance their video. This may involve trimming unnecessary parts or adjusting the video’s pace.
CapCut provides tools for cutting clips easily. Users can select the video in the timeline and adjust the handles to keep only the needed sections.
Additionally, users can enhance brightness, contrast, and color to improve the video’s overall look. This groundwork will create a better platform for the smooth zoom effect later on.
Making these adjustments can save time and improve the quality of the final product.
Adding the Smooth Zoom Effect
To create a smooth zoom effect in CapCut, the user must first choose the right video segment. Next, applying the zoom effect properly will enhance the visual impact of the video. Here’s a guide to help through the process.
Selecting the Desired Video Segment
The first step in adding a smooth zoom effect is to select the video clip. The user should open CapCut and import the desired video. By reviewing the footage, they can pinpoint the segment where the zoom will best enhance the content.
Once the video is chosen, tap on it to access editing options. Users should then play the video to determine the exact point for the zoom. Marking this spot can prove beneficial in ensuring a smooth transition when applying effects later on.
Applying the Zoom Effect
After selecting the video segment, it’s time to apply the zoom effect. Users need to find the “Zoom” option in the editing tools. It might be listed under effects or filters, depending on the interface version.
Next, drag the effect to the timeline at the point marked earlier. Adjust the duration and intensity of the zoom to achieve that smooth look. Shorter durations usually lend a more natural feel, so consider testing a few options.
To finalize, users can preview the zoom effect. Making further adjustments might be necessary before exporting the video. Following these steps can lead to a polished and engaging final product.
Customizing the Zoom Effect
Customizing the zoom effect in CapCut can enhance the visual appeal of a video. Key adjustments include modifying the zoom speed, setting start and end points, and adding motion to make the effect more dynamic.
Adjusting Zoom Speed
To adjust the zoom speed, the user should first select the clip in the timeline. They can then find the speed settings in the editing options. Typically, the user can choose from options like fast, normal, or slow speeds.
Using a slower zoom speed can create a more dramatic effect, while a faster zoom can add excitement. If a user wants even more control, they may consider using keyframes to set specific speeds at different points in the clip. This allows for fine-tuning the zoom, making it feel even more natural or fitting for the scene.
Setting Start and End Points
Establishing the start and end points is crucial for a smooth zoom effect. The user can do this by selecting the initial frame where the zoom begins. After that, they should decide where the zoom will end, usually on a focal point in the video.
To set these points, the user can drag the zoom handles in the preview window. It’s important to ensure that the transition feels seamless. This means the zoom should start and end at a natural spot that makes sense within the context of the video.
Adding Motion to the Zoom
Adding motion to the zoom enhances its visual impact. Users can incorporate additional movements, like panning, along with the zoom. This makes the effect more engaging.
In CapCut, users can apply motion by selecting the animation options. They can choose to pair the zoom with subtle movements to create a more immersive effect. For example, a slight left or right pan during the zoom can draw attention to important details in the scene, making the video more dynamic and visually interesting.
Previewing and Fine-Tuning
In this section, the focus is on the importance of reviewing the zoom effects in CapCut. Watching the effects in action and making precise edits can significantly enhance the final video quality. These steps ensure the zoom looks smooth and meets the creator’s vision.
Watching the Zoom in Action
After adding the smooth zoom effect, it’s essential to preview how it plays out in the entire video. To do this, the user can simply hit the play button on the timeline. Observing the zoom helps to spot any issues, such as jerky movements or awkward timings.
If the user finds the zoom transition too fast or too slow, adjustments can be made. Taking the time to watch this part allows for identifying any necessary changes before moving on to details.
Using the preview feature ensures that the effect fits well with the overall flow of the video. This step makes it easier to create a polished and professional-looking piece.
Making Precision Edits
After previewing, fine-tuning the zoom effect might be necessary. Users can adjust keyframe positions to refine how the zoom appears. A slight shift in keyframes can make a big difference in smoothness.
CapCut allows users to drag keyframes for better control. This feature enables more precise adjustments. The user can zoom in tighter or ease it out more gradually based on the video’s content.
It’s also helpful to listen for any cuts or transitions around the zoom. Ensuring that these elements are seamless will make the video feel more cohesive. With careful fine-tuning, the user can achieve the perfect zoom effect.
Exporting Your Final Video
After creating a smooth zoom effect in CapCut, it’s time to export the final product. The right export settings will ensure that the video looks great on any platform. This section will cover how to choose export settings and the steps for saving and sharing the video.
Choosing Export Settings
To start, the user should select the desired resolution. Common options include 720p, 1080p, and even 4K, depending on the project’s needs. Higher resolutions may result in larger file sizes but offer better quality.
Next, choose the frame rate. Popular choices are 30 fps or 60 fps for smoother motion. It’s essential to match the frame rate with that of the original video for consistency.
Then, decide on the format. Common formats include MP4, which is widely supported. CapCut also allows users to adjust the bitrate. A higher bitrate improves quality but can increase file size.
Saving and Sharing Your Video
Once the settings are selected, click on the export button. The video will be processed, which may take some time, especially for longer projects.
After exporting, the user can preview the video before sharing. If everything looks good, they can save it directly to their device.
CapCut also provides options to share directly on platforms like YouTube or TikTok. This allows easy access for the user to showcase their video. Engaging graphics or captions can help attract viewers.