Creating a website mockup can feel daunting, but it doesn’t have to be.
Gravit Designer offers a user-friendly interface that makes designing mockups straightforward. With just a few tools and steps, anyone can create a clear and attractive website mockup that effectively communicates their vision.
To kick off the design process, users should focus on understanding the layout and elements they want to include.
Gravit Designer provides various features that help in placing images, text, and buttons seamlessly. By using these tools creatively, designers can bring their mockup ideas to life quickly and efficiently.
Exploring Gravit Designer’s options will lead to a satisfying experience in building a visual representation of a website. It allows for easy adjustments and offers plenty of resources to enhance any design.
With this guide, readers will find it enjoyable to create their own simple website mockup in no time.
Getting Started with Gravit Designer
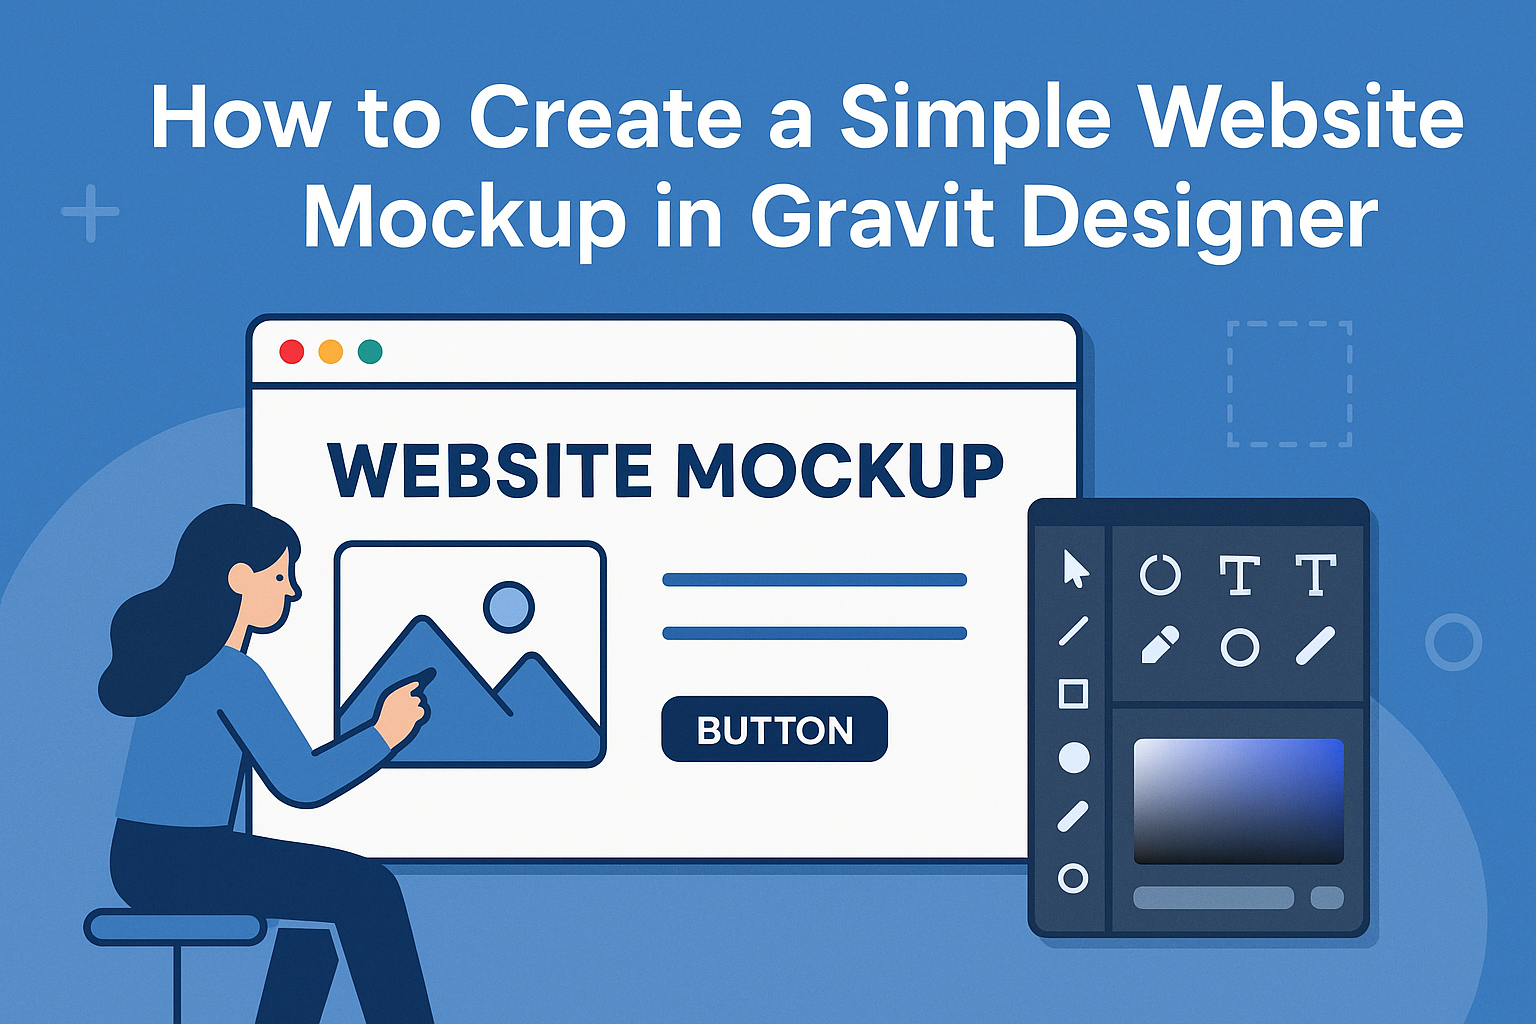
Gravit Designer is a powerful tool for creating website mockups.
Learning to navigate its interface and setting up a canvas are essential first steps for any user who wants to create an effective design.
Understanding the Interface
The Gravit Designer interface is user-friendly and intuitive.
At the top, users will find the menu bar, offering options like File, Edit, and View. Below that, the toolbar contains essential tools like the selection, shape, and text tools.
On the right side, the Inspector panel provides settings for any selected object. Users can adjust properties such as color, size, and opacity here. The layers panel on the left helps organize all elements, making it easy to manage complex designs.
Familiarity with these components allows users to navigate Gravit Designer with ease and efficiency.
Setting Up Your Canvas
To begin, users need to create a new document. Click on File then New, where various presets will appear.
Choosing a preset ensures the canvas is the right size for web design, such as desktop, tablet, or mobile formats.
After selecting a preset, the canvas is ready. Users can adjust the dimensions in the properties panel.
It’s essential to set the right background color for the mockup; this can be done quickly in the Inspector panel.
Additionally, enabling grid lines can help in aligning elements accurately. To do this, go to View and select Show Grid. This setup paves the way for creating a clear and organized website mockup.
Designing the Website Layout
Creating a website layout involves several important elements. Each section must work together to provide a clear and attractive design. This includes the header, navigation bar, main content area, and footer.
Creating the Header
The header is the first thing visitors see. It should include the website’s logo and title prominently. He or she can also add a tagline that explains what the site offers. Keeping the header consistent across all pages is important for good branding.
In Gravit Designer, use the rectangle tool to create a solid color background for the header. Choose colors that reflect the brand’s identity. Position the logo on the left and the title next to it. Ensure the font is readable, even on smaller screens.
Designing the Navigation Bar
The navigation bar helps users find their way around the website. It should be easy to use and clearly labeled. Including links to important pages such as Home, About, and Contact will guide visitors effectively.
In Gravit Designer, it’s best to place the navigation bar just below the header. Use horizontal layout for links, ensuring they are evenly spaced. Implement hover effects to make it more interactive. This feedback can help users know where they are clicking.
Adding Main Content Area
The main content area is where the website shares its key information. This could be text, images, or videos that relate to the website’s purpose. It’s important to balance visuals with text to keep the audience engaged.
Start by creating a large rectangle in the center of the design. This will serve as the main content area. Use grid layouts to organize text and images for clarity. Large images can draw focus, while well-placed text helps convey the message.
Footer Design
The footer holds important information that visitors may need. This may include copyright details, social media links, and contact information. It serves as the final touchpoint on each page and should be consistent.
In Gravit Designer, the footer can be a simple bar at the bottom. Use a darker color to differentiate it from the main sections. List social media icons and ensure they are clickable. Including a small copyright notice adds professionalism to the design.
Enhancing Your Mockup
To create a visually appealing mockup, attention to detail in text, images, and colors is essential. By carefully selecting typography, incorporating relevant images and icons, and applying an effective color scheme, the design becomes more engaging and functional.
Working with Text and Typography
Typography plays a critical role in any mockup. It helps convey the message and sets the brand’s tone. When selecting fonts, it’s important to choose those that are easy to read.
He or she should consider font size, weight, and style to create contrast. For instance, using a bolder font for headings can help draw attention.
In Gravit Designer, it’s simple to adjust the text attributes. They can add spacing between letters and lines to ensure the text is visually pleasing. Keeping the number of different fonts to a minimum helps maintain a clean and professional look.
Incorporating Images and Icons
Images and icons enrich the design and enhance understanding. They can illustrate ideas and guide users through the experience.
Choosing high-quality images is vital. They should be relevant and support the content visually. Icons can be used to represent common actions, like sharing or liking, making the layout more intuitive.
Gravit Designer offers features to easily drag and drop images into the mockup. Adjusting the size and position is straightforward. She or he should ensure the icons align with the overall style of the mockup for consistency.
Applying Colors and Effects
Color selection greatly influences the mockup’s impact. A well-chosen color palette can evoke emotions and guide user interactions.
Keeping the color scheme consistent with branding is crucial. He or she can start with a few primary colors and use shades to create depth.
Effects like shadows or gradients can add dimension but should be used sparingly. These elements help draw attention to important features without overwhelming the design. Adjusting the opacity of the colors can also enhance the overall visual appeal, making the design stand out even more.
Finalizing and Exporting
Before wrapping up a design project, it’s essential to take a close look at the mockup and prepare it for sharing. This stage involves reviewing the design for any final adjustments and then exporting the mockup in a suitable format.
Reviewing Your Design
In this step, the designer should carefully examine the entire mockup. It helps to zoom in and check for any inconsistencies or errors, such as misaligned elements or repetitive text.
Using the grid view can be helpful in ensuring everything is properly aligned. The designer might also want to gather feedback from a colleague or friend. Fresh eyes can spot details that the original designer may have missed.
Tip: Make a checklist of key items to review, such as:
- Alignment of elements
- Color consistency
- Font style and size
- Image placements
Taking time for this review can prevent issues later on.
Exporting the Final Mockup
Once the design is polished, it’s time to export the mockup. Gravit Designer allows for easy export in various formats, including PNG and JPEG.
To export, the designer should select the artboard or objects they want to save. Then, they can go to the File menu and choose Export.
It’s essential to set the right resolution; a standard 72 DPI is suitable for web use.
Important Formats:
- PNG: Great for images with transparency
- JPEG: Best for photographs and images without transparency
After exporting, checking the final files ensures they meet the project needs.