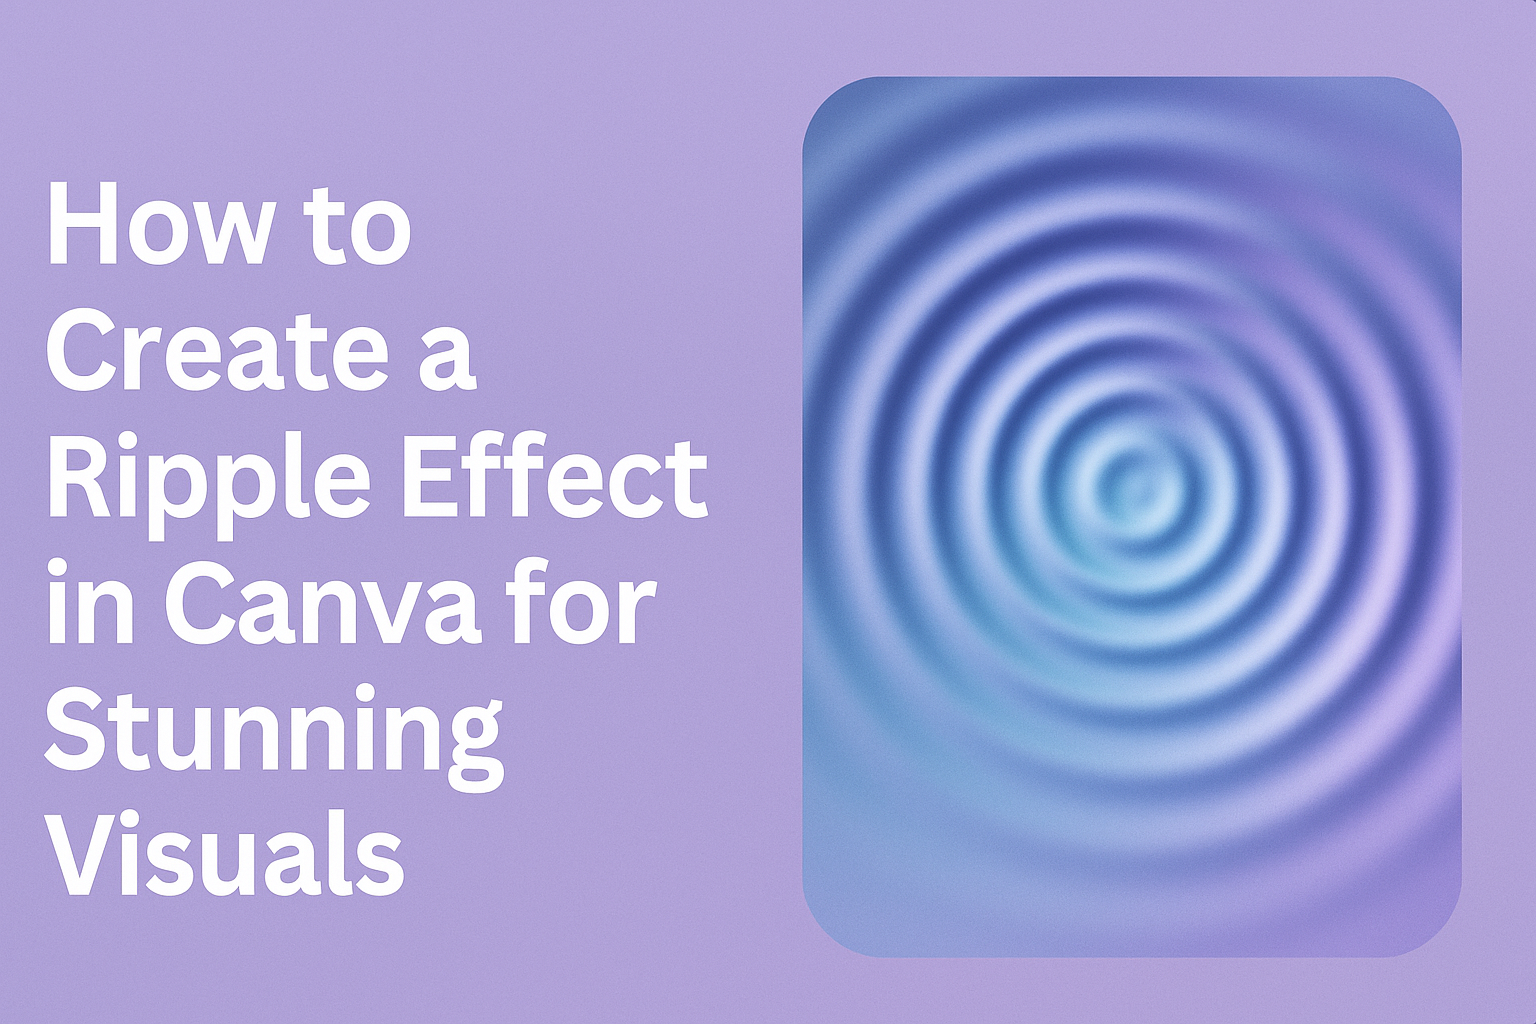
Creating a ripple effect in Canva can elevate any design project, making it more dynamic and visually appealing.
Anyone can achieve this effect by using Canva’s various graphic elements and tools. With a little creativity and guidance, users can transform simple images or text into engaging visuals that catch the eye.
Many people find that incorporating unique effects like ripples adds depth to their designs, setting them apart from the rest.
By following straightforward steps, users can learn how to manipulate elements in Canva to create stunning ripple effects with ease. This method not only enhances aesthetics but also sparks interest in any project.
Whether for social media posts, presentations, or personal projects, mastering the ripple effect can make a significant difference. With the right techniques, anyone can turn ordinary designs into extraordinary creations that leave a lasting impression.
Getting Started with Canva
Canva is a user-friendly design tool that allows individuals to create stunning visuals easily. Getting set up is simple, whether registering for a new account or logging into an existing one.
After logging in, navigating the interface is key to designing effectively.
Registering or Logging in
To start using Canva, a user must either register or log in.
New users can visit the Canva website and click on “Sign up.” They have options to register using an email address, Google account, or Facebook account. After filling out the necessary information, they can confirm the account through an email link.
For those with an existing account, the process is just as easy. A user simply clicks on “Log in” and enters their email and password.
Once logged in, the user can access all the design features Canva offers. This is the first step to unleash creativity.
Navigating the Canva Interface
After logging in, a user will see the Canva dashboard. It contains several options, such as templates, projects, and folders. This dashboard makes it easy to start a new design or continue working on a saved project.
On the left side, users will find a menu with options like “Templates,” “Photos,” and “Elements.” These categories help users quickly locate resources for their designs.
At the top, there is a search bar for finding specific elements or templates instantly.
Once the user selects a template, the design workspace opens. Here, they can customize elements like text, colors, and images. Familiarizing themselves with the layout will make the design process smoother and more enjoyable.
Preparing Your Canva Project
Before creating a ripple effect, it’s essential to set up the design properly. This involves choosing the right template and understanding the various design elements Canva offers. Both steps ensure a smooth workflow and a visually appealing final product.
Choosing a Template
Selecting the right template makes a big difference. Canva provides many templates for different projects, such as social media posts, presentations, or flyers.
Users can browse categories or use the search tool to find a specific theme.
Once a template is selected, it can be customized to fit individual needs. Adjust colors, fonts, and layouts to match the desired style. This saves time and provides a solid starting point for adding the ripple effect.
Understanding Canva’s Design Elements
Canva has various design elements that enhance any project. Understanding tools like images, shapes, and text is crucial.
Users can find these elements in the sidebar. They can drag and drop items into their design and resize them as needed.
Paying attention to layers is also important. This allows users to place items in front of or behind others, creating depth.
Using grids can help align elements neatly. A clean layout contributes to a polished look, making the ripple effect stand out more effectively.
Creating the Ripple Effect
Creating a ripple effect in Canva can enhance designs and capture viewers’ attention. This process involves selecting the right elements, applying the effect correctly, and adjusting motion settings for the best results.
Selecting the Right Elements
To begin, choosing the right elements is crucial. Users should look for images or shapes that evoke a sense of movement or fluidity.
Recommended Elements:
- Water images often work well.
- Organic shapes like waves or circles can enhance the effect.
When selecting text, consider using bold fonts. This adds more impact when the ripple effect is applied.
Choosing complementary colors for the background and the ripple effect will also help make the design pop. Ensuring that elements are of high quality is essential, as it contributes to the final look of the design.
Applying the Ripple Effect
Applying the ripple effect in Canva is simple. Once the desired element is selected, users should navigate to the “Effects” panel.
- Select the Element: Click on the image or text to access editing options.
- Choose the Effect: Scroll through the effects and select the wave distortion. This will create the ripple look.
Users can adjust the intensity of the effect to find the right balance. A subtle ripple can enhance the design without overwhelming it, while a more pronounced effect can grab attention effectively.
Experimenting with various settings will help find the perfect application for each design.
Adjusting Motion Settings
Finally, adjusting the motion settings can refine the effect. This can add dynamic qualities to the ripple.
- Speed: Change the speed of the effect to create a smooth flow or a more dramatic impact.
- Direction: Adjust the direction of the ripple for added interest.
By fine-tuning these settings, users can give their designs a unique and personalized touch.
Balanced adjustments will lead to a more polished and engaging design that stands out.
Finishing Touches
After creating a ripple effect in Canva, it’s important to refine the design. Taking time to review and finalize the work can enhance its overall quality. Here are the steps to make sure the creation looks just right.
Reviewing Your Design
In this step, he or she should closely examine the design for any inconsistencies. Checking elements such as colors and fonts is crucial. Each part should match the intended style and purpose.
Using the zoom feature can help in spotting small errors. It is also wise to compare the design with the original idea.
Making adjustments might involve changing the ripple effect’s size or placement.
Feedback from others can provide new insights. Asking a friend or colleague for their opinion might highlight areas that need improvement. Small changes can make a big difference in how the final product is perceived.
Saving and Sharing Your Creation
Once you’re satisfied with the design, it’s time to save the work. Canva allows options for different file formats.
Choosing the right format is essential based on how the design will be used. If it’s for print, saving as a PDF is recommended. For social media, PNG or JPG formats work well.
Before sharing, make sure to preview the design to check how it appears.
To share the creation directly from Canva, use the “Share” button. This feature offers options to send via email or link. Posting directly to social media platforms is also possible.
Being mindful of privacy settings is important when sharing publicly.