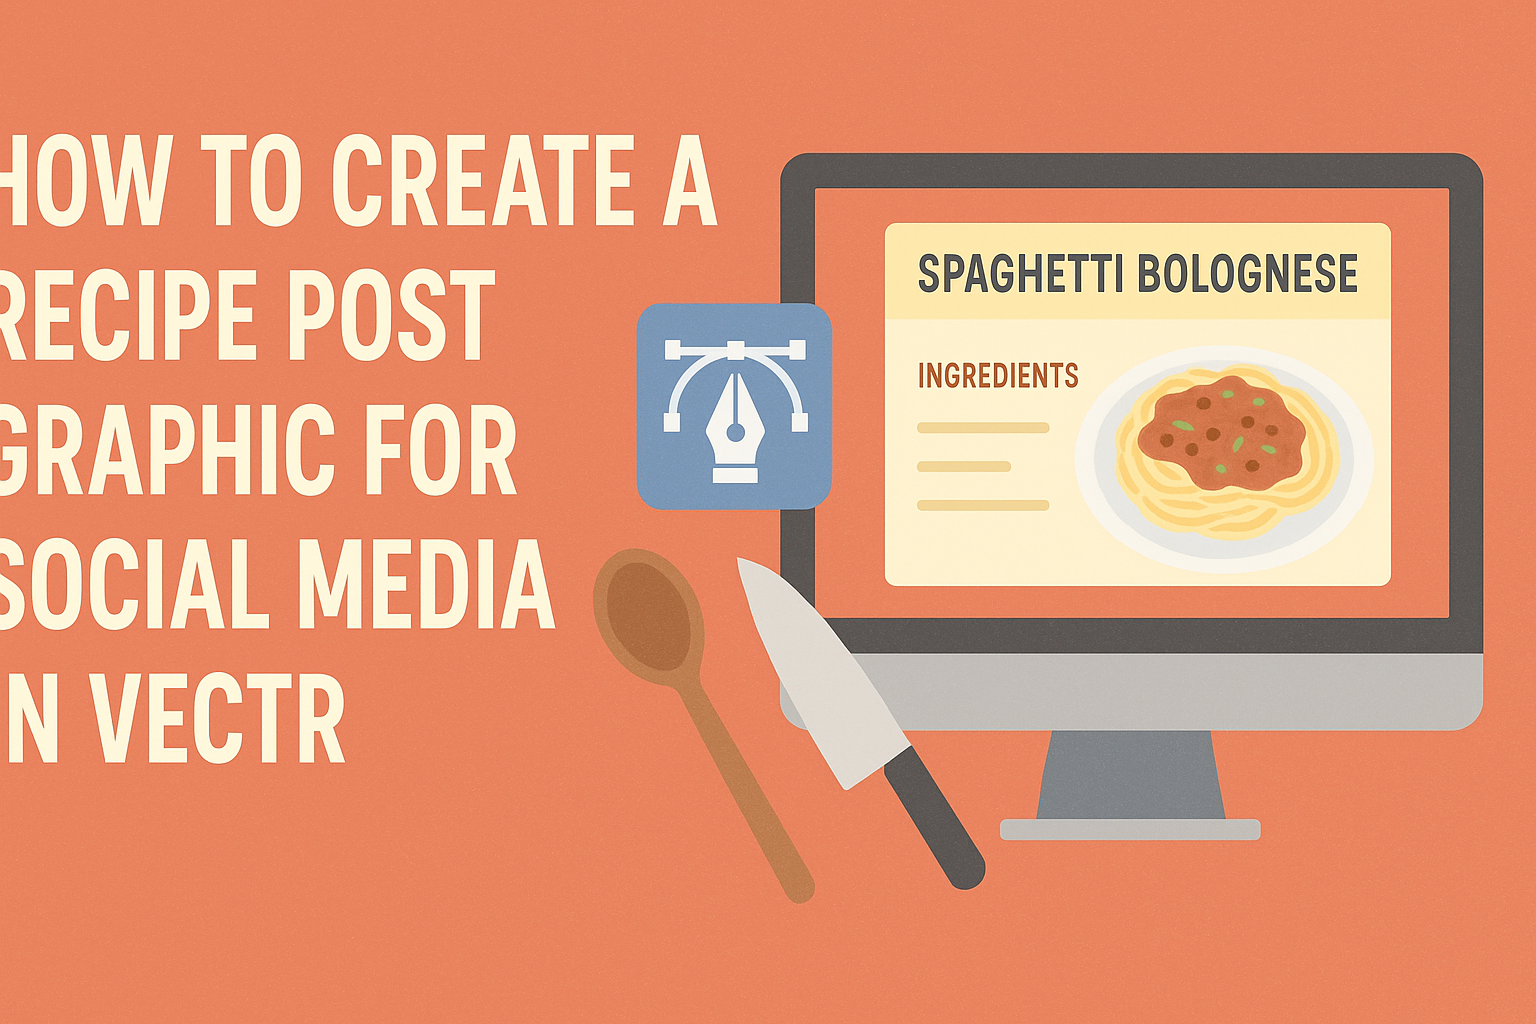
Creating an eye-catching recipe post graphic for social media can be a fun way to share cooking ideas. With Vectr, anyone can design stunning visuals that attract attention and enhance engagement.
Simple steps and user-friendly tools make it easy for beginners and experienced designers alike to create beautiful graphics.
In today’s digital world, a well-designed recipe graphic can help a dish stand out among countless posts. This guide will walk readers through the process of using Vectr to create a recipe graphic that is both appealing and effective. By following these steps, they can present their culinary creations in a way that garners interest and shares joy with others.
Getting Started with Vectr
Vectr is a user-friendly graphics editor that allows anyone to create vector graphics easily. Knowing how to navigate its interface and set up the workspace is essential for making engaging recipe post graphics.
Understanding Vectr’s Interface
Vectr has a clean and intuitive interface. When the user opens Vectr, they see the main dashboard.
This dashboard consists of a menu bar at the top and a side panel for tools. Important tools include shapes, text, and layers.
The canvas area is where the user will create their designs. To access various options, users can click on icons in the menu bar.
Each tool or option has a simple name and icon. This makes it easy for users to find what they need without confusion. Taking time to explore the interface can help users feel more comfortable as they design.
Setting Up Your Workspace
Setting up the workspace is a crucial first step in creating graphics. After logging in, the user should click “Create File” in the top left corner. This will open a new canvas ready for design.
Next, it’s important to set the page size to match social media needs. Users can choose from preset sizes or create custom dimensions.
Arranging the workspace also involves positioning the side panel for easy access to tools. Users can drag and drop windows to create an ideal layout.
A well-organized workspace enables smoother workflow and creativity, making graphic design more enjoyable.
Designing Your Recipe Graphic
Creating an engaging recipe graphic involves several key steps. It’s essential to choose the right dimensions, a harmonious color scheme, appealing text styles, and relevant images. Each of these elements contributes to making the graphic visually attractive and effective for social media sharing.
Choosing the Right Dimensions
The dimensions for a recipe graphic depend on the social media platform. Common sizes include:
- Instagram: 1080 x 1080 pixels for square posts.
- Facebook: 1200 x 630 pixels for shared images.
- Pinterest: 1000 x 1500 pixels for vertical pins.
Using these dimensions ensures the graphic displays well without cutting off important details. Designing in a large format also allows for easier resizing later. Always consider the platform’s specifications to maximize engagement.
Selecting a Color Scheme
A thoughtful color scheme can set the mood for the recipe graphic. It’s best to choose colors that either complement the dish or evoke seasonal themes. For instance, earthy tones work well for autumn recipes, while bright colors suit summer dishes.
Tools like Adobe Color can help create a palette. Aim for 2-3 main colors and 1-2 accent colors. This balance keeps the design cohesive and draws the viewer’s eye to key areas, like the recipe title or main image.
Adding Text and Typography Tips
Text is crucial for conveying the recipe details clearly. Choose fonts that are easy to read and match the graphic’s theme. A combination of fonts can add interest; one for the title and another for the body text works well.
It’s recommended to use a bold font for the title and a simpler font for instructions. Ensure the text contrasts well with the background for better visibility.
Keep the text short and to the point for easy reading, especially on smaller screens.
Importing Images and Graphics
Images of the dish can significantly enhance the graphic’s appeal. When importing images, opt for high-resolution pictures to maintain quality. Place the main dish image centrally to attract attention.
Incorporate additional graphics or icons, like utensils or ingredient illustrations, to add flair. Ensure these elements don’t clutter the design—balance is key.
Using a transparent background for icons can help them blend seamlessly into the graphic, maintaining visual harmony.
Fine-Tuning and Final Touches
This stage is crucial for enhancing the appeal of a recipe post graphic in Vectr. Focus on layer adjustments and the application of filters to bring out the best visual elements.
Adjusting Layer Positions
Positioning layers correctly is vital for a polished look. He should start by selecting each layer and moving it to create a balanced composition. This can involve layering text over images or adjusting the placement of elements for better visibility.
Using the alignment tools in Vectr helps maintain consistency. They can align layers to the left, center, or right, making the design look more professional.
Encouraging her to experiment is important; slight changes in layer position can create a dramatic effect. Grouping related elements together, such as text and graphics, can simplify the design and make it more cohesive.
Applying Filters and Effects
Filters and effects can add character to a recipe post graphic. He should explore Vectr’s various options, such as shadows and gradients, to create depth.
Applying a subtle shadow behind text can enhance readability. This small change often makes the text pop against the background, drawing attention where needed.
Using color filters can also unify design elements. For instance, a warm filter can evoke a feeling of comfort, which is great for food posts.
Encourage them to keep effects minimal to maintain clarity. Overdoing it can distract the viewer from the recipe itself, so balance is essential.
Sharing Your Recipe Graphic
Sharing a recipe graphic effectively can enhance engagement and reach on social media. Here are steps on how to export the design and best practices to make the most of the graphic’s visibility.
Exporting Your Design
When a design is complete in Vectr, saving it properly is crucial. First, select the File menu and choose Export.
Users can select different file formats, such as PNG or JPEG, which are ideal for web use. PNG is best for maintaining quality with transparency, while JPEG is suitable for standard images.
Next, adjust the resolution settings for optimal clarity on social platforms. A resolution of 72 DPI is standard for web images, but higher settings may be necessary for platforms that support higher-quality visuals.
Once the settings are adjusted, click Export and name the file accordingly for easy identification later.
Best Practices for Social Media Sharing
To maximize engagement, know the best formats for different platforms.
For instance, square images (1080×1080 pixels) work well on Instagram. Meanwhile, rectangular graphics (1200×630 pixels) are best for Facebook and Twitter.
Use hashtags related to food, recipes, and cooking to boost visibility.
Engaging captions can also attract more views. Tagging relevant accounts and using location tags can further enhance reach.
It’s beneficial to share at peak times when the audience is most active.
This varies by platform, so checking analytics might be helpful. Experiment with posting times to find what works best for each audience.
Incorporating these strategies can make recipe graphics more appealing and widely seen.