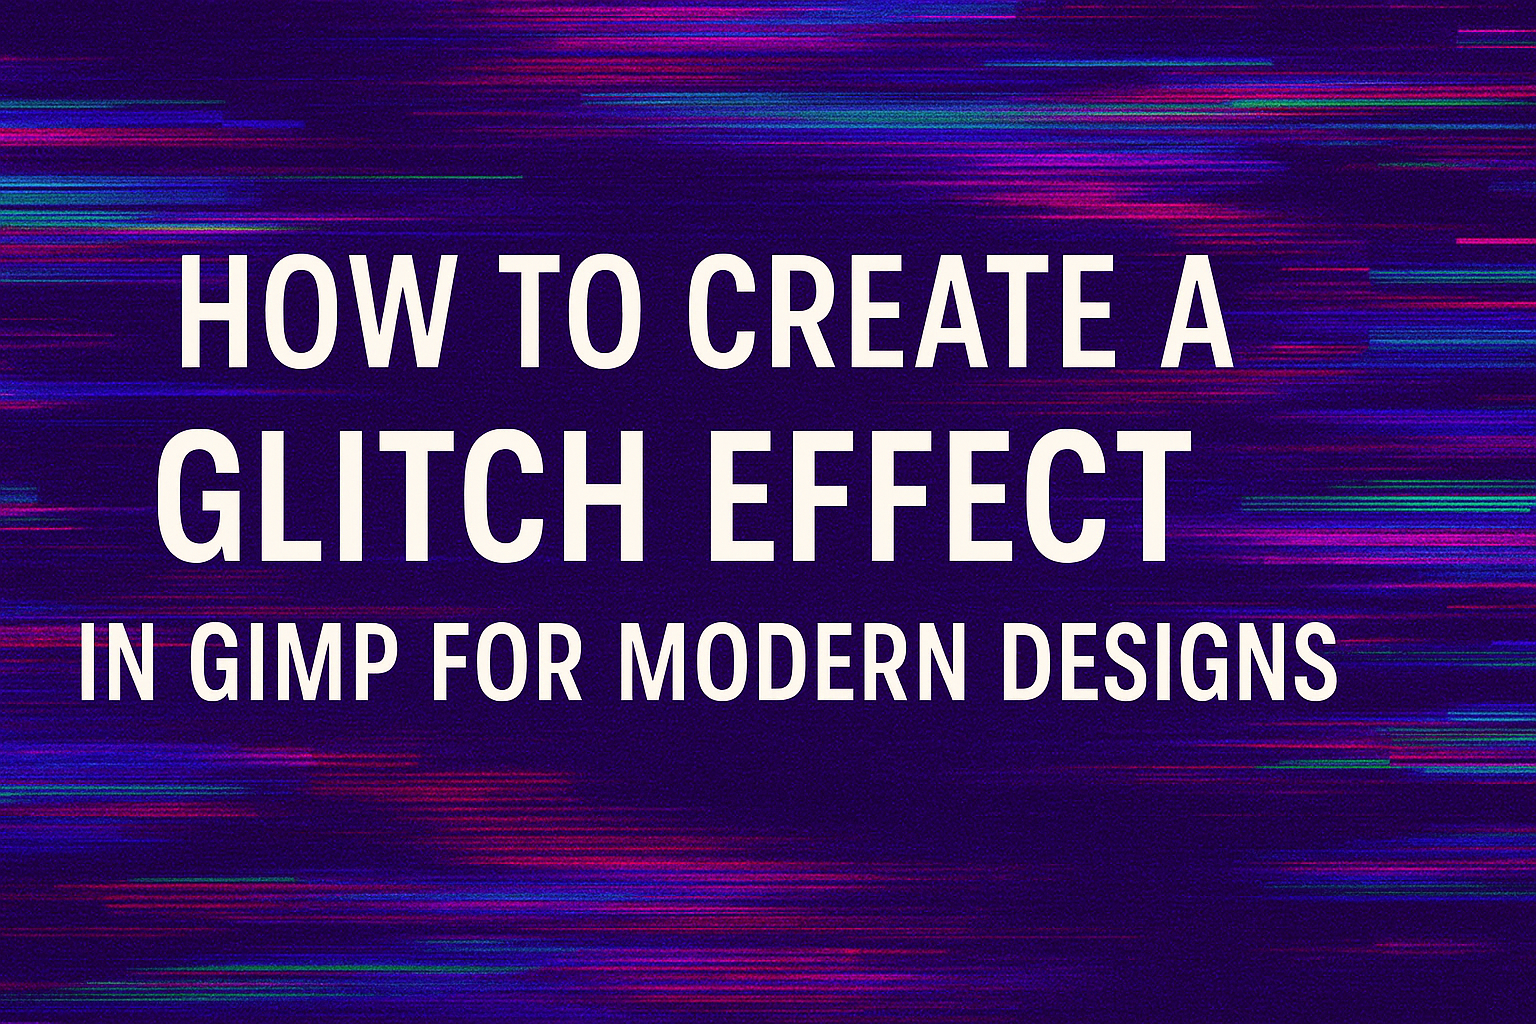
Creating a glitch effect in GIMP can add an eye-catching twist to modern designs. This visual style, reminiscent of digital errors and retro aesthetics, appeals to both designers and audiences drawn to its unique look.
Incorporating a glitch effect involves a few straightforward steps that are easy to follow for beginners. Start with selecting the right tools within GIMP to manipulate image layers. Designers can experiment with different glitches, adjusting colors and distortions to achieve desired results.
The glitch effect is versatile, whether applied to text or images, it adds a dynamic element to any project. Learning how to utilize this effect can lead to more engaging designs, especially for digital media and artwork. Discovering the ins and outs of GIMP like using features such as layer distortion can be a rewarding experience for any creative professional.
Understanding Glitch Art
Glitch art showcases beauty in chaos and errors, embracing randomness to transform ordinary designs. It disrupts traditional views of perfection and embraces imperfections as an aesthetic choice.
History of Glitch Aesthetics
Glitch art has roots in the early days of digital technology. In the past, errors in software or hardware often led to unintentional art. Artists began to see the potential in these digital mistakes. They embraced them as a form of expression. This art form gained popularity in the 1990s and early 2000s. Artists started to purposefully recreate these errors. The culture surrounding glitch art emerged alongside cyberpunk themes.
Digital pioneers experimented with computers and video equipment. They altered code and manipulated visuals. Their goal was to achieve unexpected results. These actions laid the groundwork for today’s glitch aesthetics. As technology advanced, so did the techniques, leading to varied styles and applications.
Glitch Effect in Contemporary Design
Today, glitch effects are highly popular in modern design. They are used in digital art, advertising, and multimedia projects. Designers mix traditional elements with glitch to create striking visuals. Glitch effects can convey a sense of movement or disrupt expectations. They can add an edgy feel to a design. Because of their versatility, they fit many styles and themes.
Creating glitch effects often involves using software like GIMP or Audacity. Artists can manipulate images, sound, and video to achieve desired effects. This process allows them to create something entirely unique. The popularity of glitch aesthetics continues to grow. They add interest and depth to the world of design. These effects challenge viewers to reconsider what beauty means in digital art.
Getting Started with GIMP
To begin using GIMP for creating glitch effects, you’ll first need to set up the software and get comfortable with its interface. This ensures a smooth design process.
Downloading and Installing GIMP
Start by heading to the official GIMP website. Look for the download section, where you will see options for different operating systems like Windows, macOS, and Linux. Choose the correct version for your computer.
Once the download is complete, locate the installation file on your device. Open it and follow the instructions on the screen. Typically, you’ll need to agree to the terms and select a destination folder. The installation process should be quick.
After installation, launch GIMP to make sure it works properly. If you face any issues, revisiting the GIMP website can help solve common problems.
Familiarizing Yourself with the GIMP Interface
When you first open GIMP, the interface might seem a bit daunting, but it’s easy to explore. The Toolbox on the left contains essential tools like brush, eraser, and selection tools. Hover over each icon to see its name.
In the middle, you’ll find the main canvas area. This is where you’ll edit your images. On the right, there are panels for layers, which are key for organizing elements in your design.
Take some time to click through the menus at the top. The File menu helps with opening and saving images, while the Edit menu offers undo options. Familiarizing yourself with these basics will set a solid foundation for your creative projects.
Fundamentals of Creating a Glitch Effect
Creating a glitch effect in GIMP involves planning your design and selecting appropriate images. It helps to know what kind of effect you want and the images that will best achieve it.
Planning Your Design
Before starting, it’s important to outline what you want to achieve with your glitch effect. Consider which elements you want to distort. This could be text, images, or patterns.
Decide on the colors to use. Glitch effects often involve bright, contrasting colors. A plan will help guide the editing process and ensure that the final design matches your vision.
Explore different types of glitch styles. These can range from pixelation to RGB splitting. Understanding the options will allow creative freedom while maintaining focus on the end goal.
Selecting the Right Images
Choosing the right images is crucial. The selected images should have strong lines and contrasts for the best results. High-resolution images are ideal because they retain quality even after manipulation.
If using text, ensure it is bold and clear. The text should be readable even after applying distortion. For photos, focus on those with defined shapes and areas of contrast.
Another factor is compatibility with GIMP tools. Some images lend themselves better to layer manipulation and effects available in GIMP. Choose images that fit well with the tools and techniques you will use.
Techniques for Glitch Effects
Creating glitch effects in GIMP involves a mix of manual distortion, automated filters, and smart use of layers and colors. By exploring these methods, designers can achieve unique and striking visuals that add depth to modern designs.
Creating Distortion Manually
One approach to making glitch effects is by manually distorting elements within an image. Users can start by selecting parts of the image with tools like the Rectangle Select Tool. Once selected, portions of the image can be cut and pasted elsewhere to create misalignment.
Shifting parts of the image left or right can also result in a glitchy appearance. This approach allows for full control over the end result, ensuring that the effect aligns with the desired aesthetic. Repeating these steps with different selections across various parts of the image helps in building a more complex glitch effect.
Using Filters for Automation
For those looking for a quicker method, GIMP provides several filters that can automate the glitch effect process. Filters like pixelate or wind can add immediate distortion. Combining multiple filter effects can diversify the results.
Automated filters are perfect for those who prefer a fast-paced workflow or are new to creating glitch art. While automation offers less manual control, it allows for experimenting with different effects to find the most suitable look. Trying out various combinations can lead to unexpected and exciting visual outcomes.
Layering and Color Adjustments
Using layers is essential for glitch art, giving artists the freedom to manipulate different parts without altering the whole image. By duplicating image layers and tweaking their positions, new layers can add a three-dimensional feel.
Adjusting color, saturation, and blending modes across layers adds further depth and complexity. Color shifts or overlays can change the mood and intensity of the effect, providing a variance that stands out. Utilizing color channels separately can also create unique results, allowing different layers to contrast or complement each other. With layering and color adjustments, artists can produce multidimensional glitch effects that are vibrant and visually engaging.
Fine-Tuning Your Glitch Artifact
Creating glitch art in GIMP involves more than just introducing errors. It requires attention to detail to make the final effect stand out. Using textures, grain, contrast, and brightness adjustments can add depth and interest to your glitch design.
Adding Textures and Grain
Textures and grain can bring a raw and authentic feel to glitch art. In GIMP, users can add grain by creating a new layer. They should fill this layer with a 50% gray color. Then, apply the “Noise” filter from GIMP’s filter list. This technique adds a grainy effect without altering the base design.
Textures such as scratches or digital noise can enhance the glitch appeal. These can be downloaded from various free online resources and imported into GIMP. Layer these textures over the art and adjust the blend mode to “Overlay” or “Soft Light” to integrate them seamlessly. Don’t forget to adjust the opacity to achieve the desired look.
Textures add complexity and depth, providing that glitch art feel. Experimenting with different textures can lead to unique results, allowing artists to develop a signature style.
Contrast and Brightness Tweaks
Adjusting contrast and brightness can highlight the glitched elements. In GIMP, users can access these settings through the “Colors” menu.
For contrast, increase the levels to make edges and glitches pop. This adjustment emphasizes the sharp distinctions between light and dark areas. Brightness should be balanced carefully to maintain visibility of intricate details.
It’s a good idea to frequently preview changes. This ensures that one doesn’t lose the desired effect or obscure important elements. Utilizing adjustment layers can also help. They allow easy alterations without permanently changing the original artwork.
These tweaks enhance the overall aesthetic, making even subtle glitches stand out. By customizing these settings, artists can navigate the spectrum from subtle disturbances to bold, striking glitches.
Exporting Your Design
When you’re ready to export your glitch effect design from GIMP, it’s important to pick the right file format and optimize it for web or print use. Each step ensures your work displays as intended.
Choosing the Right File Format
Selecting the appropriate file format for your project depends on where and how it will be used. For web purposes, JPEG and PNG are popular choices. JPEG is ideal for photographs and complex images due to its balance of quality and file size. PNG, on the other hand, supports transparency and is better for simpler images with text or logos.
For print, TIFF and PDF are excellent options. TIFF files preserve image quality because they are lossless, making them suitable for high-quality prints. PDFs are versatile, maintaining quality across various settings and devices. Before exporting, ensure your image resolution is set correctly—300 DPI for print and 72 DPI for web. This ensures clarity and sharpness in your final design.
Optimizing for Web or Print
Optimizing your design ensures it looks its best, whether on screen or paper. For web settings, reducing the file size is key to quick loading times. Utilizing GIMP’s export options, adjust the compression levels for JPEG or reduce color depth for PNG. This helps balance quality and performance.
For print, focus on maintaining high resolution and color accuracy. Check the color profile settings in GIMP, using CMYK profiles for print to ensure colors print as intended. When saving your file, avoid compressing it, as this can degrade quality.