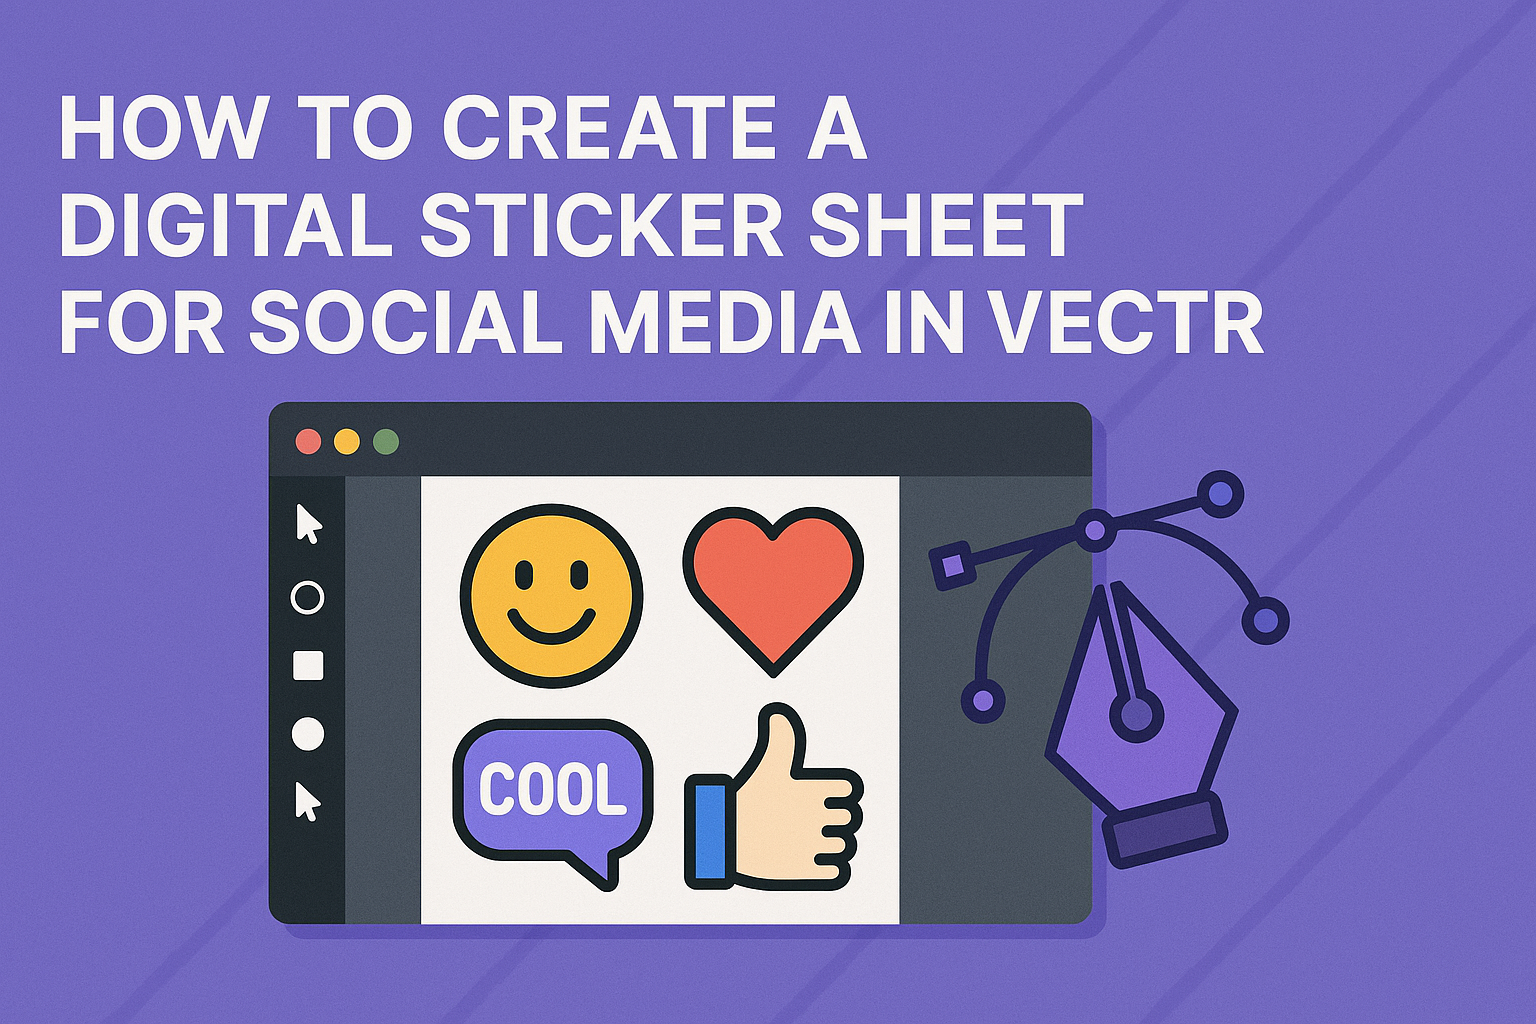
Creating a digital sticker sheet for social media can be a fun and creative way to express ideas and promote engagement. It’s an excellent opportunity to showcase personal style and connect with followers through unique designs.
With a few simple steps in Vectr, anyone can design eye-catching stickers that stand out online.
Using Vectr’s user-friendly tools, designers can easily craft their sticker sheets from scratch or modify existing templates. This flexibility allows for endless customization, making it suitable for both beginners and experienced users.
By following this guide, readers will learn how to create a professional-looking digital sticker sheet that will enhance their social media presence.
Digital stickers can be a great addition to posts, stories, or messages. They can add a personal touch that resonates with followers and elevates overall content.
This article will provide tips and tricks that help bring sticker design ideas to life using Vectr.
Getting Started with Vectr
Vectr is a user-friendly graphics editor that makes creating digital designs simple and fun.
To begin, users need to set up their accounts and familiarize themselves with the interface.
Setting Up Your Account
To start using Vectr, a user must create an account. They can either log in using an email address or sign up through Google.
Once logged in, the user will see the dashboard.
The dashboard contains important features. This includes the menu bar, which sits at the top, and the sidebar on the left.
Users can click on “Create File” to begin working on a new project. After creating a file, they will enter the workspace where all the magic happens.
Navigating the Vectr Interface
Getting to know the interface is crucial for smooth design work. The workspace is where users will spend most of their time.
To the left, there is the toolbar featuring various tools like shapes, lines, and text options. These tools help users to create and customize their stickers.
The right side has the properties panel, which changes based on the selected object. Here, users can adjust colors, sizes, and other properties.
Users can also access the layers panel to organize their designs better.
Designing Your Sticker Sheet
Creating a digital sticker sheet involves thoughtful planning and design elements. This section highlights essential techniques to ensure each part of the sticker sheet is appealing and functional.
Creating a New Project
First, the user needs to start by opening Vectr and creating a new project. They should select a canvas size that fits their intended use.
Common sizes for social media stickers are around 1080×1080 pixels, which works well on most platforms.
It’s important to set a resolution that maintains quality when resized. Users can easily choose the dimensions by clicking on the canvas option.
After setting up the canvas, they can name the project appropriately for easy reference later.
Using Layers and Shapes
Layers are crucial for organizing different elements in the sticker sheet. Each sticker can be on its own layer, allowing easy adjustments without affecting the entire design.
Vectr offers a simple way to add layers through the sidebar.
Users can create shapes that will serve as the base for stickers. Basic shapes like circles, squares, and polygons can be modified easily.
Adjusting the size and position of each shape helps achieve the desired layout for the stickers.
Adding Text and Graphics
Text can significantly enhance sticker designs. Users should choose fonts that are readable and match the theme.
Vectr provides various font options, making it easy to find the right style.
Adding graphics involves inserting images or icons that complement the stickers. Users can import graphics or use Vectr’s built-in resources.
They must ensure that the images are of high quality and fit well within the design.
Applying Colors and Effects
Color selection is vital for making stickers stand out. Users should choose a color palette that fits the theme of the sticker sheet.
Vectr allows users to apply colors easily using the color picker tool.
Effects can add depth and interest to stickers. Users can experiment with shadows, gradients, and transparencies to create a unique look.
It’s helpful to preview these effects to see how they enhance the design before finalizing it.
Exporting and Sharing
Exporting a digital sticker sheet requires careful attention to the format and method of sharing. By understanding the best practices for saving and distributing these creations, the user can ensure their stickers look great and reach their audience effectively.
Saving Your Sticker Sheet
To save a sticker sheet in Vectr, the user should first ensure that all elements are properly aligned and grouped if necessary. Once everything looks good, they can click the “File” menu and select “Export.”
A window will pop up, allowing the user to choose the desired file name and location.
It is important to select the appropriate file format that best suits their needs.
After selecting the format, they can click “Save” to finish the process. This will create a file ready for uploading or sharing.
File Formats for Export
Choosing the right file format is crucial for quality. Here are the most common formats to consider:
- PNG: Ideal for images with transparency. It is great for stickers as it maintains high quality.
- JPEG: A good choice for images without transparency. It usually results in smaller file sizes but can lose some quality.
- SVG: Perfect for vector graphics, allowing for resizing without losing quality. This format is beneficial for digital and print use.
The user should think about where they plan to use the stickers when selecting a format, as each has its own strengths and weaknesses.
Sharing on Social Media Platforms
Once the sticker sheet is saved, sharing on social media is the next step.
The user can start by logging into their preferred social media account.
They can create a new post and select the option to upload an image.
By browsing their files, they can locate the saved sticker sheet and select it for uploading.
It’s helpful to add a caption that encourages engagement, such as asking followers which sticker is their favorite.
Hashtags can also boost visibility and reach a wider audience.
The user should monitor the post for comments to interact with those showing interest in their stickers.