Creating a digital portrait can be an exciting way to express creativity.
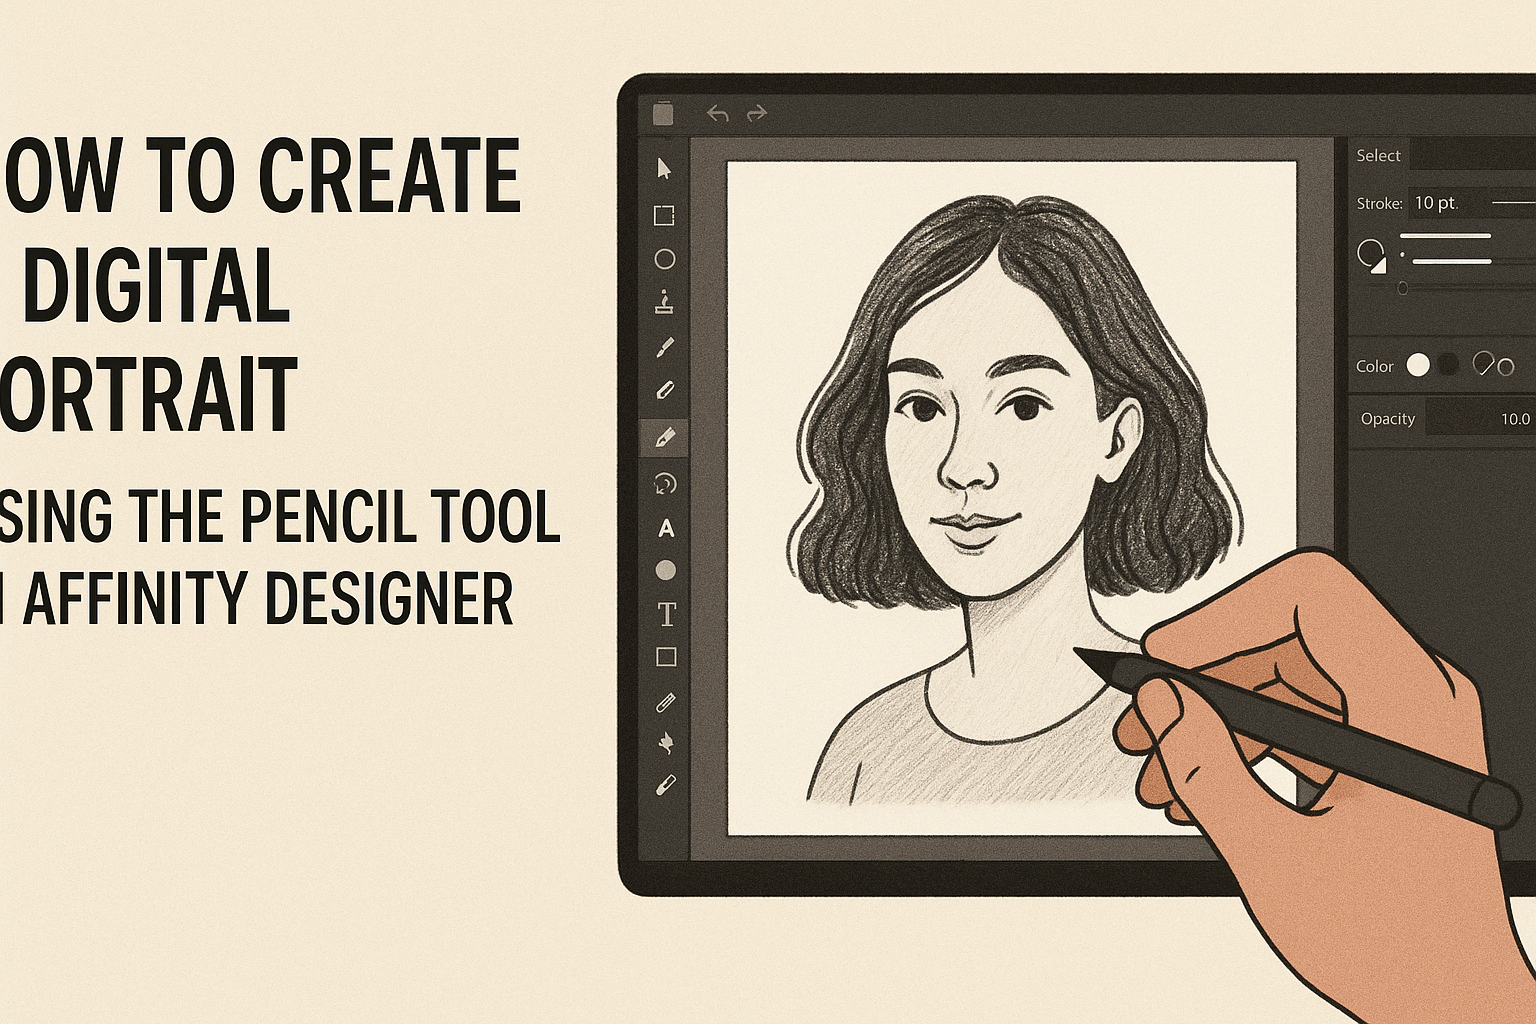
The Pencil Tool in Affinity Designer allows artists to capture unique details and create stunning illustrations. This user-friendly tool provides the perfect balance of control and spontaneity, making it a great choice for both beginners and experienced designers.
As artists explore the features of the Pencil Tool, they can adjust stroke thickness and pressure to achieve a natural look. This capability enhances the digital portrait, giving it a handcrafted feel that stands out.
Readers will discover tips and techniques to master this tool and bring their artistic visions to life.
Getting Started with Affinity Designer
Affinity Designer offers a user-friendly interface and powerful tools for creating digital portraits. Understanding its layout and setting up a new document is essential before diving into your artwork.
Exploring the Affinity Designer Interface
When first opening Affinity Designer, the workspace appears filled with tools and options.
The Toolbar on the left holds all the drawing and editing tools. Here, artists can find the Pencil Tool and other essential tools for creating shapes and lines.
The Studio Panel on the right contains various features like layers, colors, and brushes. Layers help keep different parts of the artwork organized. Inspector panels allow further adjustments, such as opacity and blending modes, giving artists creative control.
Navigating these elements effectively can enhance the drawing experience and streamline the workflow.
Setting up a New Document for Digital Portrait
Creating a new document is the first step toward starting a digital portrait.
Upon launching Affinity Designer, navigate to File and select New. A dialog box appears, allowing users to set specific dimensions.
For a digital portrait, A3 size (297 x 420 mm) is commonly used. It’s also important to select 300 DPI for print quality. Choosing the CMYK color mode is ideal for print, while RGB is better for web display.
After setting the specifications, click Create. The new document will be ready for the artwork.
Mastering the Pencil Tool
The Pencil Tool in Affinity Designer is essential for creating smooth, precise lines in digital portraits. By understanding its basic functions and customizing its settings, artists can enhance their drawing experience and achieve better results.
Understanding the Pencil Tool Basics
The Pencil Tool is quite intuitive, making it easy for users to start drawing right away. It allows for freehand drawing, giving a natural feel similar to traditional pencil sketches.
When using the Pencil Tool, it’s important to know how to hold the stylus. A relaxed grip helps with smoother strokes. The tool responds best to slight pressure changes, allowing for variations in line thickness and opacity.
Users can choose between different types of strokes, such as straight lines or curves. This flexibility makes the Pencil Tool versatile for creating detailed features in portraits. With practice, artists can develop their own style and techniques using this tool.
Customizing the Pencil Tool Settings
Customizing the Pencil Tool settings can greatly improve the drawing experience. Affinity Designer offers options to adjust the tool’s behavior to fit specific needs.
Artists can modify settings like opacity, smoothing, and size. For instance, increasing the smoothing can help create cleaner lines, especially in curved sections of a portrait. Adjusting the size can affect how bold or fine the strokes appear.
Additionally, setting up keyboard shortcuts for common actions saves time. Artists often find that personalizing these settings leads to more efficient workflows. Trying different configurations can help users discover what works best for their artistic style.
Creating a Digital Portrait
Creating a digital portrait involves several key steps that lead to a finished piece. From sketching the initial outline to adding intricate details, colors, and shading, each part plays a vital role in achieving a lifelike representation.
Sketching the Portrait Outline
The first step in creating a digital portrait is to sketch the outline.
He can start by using a light pencil tool in Affinity Designer to create the basic shapes of the face and features. It is helpful to pay attention to proportions and the position of the eyes, nose, and mouth.
Using gridlines can assist in maintaining accuracy. He should consider the overall shape of the head, noting any unique characteristics. This outline acts as a roadmap for the detailed work to follow, making it easier to refine the features later.
Adding Details and Texture
After establishing the outline, it’s time to add details and texture. This includes defining the eyes, eyebrows, nose, and mouth.
He can use a finer brush tool to add these details, focusing on the shapes and contours.
Textures enhance realism. In this step, adding subtle lines to represent hair and shadows around facial features can create depth.
It’s important to regularly zoom in and out to ensure consistency and clarity in these details. The goal is to make each feature pop while still keeping the overall look balanced.
Applying Colors and Shading
With the details set, applying color and shading brings the portrait to life.
He should begin by selecting a base skin tone that matches the subject. Layering colors works well. He can start with a mid-tone and gradually add darker shades for shadows and lighter tones for highlights.
Utilizing blending brushes helps merge colors smoothly, mimicking natural skin texture. Attention to light sources is key here. He should ensure shadows fall in the right areas, giving the portrait dimension. Experimenting with different color combinations can enhance the mood of the artwork, allowing for a captivating final piece.
Final Touches and Export
Before finishing the digital portrait, it’s important to refine the details and prepare the image for sharing. This involves cleaning up edges and making any necessary adjustments. After that, exporting the artwork in the right format ensures it looks great wherever it’s displayed.
Refining Edges and Retouching
To achieve a polished look, refining edges is key.
Using the Pencil Tool, she can zoom in on the portrait to sharpen lines and smooth out any rough spots. Adjusting the brush size allows for more control, especially in detailed areas like the eyes and hair.
Retouching can involve enhancing colors or adding highlights. He can use layers to experiment with different effects without affecting the original sketch. Utilizing the opacity settings helps in blending adjustments seamlessly, ensuring everything feels cohesive.
Exporting the Finished Portrait
Once satisfied with the final touches, exporting the artwork is essential.
It’s helpful to choose the right file format based on its intended use. For online sharing, saving as a JPEG or PNG works well due to their compatibility and quality.
When exporting, she should check the resolution. A higher dpi will ensure clarity, especially for prints.
In Affinity Designer, the export options allow selecting dimensions easily. After confirming these settings, he can proceed with the export, ready to showcase the digital portrait.