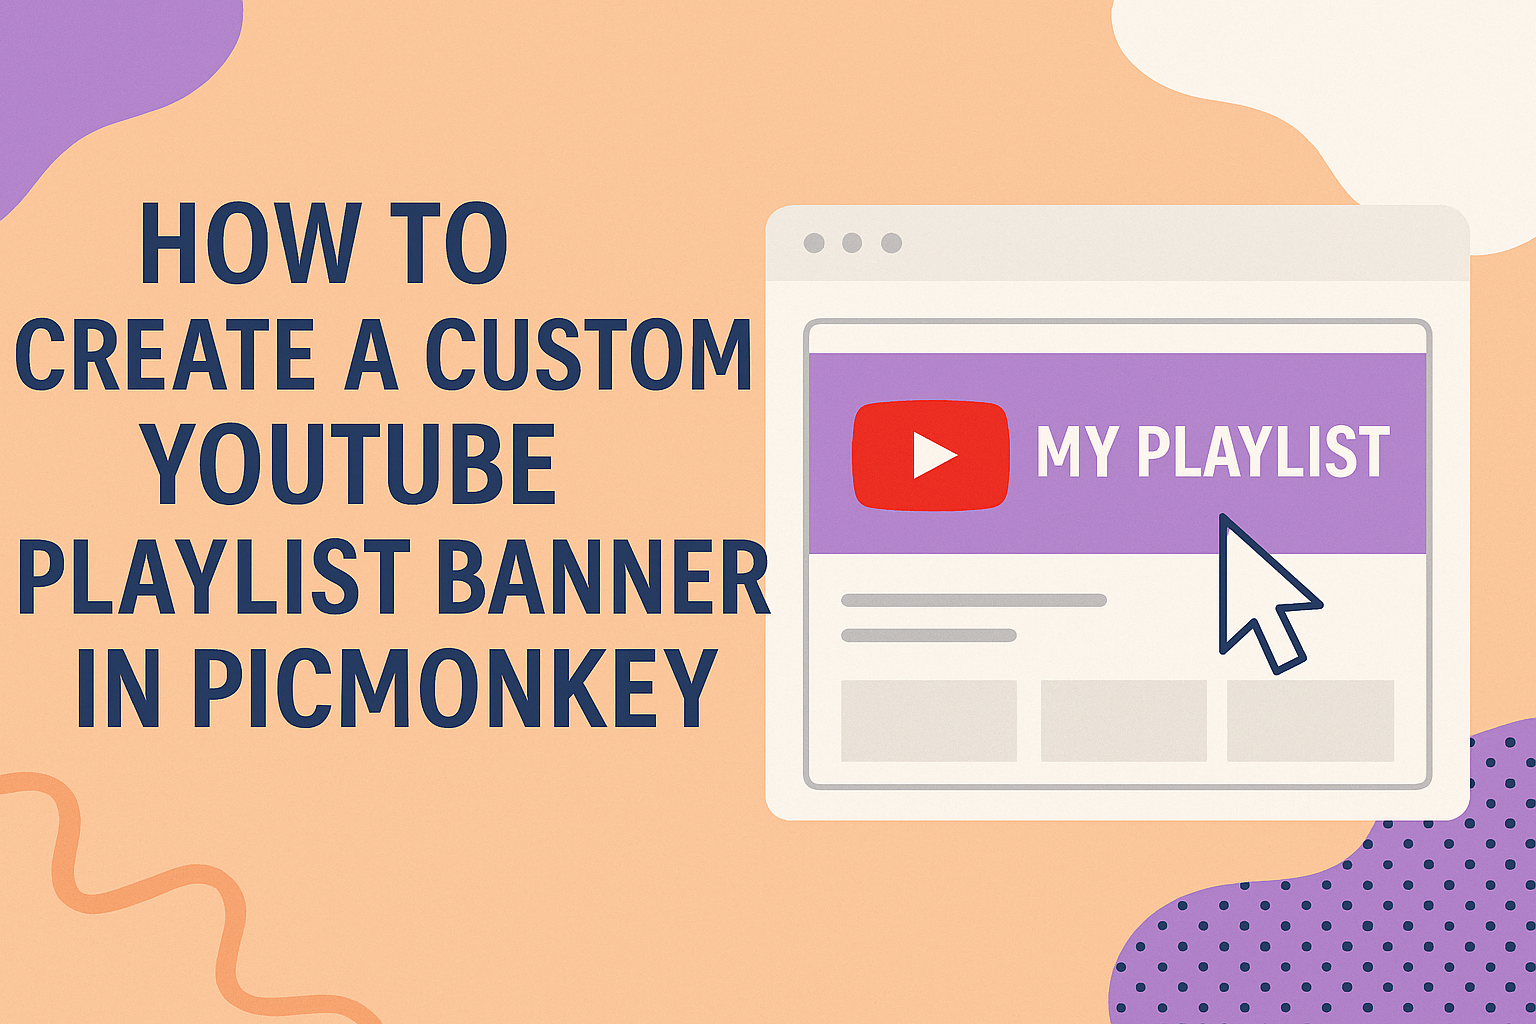
Creating a custom YouTube playlist banner is a great way to enhance a channel’s look and attract viewers. With PicMonkey, anyone can easily design a unique and professional banner that showcases their content.
This tool offers user-friendly features that make banner creation fun and straightforward.
PicMonkey provides various templates and customization options that allow users to express their channel’s personality. Whether someone wants to include images, text, or graphics, they can find the perfect elements to make their banner stand out.
Readers will discover step-by-step instructions to create their very own banner in this article.
By following these simple steps, creators can boost their channel’s appeal and engage their audience effectively. Custom banners not only look great but also contribute to a cohesive brand identity on YouTube.
Getting Started with PicMonkey
To create a custom YouTube playlist banner, the first step is to jump into PicMonkey. This easy-to-use tool helps users design banners with a professional touch.
He or she can quickly set up an account and explore the platform’s features.
Setting Up Your PicMonkey Account
Setting up a PicMonkey account is simple. Users can start by visiting the PicMonkey website. From there, they can sign up using an email address or log in via Google or Facebook accounts.
Once registered, there are free and paid plans available. The free plan offers basic features, while the paid version provides additional tools and templates that enhance the design experience.
It’s recommended to try the free option first to see if it meets their needs.
Familiarizing Yourself with the Interface
After setting up the account, it’s time to explore the PicMonkey interface. The dashboard is user-friendly and designed for easy navigation.
On the left side, there are various tools like templates, graphics, and text options. The center area allows users to view their project.
One useful tip is to utilize the tutorials available. They offer step-by-step guidance on specific features, which helps users become more comfortable using the platform.
Taking time to explore these tools can make a big difference in the design process.
Creating Your Playlist Banner
Creating a custom YouTube playlist banner is an exciting way to showcase the themes and content of a playlist. By focusing on the right size and design, one can make a banner that attracts viewers.
Selecting the Correct Banner Size
It is essential to use the right dimensions for your playlist banner. YouTube banners should ideally be sized at 2560 x 1440 pixels. This format ensures that the banner looks good on various devices.
To maintain quality, ensure that the important details are within the central area, known as the safe zone. This zone measures 1546 x 423 pixels. Anything outside this area might get cut off on mobile devices.
Also, keep in mind the file size. The banner image should be less than 6 MB for quicker loading.
Choosing a Template or Starting from Scratch
Using a template can save time and provide a polished look to the banner. PicMonkey offers a variety of pre-made templates specifically designed for YouTube banners.
Selecting a template allows one to customize colors, text, and images effortlessly.
However, if one prefers, starting with a blank canvas is a great option too. This method provides total freedom to create a unique design that aligns with their vision. They can add personal elements, like photos or logos, to make the banner distinctly theirs.
By choosing either method, individuals can create an eye-catching banner that represents their playlist effectively.
Customizing Your Design
Customizing a YouTube playlist banner in PicMonkey allows creators to express their unique style. This involves adjusting images, fonts, and adding brand elements to make the banner stand out. Each part plays a crucial role in crafting a cohesive look.
Adding and Editing Images
To start, adding images to the banner is simple. Users can upload personal photos or select from PicMonkey’s library. Once an image is added, she can resize and reposition it easily.
Editing features like cropping, adjusting brightness, and applying filters enhance the look.
For a polished design, it’s important to maintain a clear focal point. Users should avoid overcrowding the banner with too many images, as clarity is key.
Playing with Text and Fonts
Text is essential for conveying information on the banner. Creators can add catchy slogans or titles that reflect the channel’s theme. PicMonkey provides various font options to choose from.
Select a font style that aligns with the channel’s brand. Bold fonts can grab attention, while script styles add a touch of elegance.
Adjust the size, color, and spacing of the text for better readability. Keeping text concise helps maintain visual balance.
Incorporating Brand Elements
Branding ties the banner to the overall channel identity. Users should consider including logos, specific color schemes, or unique graphics that represent their brand.
Consistency across all visuals is vital. This means using the same colors and styles that are present in other channel artwork.
By doing this, they create a strong brand presence that viewers will recognize. Choose elements carefully to ensure they enhance rather than distract from the banner’s message.
Saving and Uploading Your Banner
After creating a custom YouTube playlist banner in PicMonkey, the next steps are saving the design and uploading it to YouTube. This process ensures that the banner looks great on the channel.
Exporting the Design File
To save the banner design, the user begins by clicking on the Export button in PicMonkey. This action opens up a menu where they can choose the file format.
It is best to select PNG for high-quality images.
Next, she should adjust the file name to something clear, like “YouTube Playlist Banner.” This helps in easily finding the file later.
After setting the format and name, she can hit Export. The design will be saved to their device.
It’s also important to check the dimensions before exporting. The ideal size for a YouTube banner is 2560 x 1440 pixels. This size ensures the banner displays correctly across devices.
Uploading to YouTube
After exporting the banner, the user can head over to YouTube.
First, they need to log in to their account and navigate to the channel page.
In the channel overview, there is a Customize Channel button which the user should click on. This takes them to the channel customization menu.
Here, they can find the option to change the banner image.
Upon selecting the option to upload a new banner, the user can locate the previously saved file.
After finding the saved banner, they simply select it for upload.
Once uploaded, it is essential to check how it looks on different devices, such as mobile and desktop, to ensure it appears as intended.