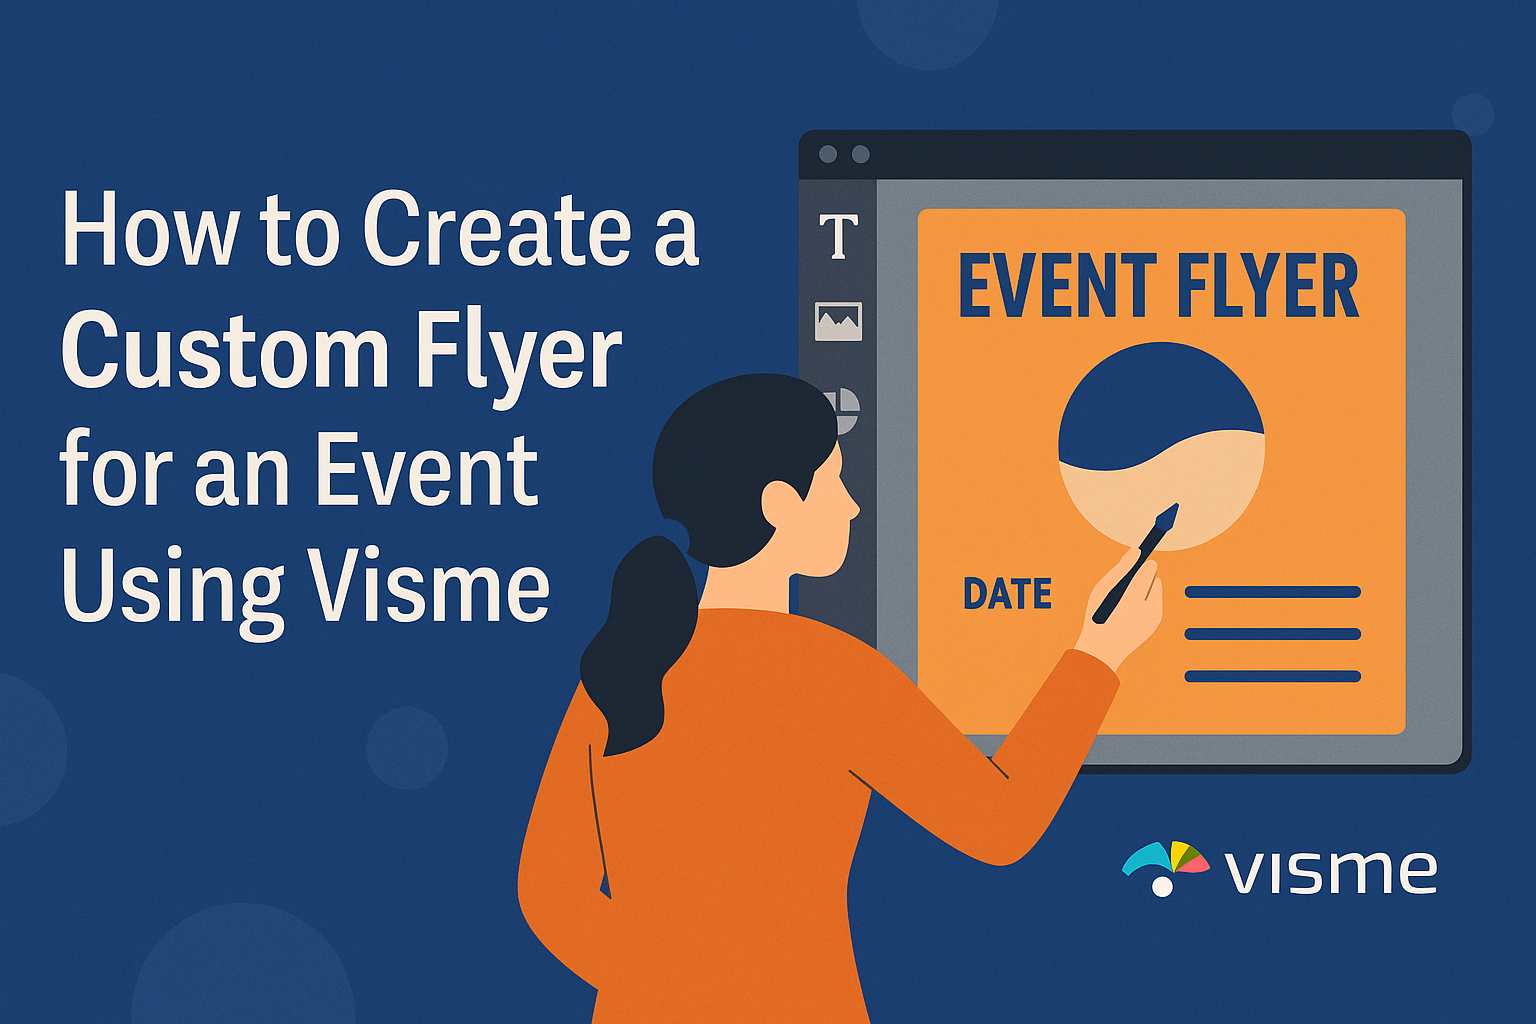
Creating a custom flyer for an event can be an exciting way to showcase your creativity and draw attention to what you’re planning. Using Visme makes this process simple and fun, even if you’re not a design expert. Visme offers a user-friendly platform that allows anyone to choose from various templates and customize them to fit their event’s theme.
Design enthusiasts and beginners alike will appreciate the wide range of options available. You can easily change colors and fonts, and add your own images or select from millions of free stock images. For those looking to make their flyers even more captivating, Visme’s AI Flyer Maker provides additional tools like AI image generation and touch-up options.
The flexibility of Visme ensures that every flyer can be as unique as the event it represents. Whether it’s a small gathering or a large conference, customizing your flyer using Visme’s tools can set the stage for a successful event by grabbing people’s attention from the outset.
Getting Started with Visme
Visme is a user-friendly tool that helps you create professional-looking flyers with ease. The process begins with signing up and familiarizing yourself with its intuitive interface.
Signing Up for Visme
To start, visit the Visme website and sign up for an account. New users can choose from different subscription plans or get started with a free account. Registration typically involves providing an email address and creating a password.
After signing up, you might receive a welcome email with tips and resources to help you get started. Once logged in, you will have access to the main dashboard where you can begin creating projects. This setup is straightforward, making it easy for newcomers to dive in and start customizing flyers quickly.
Overview of Visme Interface
After logging in, users are taken to Visme’s dashboard, which acts as the central hub. Here, you can manage previous projects and start new ones. To begin a flyer, click on “Create New” and select the flyer type from the options provided.
The interface allows drag-and-drop actions, making customization simple. There’s a toolbar where users can modify text, images, and color themes. Additionally, Visme offers a wide range of templates and assets, such as icons and images, which you can access from the library. This makes the design process both efficient and enjoyable, even for beginners.
Planning Your Flyer
To create a custom flyer for an event, it’s essential to focus on its purpose and target audience. This step will set the stage for all design decisions, ensuring that the flyer effectively communicates and engages.
Understanding the Purpose of Your Flyer
The first step in planning a flyer is understanding its purpose. Is it meant to promote an event, advertise a sale, or share information? Knowing what the flyer is supposed to achieve helps in deciding its layout and messaging. For example, a flyer promoting a concert might emphasize the date and performers, while an informational flyer might focus on details and schedules.
A well-defined purpose guides the choice of colors, text, and images. For instance, a flyer for a festive event might use bright colors and bold fonts to attract attention. On the other hand, a more formal event might benefit from elegant and minimalist designs. With Visme’s flyer maker, users can choose from various templates that align with their flyer’s intention, enhancing focus and coherence.
Identifying Your Target Audience
Once the purpose is clear, identifying the target audience becomes crucial. The audience influences the flyer’s tone, style, and even distribution channels. Is the event aimed at teenagers, young professionals, or families? Each group responds differently to design elements.
Understanding the audience helps in choosing relatable images and appropriate language. For example, a flyer for a children’s event might feature colorful cartoons and simple words, while one for a business seminar might prioritize professional imagery and formal language.
Tools like Visme offer access to countless graphics and icons, making it easier to cater to varied tastes and preferences. By knowing who the flyer is talking to, designers can ensure it speaks directly and effectively to them.
Designing Your Flyer
Creating a custom flyer with Visme involves selecting the right template, adjusting colors and fonts, and adding personalized text and images. It’s important to consider design elements to make the flyer visually engaging and effective for your event.
Choosing a Template
Visme offers a range of templates to kickstart the design process. It’s essential to select a template that aligns with the event’s theme. Whether it’s a formal business gathering or a casual social event, there is something for every purpose. Templates provide a foundation for design, ensuring the layout is professionally structured and eye-catching.
By starting with a template, users can save time and focus on enhancing the flyer with their own touches. This step ensures the design maintains a polished look from the beginning.
Customizing Colors and Fonts
Colors and fonts are critical components in flyer design. They set the tone and mood for the audience. In Visme, users can choose from a palette of colors to align with the event’s theme or brand identity. It’s important to select colors that ensure readability and maintain a cohesive look.
Fonts also play a role in how the flyer communicates its message. It’s advisable to stick to a maximum of two or three font styles for consistency. Bold fonts can highlight key information, while elegant scripts can add a touch of class.
Adding Text and Headlines
Text serves as the main communicator on the flyer. It should be clear, concise, and compelling. Start with a catchy headline that grabs attention and invites the reader to learn more about the event.
Key information, such as the date, time, and location, should be prominent. Use bullet points or lists to break down details and make them easy to read. Ensure that all text is legible and free of jargon or overly complex language.
Incorporating Images and Graphics
Images can greatly enhance the visual appeal of a flyer. Select high-quality images relevant to the event’s theme. With Visme, users have access to millions of free stock images that can be added seamlessly.
Incorporating graphics, like icons or logos, can further personalize the flyer and boost brand recognition. Make sure images and graphics are balanced with text and don’t overwhelm the design. Proper spacing and positioning help maintain a clean and professional look.
Using Design Elements Wisely
Design elements like lines, shapes, and borders can help structure the flyer. They create a hierarchy, guiding the reader’s eye to important details. When using design elements, less is often more.
Ensure these elements support the flyer’s message without cluttering it. Experiment with different sizes and placements to find the best fit. This approach adds sophistication and polish to the overall design. Thoughtful use of design elements contributes to a cohesive and engaging flyer.
Enhancing Your Flyer with Advanced Features
When creating an engaging flyer for an event, incorporating advanced features can make a big difference. Interactive elements and animations can draw more attention and encourage viewer interaction.
Adding Interactive Elements
Interactive elements can transform a static flyer into something dynamic. Features such as clickable links, embedded videos, or pop-up boxes can engage the audience more effectively. For an event, including a clickable link that leads to the event registration page can encourage immediate action.
Images can also be interactive. Instead of just adding a photo, try using it as a button or hyperlink. This adds an element of surprise and can direct viewers to more detailed information. Visme’s user-friendly platform makes it easy to incorporate these features without needing technical skills.
Using interactive quizzes or surveys within the flyer can also increase engagement. They provide a fun way to interact while gathering useful data. The more engaging the flyer, the more likely attendees will remember the event details.
Using Animation and Motion Graphics
Animations and motion graphics add a lively touch to flyers. These features can make important details pop or guide the reader through information seamlessly. Incorporating moving elements keeps the audience’s attention and can highlight key points, such as event dates or guest speakers.
Visme allows creators to easily add animations with just a few clicks. Use subtle transitions to make text and images appear smoothly, or add animated icons to draw attention. Motion graphics can set the flyer apart by adding visual interest without overwhelming the viewer.
Animation should be used sparingly to avoid distraction. Focus on emphasizing essential parts of the flyer to enhance clarity. These dynamic touches can make the flyer stand out and capture the audience’s imagination.
Reviewing and Editing Your Design
Creating a custom flyer with Visme is a great start, but reviewing and editing your design ensures it communicates your message effectively. This process involves checking your content for errors and gathering feedback to enhance the overall design and clarity.
Proofreading Your Content
Proofreading is crucial in catching errors in your flyer. It focuses on checking spelling, grammar, and punctuation. Typos can distract from your message and make the flyer look unprofessional. After drafting, take a break and come back with fresh eyes to spot mistakes more easily.
Use tools like spell checkers to assist, but remember they might not catch every error. Reading the text aloud can help identify awkward phrasing. In Visme, ensure titles and headings are clear and concise. Verify that the event details like date, time, and location are correct.
Finally, ensure that all fonts are consistent in size and style. This attention to detail helps your flyer appear polished and professional.
Soliciting Feedback
Getting feedback is a valuable step for improving your flyer design. Share your draft with colleagues or friends and ask for their honest opinions. They might see things you missed or have suggestions for improvement.
Create a checklist of areas to review, such as clarity of message, design elements, and overall appeal. Encourage reviewers to focus both on content and visual aspects. Are the visuals eye-catching? Does the text flow well?
Utilize Visme’s collaboration tools if working with a team. Collecting feedback from multiple sources will help refine your flyer and ensure it resonates with your audience.
Exporting and Sharing Your Flyer
After creating a custom flyer for an event using Visme, the next steps involve exporting the flyer in the right file format and sharing it across various platforms. These steps are crucial to ensure that the flyer reaches the target audience effectively.
Choosing the Right File Format
Choosing the correct file format is essential. Different uses require different formats. For print, PDF is the way to go. It maintains high quality and is universally accepted.
For online sharing, consider JPEG or PNG. These formats load quickly and are compatible with most platforms. It’s wise to export in multiple formats to cover all your bases, whether you’re printing or sharing online. This approach ensures that your flyer is ready for any use.
Downloading the Flyer
Once you’ve chosen the right format, downloading your flyer is the next step. In Visme, this process is straightforward. After finalizing the design, navigate to the download section within the platform.
Choose the format you selected earlier. If needed, adjust settings for quality or size. Ensure your export settings match your intended use, whether for print at high resolution or a quick-loading web file.
Having the flyer saved on your device means you are ready to distribute it as needed.
Sharing on Social Media
To reach a wider audience, sharing your flyer on social media is key. Visme makes it easy to integrate your designs with social platforms. Once downloaded to your device, upload the flyer directly to sites like Facebook, Instagram, or Twitter.
Consider the platform’s unique requirements. For instance, Instagram prefers square images, so resizing might be necessary. Engaging captions and hashtags can also enhance visibility. With these steps, your event flyer will easily reach and engage your audience across various social channels.