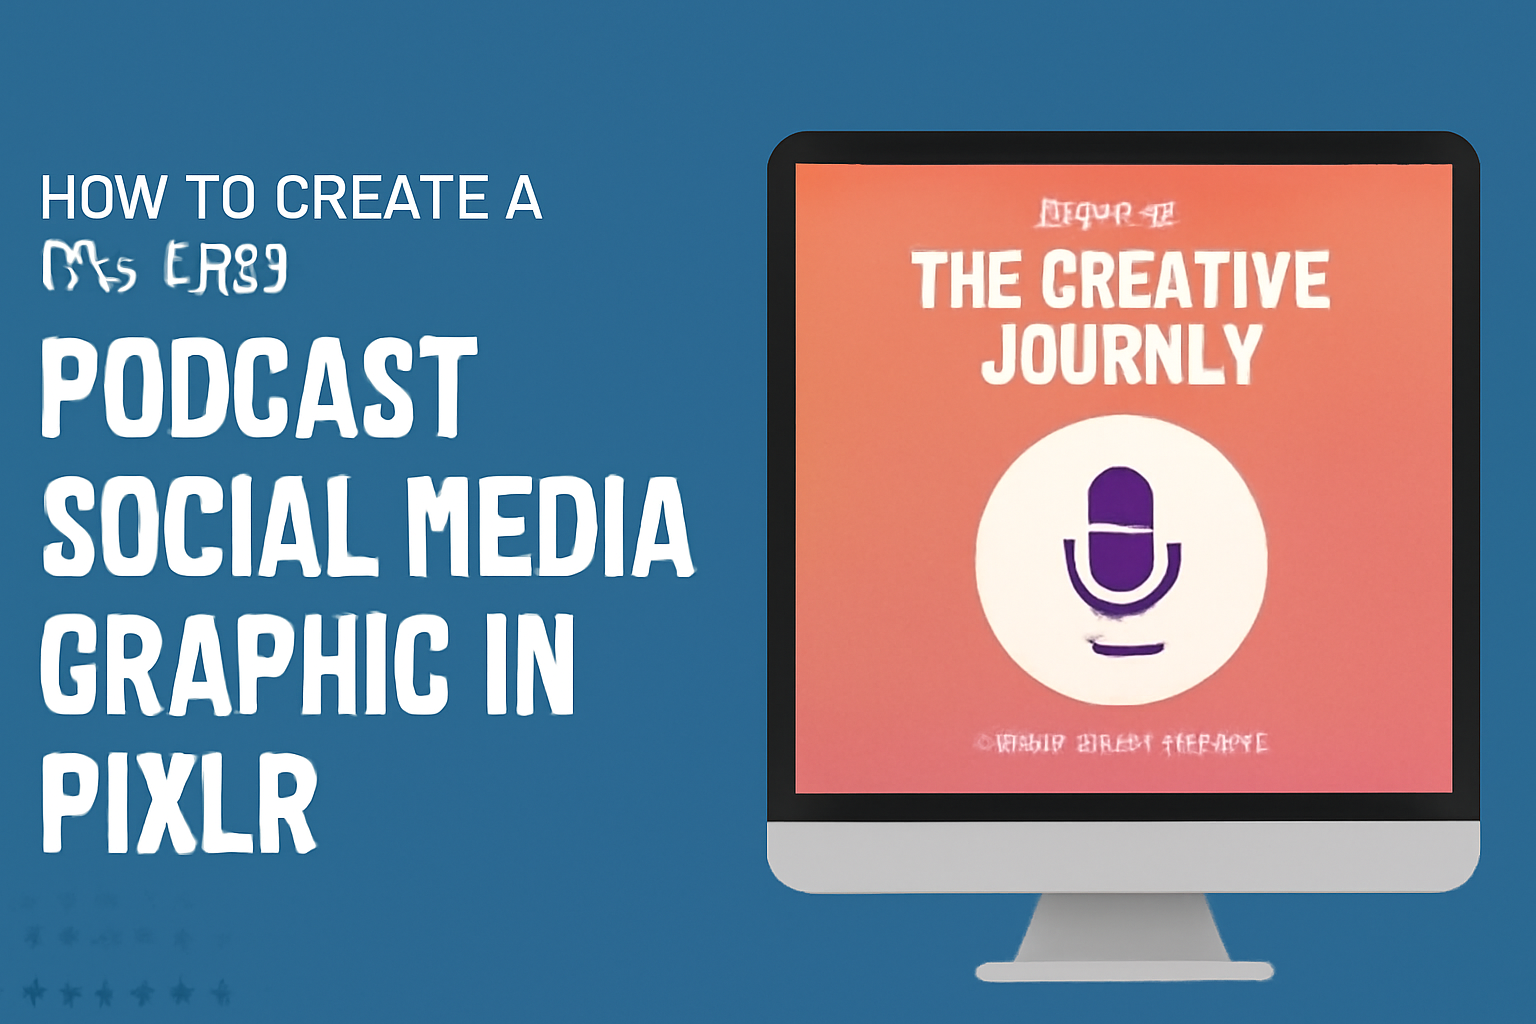
Creating a branded podcast social media graphic can be a fun and rewarding process.
Using Pixlr makes it easy to design eye-catching visuals that reflect the essence of the podcast. With its user-friendly templates and editing tools, anyone can create professional-looking graphics without needing advanced design skills.
Many podcasters struggle to find the right way to promote their episodes on social media. By using the customizable features in Pixlr, they can craft images that not only grab attention but also convey their unique style and message. This is a great way to engage listeners and grow their audience.
Understanding the Pixlr Interface
The Pixlr interface is intuitive, making it easy for users to create eye-catching graphics.
Knowing how to navigate the dashboard, utilize essential tools, and manage layers and effects will enhance the design experience.
Navigating the Dashboard
The dashboard of Pixlr is user-friendly. As soon as users log in, they see options for creating new projects or accessing saved ones. They can easily select a template or start with a blank canvas.
Key sections on the dashboard include:
- Activities Panel: This shows recent projects.
- Tools Panel: Located on the left, it holds essential design tools.
- Properties Panel: Positioned at the top, it changes according to the selected tool, showing relevant options.
Exploring these areas can help users find what they need quickly.
Using Essential Tools
Pixlr provides a variety of essential tools for creating graphics. Users can find selections for cropping, resizing, and rotating images in the tools panel.
Some important tools include:
- Brush Tool: For drawing or painting designs.
- Text Tool: To add text with customizable fonts and colors.
- Shape Tool: For adding geometric shapes that enhance design.
Using these tools effectively allows users to create custom graphics that fit their branding goals.
Exploring Layers and Effects
Layers are crucial for any graphic design project in Pixlr. They help in organizing different elements without affecting the others. Users can add new layers for images, text, and shapes as needed.
In addition, Pixlr offers various effects like shadows, blurs, and color adjustments. Users can easily access these under the effects menu.
Applying these effects allows for creative enhancements, making the design more engaging.
Creating Your Graphic
Creating an engaging graphic for a podcast on social media requires careful consideration of dimensions, layout, and branding. Through the right choices, one can effectively attract the audience’s attention.
Selecting The Right Dimensions
Choosing the right dimensions is essential to ensure the graphic displays well on various social media platforms. Each platform has its preferred image size.
For example:
- Facebook: 1200 x 630 pixels
- Instagram: 1080 x 1080 pixels
- Twitter: 1200 x 675 pixels
Using the recommended sizes helps to avoid any cropping or resizing issues that can affect visual quality.
Pixlr allows users to set custom dimensions, which is useful for creating a graphic that fits just right for its intended platform. Proper dimensions help maintain professionalism and clarity in messaging.
Choosing a Template or Starting from Scratch
Using a template can save time and provide a polished look. Pixlr offers several templates specifically designed for social media graphics.
These templates often include predefined layouts that are visually appealing. They come with spaces for images and text, making it easy to fit in important elements.
If creativity calls, starting from scratch can also be rewarding. Users can create a unique design tailored to their podcast’s style. This option allows complete control over every detail. Whichever choice is made, it’s important to keep the end goals in mind.
Adding and Editing Text Elements
Text is a crucial part of any graphic as it conveys the podcast’s message. When adding text in Pixlr, it’s important to select a font that is easy to read.
Consider using bold fonts for titles and lighter styles for subtitles. This helps to create a hierarchy and directs the viewer’s attention.
Size adjustments play a significant role too. Larger text grabs attention, while smaller text provides additional details. It’s beneficial to experiment with alignment and spacing to ensure the text is balanced and visually appealing.
Incorporating Branded Elements
Branded elements help create a cohesive look for the podcast. This includes logos, color schemes, and specific fonts that are consistently used across all media.
Adding the podcast logo in a prominent location reinforces brand identity. Consistent use of brand colors helps tie everything together visually.
In Pixlr, users can save branded assets in a folder for easy access. This way, whenever they create a graphic, they can quickly include essential branding elements. Having a consistent style helps followers recognize the podcast and forms a connection with the audience.
Refining Your Design
Refining a podcast graphic means making it visually appealing and effective in conveying the brand message. Important aspects include adjusting colors and fonts, positioning elements well, and applying filters for a polished look.
Adjusting Colors and Fonts
Colors set the mood and tone of the graphic. For a podcast, it’s crucial to select colors that fit the theme while being eye-catching. Using a color wheel can help choose complementary colors that stand out.
Fonts also play a significant role. Choose fonts that are readable and match the podcast’s voice. Combining a bold header font with a simpler body font often works well. Adjust size and spacing to enhance clarity and impact.
Positioning and Layering
Effective design is all about where elements are placed. Start by deciding the focus of the graphic. He or she can use the rule of thirds, ensuring key elements are not centered but placed off to one side.
Layering is another important feature. Placing text over images can create depth. Ensure that the text is legible by adjusting the background or adding a semi-transparent overlay, making your main message pop.
Applying Filters and Adjustments
Filters can enhance the overall look of the graphic. They can provide a cohesive feel across different elements. Light filters can create a softer look, while darker ones can add drama.
Adjustments like brightness, contrast, and saturation can also significantly impact the final image. For instance, increasing contrast can help text stand out against backgrounds. Always preview changes to see how they enhance the design.
Exporting and Sharing Your Graphic
Once a podcast graphic is ready, it’s crucial to export it correctly and share it effectively. This part of the process ensures the graphic looks professional and reaches the intended audience.
Finalizing the Design
Before exporting, the designer should review the graphic for any final adjustments. Checking the alignment, colors, and text clarity can make a significant difference.
It’s helpful to zoom in to catch any pixelation or errors that may not be visible at 100%.
After confirming everything looks good, he or she can add any last elements like logos or hashtags. These additions can help in branding and ensuring visibility. Once satisfied, the designer is ready for the export step.
Saving in Different Formats
When exporting the graphic, choosing the right format is essential. Common formats include PNG, JPEG, and PDF.
PNG is ideal for images with transparency and high quality. JPEG is great for photos with more colors but less detail.
For social media purposes, exporting as PNG is often preferred due to its clarity. However, for web use, JPEG can help reduce file size without significant quality loss.
It’s also a good idea to create several versions for different platforms based on their requirements.
Tips for Sharing on Social Media
When sharing the graphic, timing and placement matter. Posting during peak hours can increase visibility.
Each platform has different best practices. For instance, Instagram favors square images while Twitter prefers landscape.
Using hashtags related to the podcast topic can help in reaching a broader audience. Also, tagging people, especially guests or collaborators, can encourage them to share the post. This can lead to more engagement and trackable results.