Design projects often lose their impact when fonts don’t display correctly across devices or when scaling affects the quality. Converting fonts to outlines in Canva turns text into vector shapes, making sure designs stay sharp and consistent everywhere. This simple step is especially useful for logos, graphics, and print materials that need to keep their exact look.
By turning text into outlines, they gain more control over how each letter appears. It removes the risk of font substitutions and allows for easy resizing without losing clarity. This technique also opens the door to creative styling, since outlined text can be customized in ways that standard fonts cannot.
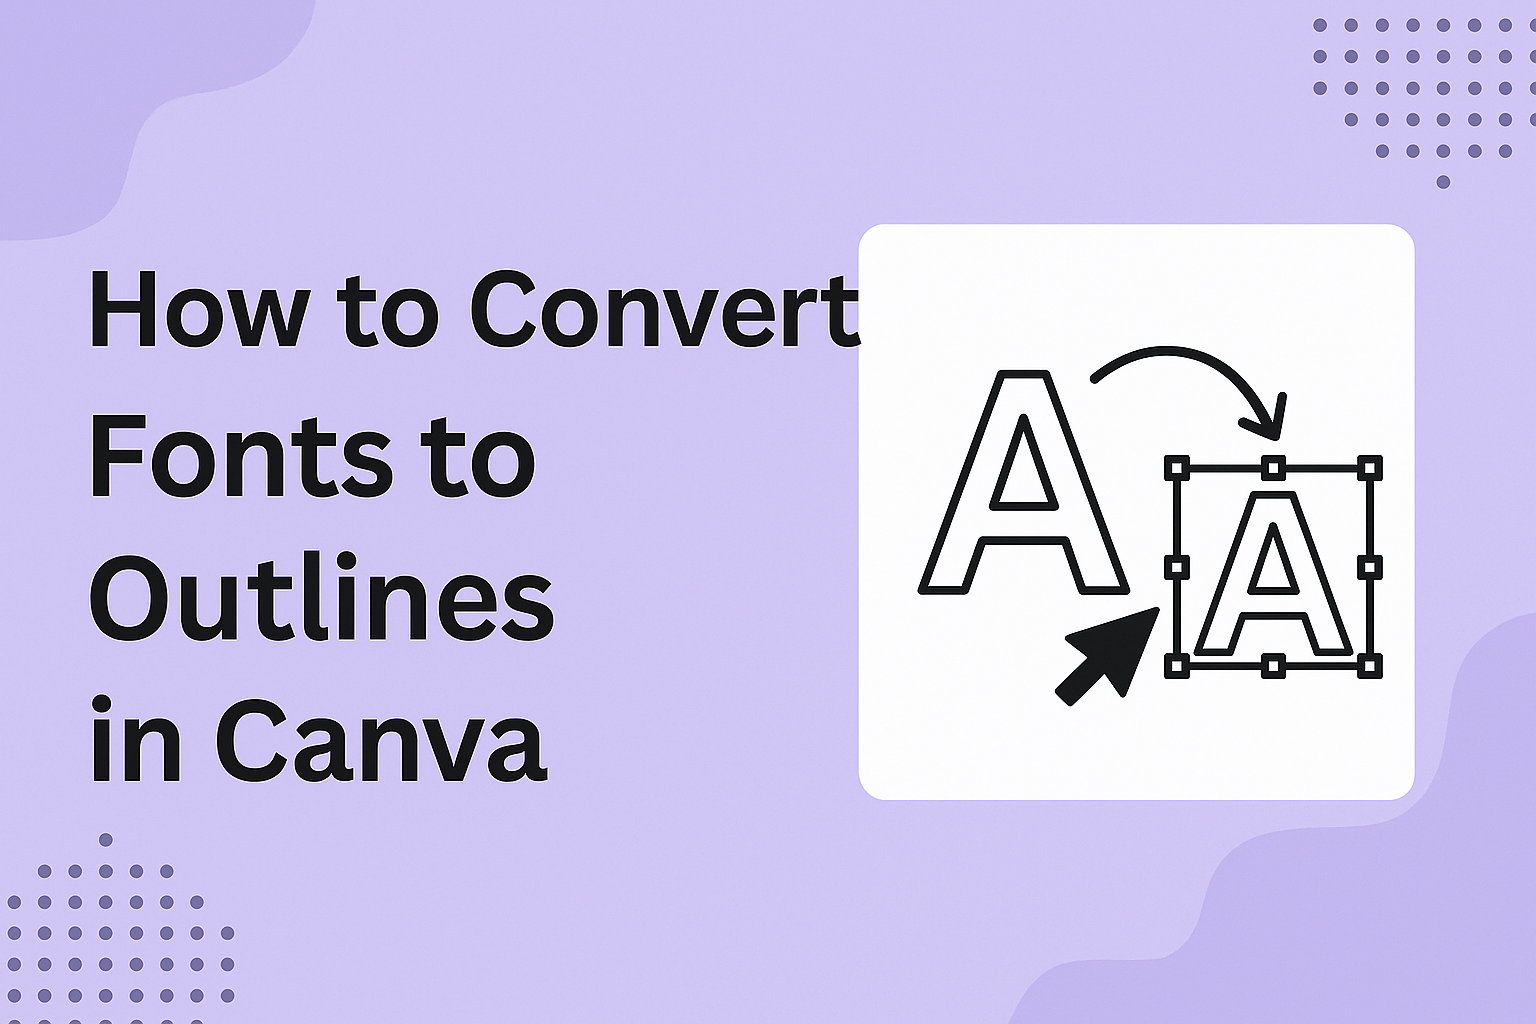
Understanding Fonts and Outlined Text in Canva
Fonts in Canva can be customized to create unique looks for branding, social media, or print projects. Outlined text gives designers more control over scaling, readability, and style without depending on whether a font is installed on another device.
What Are Fonts and Outlines?
Fonts are digital files that define the style of letters, numbers, and symbols. In Canva, users can select from a wide library of fonts or upload their own. Each font carries its own weight, spacing, and design features.
When text is converted into outlines, it changes from editable characters into vector shapes. Unlike regular fonts in Canva, these outlined fonts no longer rely on font files. Instead, each letter becomes a shape that can be resized or adjusted like any other graphic element.
This process ensures that designs keep their appearance across devices. Even if a font is not available on another computer, outlined text will still display correctly. For projects like logos or print-ready graphics, this consistency is especially important.
How Outlined Fonts Work in Graphic Design
Outlined fonts work by treating each character as a vector object. This means the text can scale up or down without losing sharpness. In Canva, outlined text maintains crisp edges whether used for small icons or large posters.
Designers often use this feature to adjust spacing or create layered effects. For example, outlined text can be combined with shadows, gradients, or color blocks to add depth. Since the letters are shapes, they can also be rotated or overlapped in ways standard fonts cannot.
Another advantage is file compatibility. When exporting a design, outlined text ensures that the chosen style does not change if the recipient lacks the font. According to Website Builder Insider, this is one of the main reasons professionals outline fonts before sending files to print.
Benefits of Using Outlined Text
Outlined text offers several practical benefits in Canva:
- Scalability: Text remains sharp at any size, making it ideal for print or digital use.
- Consistency: The design looks the same on all devices, even without the original font.
- Flexibility: Designers can edit each letter as a shape, opening up more creative options.
These advantages are especially useful in branding. A logo with outlined fonts will keep its appearance across business cards, websites, and billboards.
Outlined text also improves control during collaboration. When sharing Canva files, team members do not need to install specific fonts. This reduces errors and saves time during revisions.
Preparing Your Canva Project for Outlined Fonts
Good results with outlined fonts start with careful setup. The right font style, canvas layout, and letter spacing all affect how clean and readable the final design looks.
Choosing the Right Font Styles
Not every font in Canva works well when converted to outlines. Fonts with thin strokes may lose clarity, while very bold fonts can look crowded once outlined.
It helps to test a few font choices before committing. Sans-serif fonts such as Montserrat or Poppins usually hold their shape better than decorative fonts. Serif fonts can also work, but they often need extra spacing to keep the outlines from blending together.
Users should also consider the purpose of the design. For example, logos benefit from strong, simple font styles, while event posters may allow for more decorative options. Canva offers a large library of fonts, so it is worth previewing several to see which ones remain sharp after conversion.
Setting Up Your Canvas
A well-organized canvas makes editing easier. Designers should start with the correct dimensions, whether the project is for print or digital use. Canva allows custom sizes, so setting the width and height early helps avoid resizing later.
It is also important to keep alignment in mind. Placing text in the center of the canvas or using Canva’s built-in guides ensures the outlined fonts remain balanced. Layers can be arranged so text does not overlap with images or shapes.
For projects with multiple text elements, grouping related items can save time. This way, when the fonts are converted to outlines, the grouped text maintains its position and spacing. Keeping the canvas clean and structured prevents mistakes during export.
Adjusting Letter Spacing for Outlines
Letter spacing, also called tracking, plays a big role in how outlined fonts appear. Tight spacing can cause outlines to overlap, while wide spacing may make the text look disconnected.
In Canva, spacing can be adjusted under the “Spacing” option in the toolbar. A small increase in spacing often improves readability once the text is outlined. For bold fonts, slightly wider spacing prevents characters from merging.
Designers should preview the text at different zoom levels before finalizing. This ensures the outlined text looks clear both on screen and in print. Consistent spacing across headings and body text also creates a polished, professional result.
Step-by-Step: How to Convert Fonts to Outlines in Canva
Canva gives users several ways to create text outlines that look clean and professional. Each method changes how the font appears, whether by using built-in effects or by layering text manually for more control.
Using the Hollow Effect for Outlined Text
The Hollow effect is one of the fastest ways to outline text in Canva. To use it, the user selects a text box, clicks Effects in the top toolbar, and chooses Hollow. This instantly converts the font into an outlined version without filling the inside.
They can adjust the thickness slider to make the outline thinner or bolder. Changing the outline color is simple by selecting the text color tool, which allows for custom shades or brand colors.
This method works best for headings, logos, and short text because the style is more decorative than practical. It is also non-destructive, meaning the text remains editable and can be switched back to a regular font at any time.
Applying the Splice Effect for Custom Outlines
The Splice effect gives more flexibility than Hollow because it combines both fill and outline options. After selecting text, the user clicks Effects and chooses Splice. This creates an outline around the letters while keeping the inner text visible.
They can then adjust two key settings:
- Offset: controls how far the outline sits from the text.
- Thickness: changes the weight of the outline.
By setting the fill color to transparent, the text becomes a pure outline. This makes Splice a strong choice for designs that need contrast, such as social media graphics or posters. Unlike Hollow, Splice allows for a layered look by mixing colors between the outline and inner text.
Manual Duplicate Text Method
For more control, users can create outlines manually by duplicating text. First, they copy the text box and place the duplicate behind the original. Then they change the bottom text’s color to act as the outline and adjust its size slightly larger than the top layer.
This method takes more effort but allows for multi-colored outlines, shadows, or thicker borders than Canva’s built-in effects. Designers who want precise styling often prefer this approach because it works with any font, even those that don’t respond well to effects.
The manual method also makes it easier to combine outline text with other design features, like gradients or textured backgrounds. It is especially useful when exporting designs for print, where clean outlines help maintain readability.
Customizing Outline Appearance
Users can change how outlined text looks by adjusting its color, thickness, and style. These edits help the text stand out, improve readability, and create different visual effects for designs.
Changing Outline Color
Outline color is one of the easiest ways to make text more visible. By choosing a contrasting color, the outline separates the letters from the background and improves readability. For example, white text with a black outline works well on busy photos.
Canva allows users to select any color from the palette or enter a hex code for precise branding. This is useful when matching company colors or sticking to a specific theme.
A simple tip is to test different outline colors against the background. Using bold colors like red, yellow, or blue can make headings pop, while muted tones work better for subtle designs.
Adjusting Outline Thickness
Outline thickness controls how bold or subtle the border appears. A thin outline creates a clean look, while a thick outline adds weight and emphasis to the text.
In Canva, users can adjust this thickness by dragging a slider or selecting preset values. This makes it easy to experiment with different looks without starting over.
Designers often use thicker outlines for posters, banners, or social media graphics where text must stand out from a distance. Thinner outlines are better for smaller text, like captions or labels, where readability is key.
Creating 3D and Layered Outline Effects
Layered outlines create depth and style without advanced tools. In Canva, users can duplicate text, change the outline color of each layer, and offset them slightly to create a shadow or 3D effect.
For example, placing a black outlined layer behind a white outlined layer gives the text a bold, stacked look. This method works well for titles, logos, or designs that need extra impact.
Users can also combine multiple colors to create a gradient-like effect. By layering two or three outlines with different thicknesses, the text gains a more dynamic, eye-catching style. This technique is especially useful for event graphics and digital ads.
Design Tips for Professional Outlined Fonts
Outlined fonts can add structure and style to a layout, but they need careful use to stay clear and professional. Small adjustments in spacing, color, and effects can make the difference between polished design and text that feels cluttered or hard to read.
Best Practices for Readability
Readability should always come first when using outlined fonts. Designers should avoid making the outline too thin or too thick, since both can reduce clarity. A thin outline can disappear against busy backgrounds, while a thick one can overwhelm the letter shapes.
Contrast also matters. Outlined fonts work best when paired with a background that allows the text to stand out. For example, black outlines on light backgrounds or white outlines on dark backgrounds help maintain visibility.
Spacing is another key factor. Adequate letter spacing prevents outlined fonts from blending together. Many designers slightly increase tracking to keep the text legible, especially at smaller sizes.
When preparing designs for print, outlined fonts should be tested at the final size. What looks sharp on screen may blur when scaled down or printed, so checking in advance avoids surprises.
Combining Outlined Fonts with Other Effects
Outlined fonts can pair well with other text effects, but balance is important. Adding too many effects can distract from the message. Designers often keep the outline as the main feature and use other effects sparingly.
A common approach is to combine outlined fonts with a solid shadow or subtle gradient. This creates depth without making the text difficult to read. Glow effects can also work, but they should be soft and not overpower the outline.
Mixing outlined fonts with filled fonts in the same design can create hierarchy. For example, a headline might use outlined text, while supporting details use a solid font style. This contrast helps guide the viewer’s eye.
Outlined fonts also work well in layered designs. Placing them over simple shapes or color blocks can add emphasis and keep the layout clean.
Common Mistakes to Avoid
One of the most common mistakes is overusing outlined fonts. They should highlight key elements, not every piece of text. Using them too often reduces their impact and makes the design harder to read.
Another mistake is ignoring scale. Outlined fonts may look sharp at large sizes but lose clarity when reduced. Designers should test different sizes to ensure the outline remains distinct.
Color choices can also cause problems. Outlined fonts with low-contrast colors, such as light gray on white, often disappear. Strong contrast between outline, fill, and background is essential for visibility.
Finally, combining outlined fonts with overly complex backgrounds can create visual noise. Busy images or patterns behind the text make it difficult to separate the letters from the design. Simple backgrounds usually work best for outlined fonts in professional layouts.
Ensuring Consistency and Exporting Outlined Text
When designers convert fonts to outlines in Canva, they gain control over how text appears across different platforms. This step helps avoid font substitution issues and ensures that shared or printed files keep the intended look.
Maintaining Font Consistency Across Designs
Outlined text in Canva keeps the design consistent even when fonts are not installed on another device. Once text is converted, it becomes a shape, so the style will not change if opened by someone else. This is especially useful for logos, posters, and branded graphics.
To keep a uniform style, designers often limit their font choices to two or three families before converting. Using too many can make designs look cluttered.
Another benefit is control over letter spacing and alignment. Since outlined text is treated as a graphic, adjustments can be made to each letter individually. This allows for precise placement that stays consistent across platforms and print formats.
Exporting and Sharing Outlined Text Designs
Once fonts are outlined, exporting becomes straightforward. In Canva, users can download files as PDF, PNG, or JPG, and the outlined text will remain exactly as designed. This prevents issues where a printer or collaborator does not have the same font installed.
Outlined text is also helpful for printing at high resolution. According to this guide on converting text to outlines, outlined designs reduce the risk of missing fonts and layout shifts during production.
When sharing online, outlined text ensures the design looks the same on every browser or device. However, once exported, the text cannot be edited as normal text. For this reason, many designers keep an editable version saved in Canva before creating the outlined export.