Creating an interactive survey form can seem daunting, but it doesn’t have to be. With Gravit Designer, users can easily build engaging survey forms that capture valuable feedback.
These tools allow for customization and creativity, making surveys not only functional but also visually appealing.
By using Gravit Designer, individuals can create forms that stand out and encourage participation. This approach helps gather insights that are essential for improving services or understanding audience preferences.
The design process can be enjoyable and rewarding, leading to a better connection with respondents.
Whether for market research, event feedback, or customer satisfaction, an interactive survey form can provide essential data. Gravit Designer offers the flexibility and features needed to create a unique survey tailored to specific goals.
Readers will discover tips and techniques to make their surveys effective and user-friendly.
Getting Started with Gravit Designer
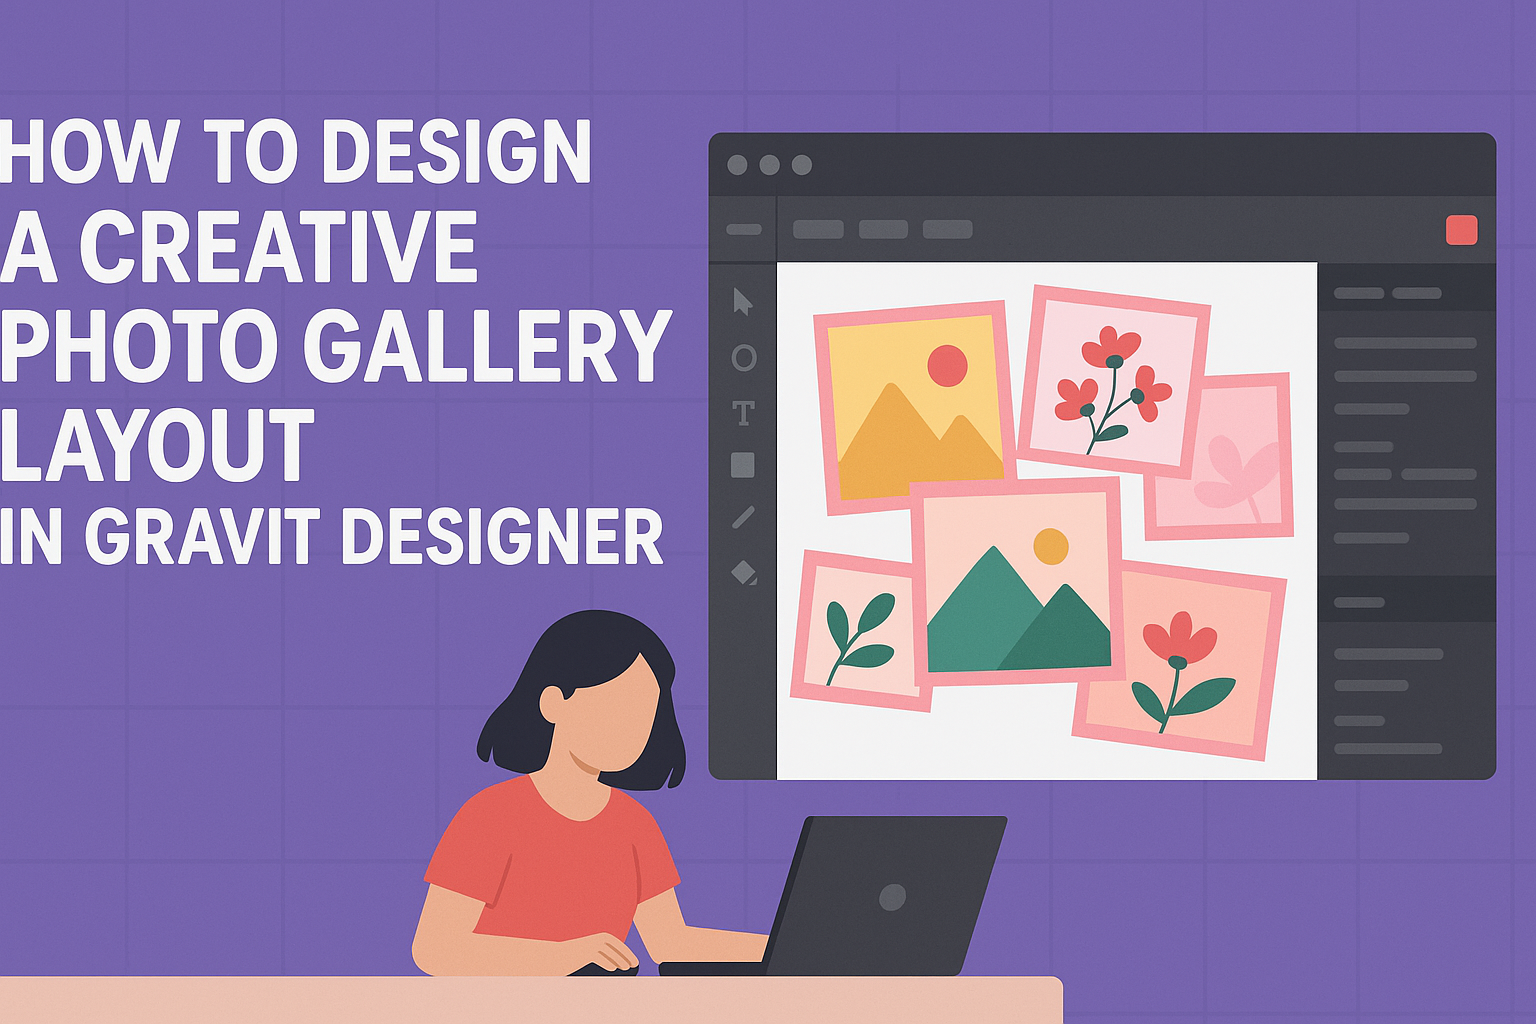
Gravit Designer is an accessible tool for creating vector graphics. It offers a range of features suitable for both beginners and more experienced users.
This section will cover the basics needed to jump into using the software.
Overview of Gravit Designer
Gravit Designer is a free, cross-platform vector design tool. It allows users to create complex designs with ease. Key features include vector editing, cloud saving, and multi-page documents.
Users can export their designs in various formats like PDF, SVG, JPEG, and PNG. The design space is customizable, making it a flexible choice for creating anything from logos to interactive forms.
It supports advanced features as well, such as symbols and boolean operations, giving users the ability to work efficiently.
Setting Up Your Workspace
To begin, users need to create a Gravit Designer account. This account allows them to access saved projects from any device.
After logging in, the workspace can be customized. Users can adjust the layout by adding or removing panels such as layers, properties, and assets.
Choosing the right setup is vital for productivity. It helps to have tools easily accessible based on the specific project needs.
Setting up a comfortable workspace encourages creativity and efficiency when designing a survey form.
Understanding the Interface
The Gravit Designer interface is user-friendly and intuitive.
At the top, users will find a menu bar with essential tools like file options, editing tools, and export options.
On the left side, the toolbar contains various drawing tools, including the pen, shapes, and text tools.
The right panel displays properties for selected objects, allowing for quick adjustments. Users can easily manipulate size, color, and effects here.
Familiarity with these elements enhances the design experience and ensures users can create their forms without unnecessary confusion.
Designing the Survey Layout
Creating a well-structured survey layout is crucial for gathering accurate and meaningful responses. This section highlights the steps to create a new document, manage survey questions effectively, and style text and form elements to enhance user experience.
Creating a New Document
To start designing a survey in Gravit Designer, the user needs to create a new document. They should choose a size that fits the intended platform, like web or mobile. A common size for web surveys is 800×600 pixels.
Next, they can set the background color. A light background works well for readability.
It’s important to label the document appropriately for easy identification later. If desired, users can also create a grid layout to aid alignment.
Adding and Managing Survey Questions
Once the document is ready, users can begin adding survey questions. They should make sure each question is clear and concise to avoid confusion. For multiple-choice questions, other elements like radio buttons or checkboxes can be used.
To manage questions, users can group similar items for organization. This helps respondents navigate the survey easily.
Also, using section headers can break up the content, making it less overwhelming.
Styling Text and Form Elements
Styling is essential in making the survey visually appealing.
Users should choose fonts that are easy to read, like Arial or Helvetica. Keeping font sizes consistent throughout the survey improves readability.
In addition to fonts, users can add colors to buttons and form fields.
It’s often effective to use contrasting colors to make important elements stand out. Borders and shadows can be used around form elements to define areas clearly.
Using these design techniques ensures a polished and inviting survey layout.
Enhancing User Interaction
Creating an engaging survey form involves using interactive elements, gathering feedback, and ensuring smooth navigation. These aspects help users feel involved and improve their overall experience.
Using Interactive Elements
Interactive elements can significantly enhance user engagement. By incorporating buttons, sliders, and dropdown menus, the survey becomes more dynamic. Users respond better when they have options that feel engaging.
For example, a slider for rating satisfaction allows users to adjust their response easily. Buttons can be used for quick responses, reducing time spent on each question.
These elements make the survey visually appealing and encourage users to participate fully.
It’s essential to ensure these interactive features are user-friendly. Clear labels and intuitive designs help users navigate with ease. This way, they can provide their input without frustration.
Incorporating Feedback Mechanisms
Feedback mechanisms are crucial for improving the user experience.
Including options like comment boxes gives users a chance to express their thoughts in detail. This additional input can provide insights that multiple-choice questions might miss.
Utilizing Thank You messages after submitting the survey can also enhance interaction. It acknowledges users’ efforts and encourages further participation in future surveys.
By analyzing feedback, designers can identify areas for improvement. This proactive approach shows users that their opinions matter, fostering a stronger connection and encouraging them to participate again.
Testing the Survey Flow
Testing the survey flow is imperative to ensure smooth user interactions.
Running through the survey multiple times helps identify any confusing sections. It allows designers to see how users navigate the form.
Gathering user feedback during testing is essential.
It provides insights into potential pain points or delays in the process.
Using tools to track user behavior can also be helpful.
Designers can see where users drop off or lose interest. This information is vital for making adjustments that enhance the overall user experience.