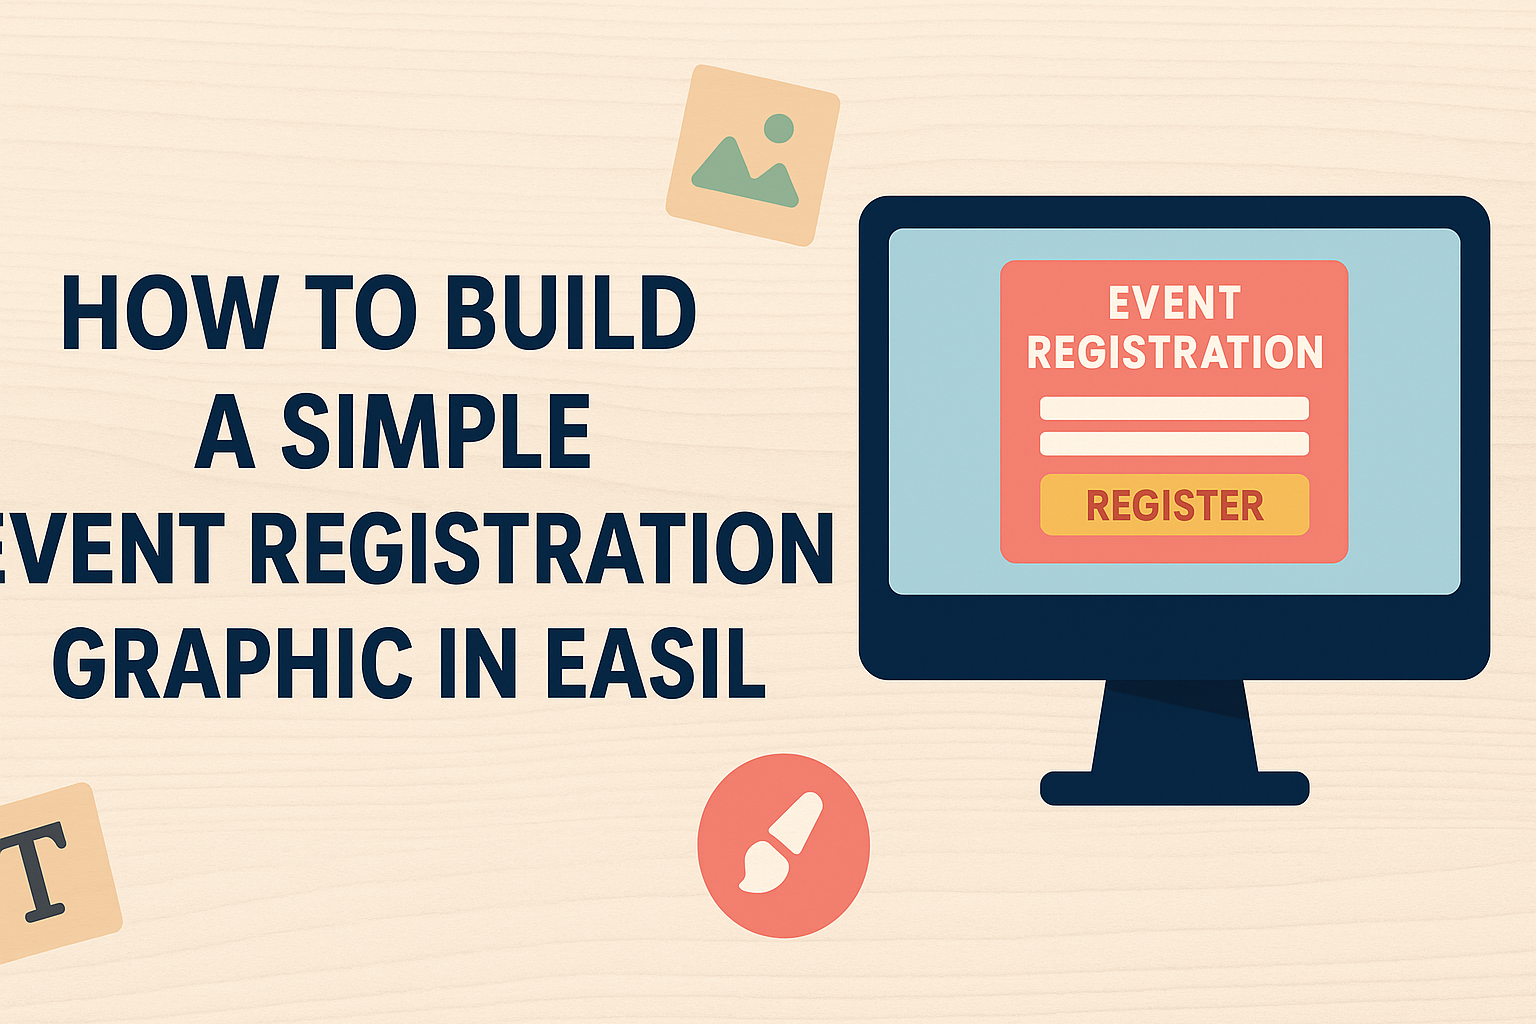
Creating an event registration graphic can seem challenging, but it doesn’t have to be. With Easil’s user-friendly tools, anyone can design an eye-catching graphic in just a few easy steps.
With the right templates and customization options, it becomes a quick and fun process to make your event stand out.
In this blog post, the reader will discover how to use Easil to build a simple yet effective graphic for event registration. Whether it’s for a small gathering or a large conference, using a well-designed graphic can attract more attendees.
By following a straightforward approach, anyone can create a professional look without needing advanced design skills.
Getting started is as simple as choosing a template and personalizing it to match the event’s theme and branding. Utilizing Easil’s features makes it easy to customize colors, add images, and adjust text.
The end result is a polished graphic that not only looks great but also effectively communicates event details.
Understanding Event Registration Graphics
Event registration graphics play a crucial role in attracting attendees and communicating essential details about an event. These graphics are designed to be visually appealing and informative, making them effective marketing tools.
Defining Event Registration Graphics
Event registration graphics are visual elements created to promote events and capture attendee information. They include items like banners, flyers, social media posts, and online registration forms.
These graphics highlight key details such as the event date, location, and purpose. They often incorporate branding elements like colors and logos to ensure consistency.
A well-designed graphic not only grabs attention but also conveys important information in a clear way. This clarity helps reduce confusion for potential attendees, making them more likely to participate.
Importance in Marketing and Communication
Event registration graphics are vital in marketing and communication strategies. They help generate interest and excitement around an event.
When designed effectively, these graphics can lead to a significant increase in registrations. For instance, events with custom graphics can see a 271% increase in page views.
Additionally, compelling visuals reinforce brand identity and professionalism. Consistent graphics across all platforms, such as social media and emails, build trust with the audience. This trust can encourage attendees to share the event within their networks, further expanding reach.
Getting Started with Easil
Easil makes it easy for anyone to create stunning graphics for events. By following a few simple steps, anyone can set up an account, navigate the interface, and choose templates that fit their needs.
Creating an Easil Account
To get started, a user must create an Easil account. This process is straightforward. They can visit the Easil website and click on the “Sign Up” button.
Users have the option to sign up using an email address or through social media accounts. After entering the necessary information, they will receive a confirmation email. Following this, they need to verify their email to activate the account.
Once the account is active, users can access the Easil platform and start designing.
Navigating the Easil Interface
After signing in, users will see a clean and user-friendly interface. The main menu is located on the left side, allowing easy access to various sections. Users can find features such as their projects, templates, and tutorials in this menu.
At the top of the screen, there’s also a search bar. This helps users quickly locate specific templates or design elements. Additionally, a toolbar allows for quick editing of graphics once a design is selected.
Understanding the layout can make the design process smoother and more enjoyable.
Easil Templates Overview
Easil offers a wide range of templates to suit different events and styles. Users can browse templates categorized by themes, such as parties, corporate events, and promotions.
Each template is fully customizable, allowing users to change colors, fonts, and images as needed.
When users select a template, they can easily edit text and graphics. They can upload their own images or choose from Easil’s stock library, which contains millions of free images.
This flexibility ensures that everyone can create a unique and eye-catching event graphic that stands out. With so many options available, users are likely to find a template that fits their vision perfectly.
Designing Your Event Registration Graphic
Creating a visually appealing event registration graphic involves careful consideration of dimensions, colors, text, and branding elements. Each aspect plays a crucial role in catching the eye of potential attendees and providing essential information.
Selecting the Right Dimensions
Choosing the right dimensions for the graphic is foundational. Easil offers various template sizes, but the most common ones are for social media posts, flyers, and banners.
For social media, a square or vertical format often works best. This can include dimensions like 1080 x 1080 pixels for Instagram or 1200 x 630 pixels for Facebook.
For print materials, standard sizes like A4 or A5 work well. Always consider where the graphic will be displayed to ensure it’s effective.
Choosing a Color Scheme
A well-thought-out color scheme enhances the graphic’s appeal. It’s essential to pick colors that represent the event’s theme and promote the right emotions.
Using a palette of 2-4 colors can keep the design cohesive. For example, a bright orange can evoke excitement, while blue can communicate trust.
Tools like Adobe Color or Coolors can help find complementary colors. Make sure that the text contrasts well with the background to ensure readability.
Working with Text and Typography
Text and typography play a pivotal role in conveying the event’s message. Selecting readable fonts is essential for understanding key details such as the event name, date, and location.
Using a combination of font styles can highlight important information. For instance, a bold font for the title, paired with a cleaner font for the details, creates a good balance.
It’s also important to limit the amount of text. Clear, concise information will attract attention better than cluttered, lengthy descriptions.
Adding Images and Branding Elements
Incorporating images and branding elements adds a professional touch. Including the event logo helps establish brand recognition.
Relevant images can draw potential attendees’ interest. For example, using a captivating photo of previous events can create excitement.
Easil allows users to integrate graphic elements easily. Just make sure these images maintain a high resolution to avoid blurriness, which can detract from the design’s impact.
Finalizing and Sharing Your Graphic
Before sharing a graphic, it’s important to ensure its layout is polished and that it’s ready for distribution. The process includes reviewing and adjusting its layout, exporting the final design, and sharing it across various platforms. Each step plays an important role in making a lasting impression.
Reviewing and Adjusting Layout
Checking the layout is crucial for a professional appearance. It starts with looking closely at the alignment of text and graphics. Everything should be visually balanced.
Colors should match the event’s theme and be easy to read. Use contrasting colors for text and backgrounds. This helps important information stand out.
Next, ensure the font sizes are appropriate. Key details like dates and times should be larger and bolder. The overall design should guide the viewer’s eyes to the most important parts.
Finally, ask for feedback. Getting a second opinion can help catch any mistakes or areas for improvement. Adjustments made here can greatly enhance the graphic’s effectiveness.
Exporting the Final Design
Exporting the design is a key step before sharing. In Easil, users should select the right file format based on where they plan to share it. For social media, PNG is usually the best choice as it maintains quality.
If printing is necessary, a PDF format might be more appropriate. This ensures sharp images and clear text.
Before exporting, double-check all text for errors. It’s easy to overlook typos in the design view. A fresh look can make all the difference.
After exporting, keep a backup of the original file. This allows for easy edits in the future, should adjustments be needed later.
Sharing on Social Media and Other Channels
When sharing a graphic, the platform matters. Different channels might require different approaches.
For instance, Instagram favors visual appeal, so vibrant graphics are essential.
Facebook allows more detailed posts, so a brief description can enhance the engagement. Use relevant hashtags to make the graphic easily searchable.
Email newsletters are another effective way to share. Including the graphic with a short message can grab attention immediately.
Additionally, consider creating an event page on a dedicated site. This helps centralize all information in one spot.
To maximize reach, she can encourage others to share the post. This simple action can lead to a larger audience.