Adding a placeholder image in Canva can really enhance a design. This simple process allows anyone to create professional-looking graphics without needing to have final images ready.
By using placeholder images, designers can focus on layout and composition first, making it easier to visualize the final product.
Canva offers an easy way to incorporate these placeholders into any project. Users can access a variety of options directly from the Elements tab, ensuring that they find the perfect fit for their designs.
This feature is especially useful for those who are working on projects that may be finalized later or for creating templates.
Whether someone is designing for social media, presentations, or other creative projects, using placeholders can save time and streamline the design process. Dive into the steps to add these images and discover how they can transform the workflow.
Getting Started with Canva
Canva is a user-friendly graphic design tool that makes it easy to create stunning visuals. Understanding how to navigate the interface and start a new design is essential for getting the most out of Canva.
Understanding the Canva Interface
The Canva interface is designed to be intuitive and straightforward. When users first log in, they see a clean dashboard with options to create a design, view recent projects, and access templates.
On the left side, there is a toolbar with various elements like Text, Elements, and Photos. Each section contains tools and resources to enhance designs.
Users can search for images, icons, and templates using the search bar at the top.
The top menu bar provides options for saving, sharing, and exporting designs. Familiarizing oneself with these features makes it easier to create effective designs quickly.
Creating a New Canva Design
To start a new design, users can click on the “Create a design” button on the dashboard. A drop-down menu will appear with various document types, such as Presentation, Instagram Post, or Custom Size.
After selecting a type, Canva opens a blank canvas. Users can easily adjust the size of the canvas by dragging the corners or entering specific dimensions.
Next, they can explore templates for inspiration.
To apply a template, users just click on it, and it will populate the canvas. From there, they can modify text, colors, and images to match their style or branding.
This flexibility allows for creativity and personalization in design work.
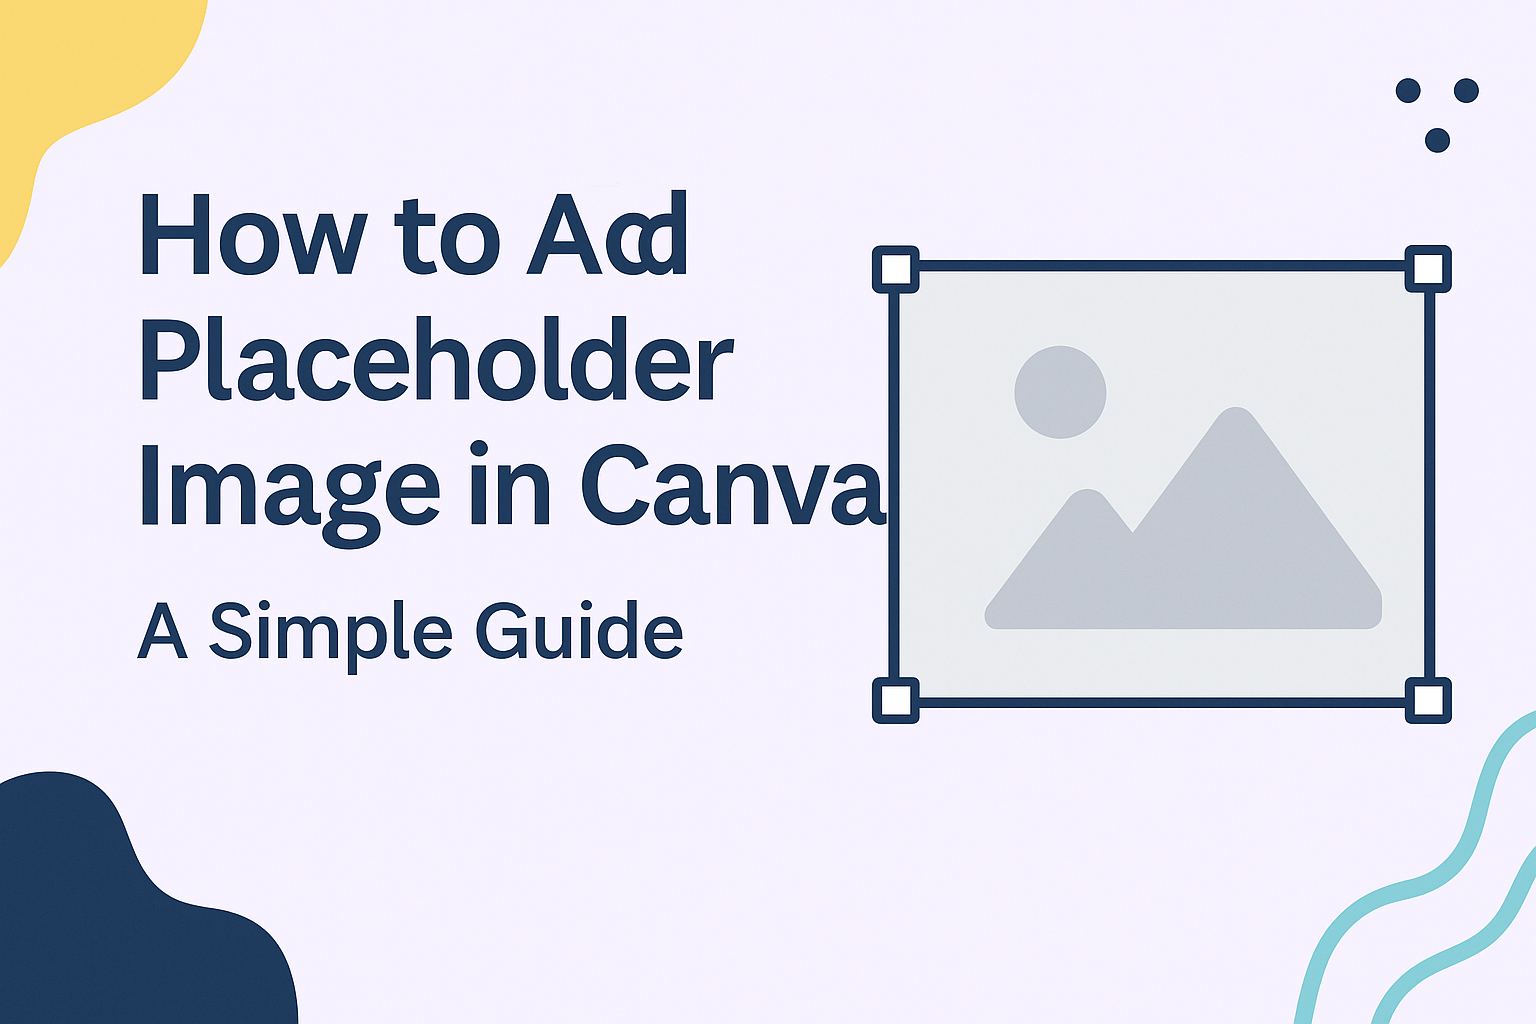
Adding Placeholder Images
Adding placeholder images in Canva is a straightforward process. Users can choose from built-in placeholders, upload their own images, and easily adjust the size and position to fit their design needs.
Using Canva’s Default Placeholders
Canva offers a variety of default placeholders that make it simple to enhance designs. To get started, users should open their design project and navigate to the Elements tab on the left menu.
From there, they can scroll down to find the Placeholder category. Once they find a placeholder that suits their design, it can be dragged and dropped onto the canvas.
These placeholders can be resized or moved around just like any other element. They are a great way to plan a layout without having the final images ready.
Uploading Custom Placeholder Images
For those who want a unique touch, uploading custom placeholder images is easy. Users can click on the Uploads tab on the left menu and then select the Upload an image or video button.
After choosing the file, it will appear in the uploads area. Users can simply drag their uploaded image onto the design.
This feature allows for more personalized designs. Using custom images can help communicate the intended message more effectively.
Adjusting Placeholder Images
Once a placeholder image is in place, adjusting it is simple. Canva provides options to resize, crop, and rotate images.
To resize, users can click on the corners of the image and drag. Cropping can be done by double-clicking the image, allowing users to move it within the frame.
Rotation can be achieved by clicking and dragging the circular arrow at the top of the image.
Adjusting placeholders in this way helps ensure that they fit perfectly within the design layout.
Design Tips and Best Practices
When creating placeholder images in Canva, there are important elements to consider. Choosing the right image size ensures clarity, while maintaining visual consistency creates a cohesive design. These tips help designers communicate their message effectively.
Choosing the Right Image Size
Selecting the correct image size is crucial for any design project. Canva offers a range of template sizes, so it’s vital to pick one that fits the intended use.
Tips for Choosing Image Size:
- Aspect Ratio: Be mindful of the aspect ratio. Common sizes include 16:9 for presentations and 1:1 for social media posts.
- Resolution: Images should have a resolution of at least 72 DPI for digital use. Higher DPI is needed for print materials.
- Canvas Size: Adjust the canvas size in Canva based on where the image will be displayed. This ensures no important visual elements get cropped.
Proper image sizing prevents blurriness and distortion, enhancing overall design quality.
Maintaining Visual Consistency
Visual consistency helps reinforce a brand’s message.
This includes using similar colors, fonts, and styles across all images.
Key Points for Consistency:
-
Color Palette: Select a color palette that reflects the brand’s identity and stick to it.
Tools like Canva allow users to save custom palettes.
-
Typography: Choose one or two fonts for all designs.
Consistent typography creates a harmonious look.
-
Image Style: Whether using illustrations, photos, or graphics, keep a similar style or theme to unify the design.
Keeping these elements aligned contributes to a professional and polished appearance in Canva projects.