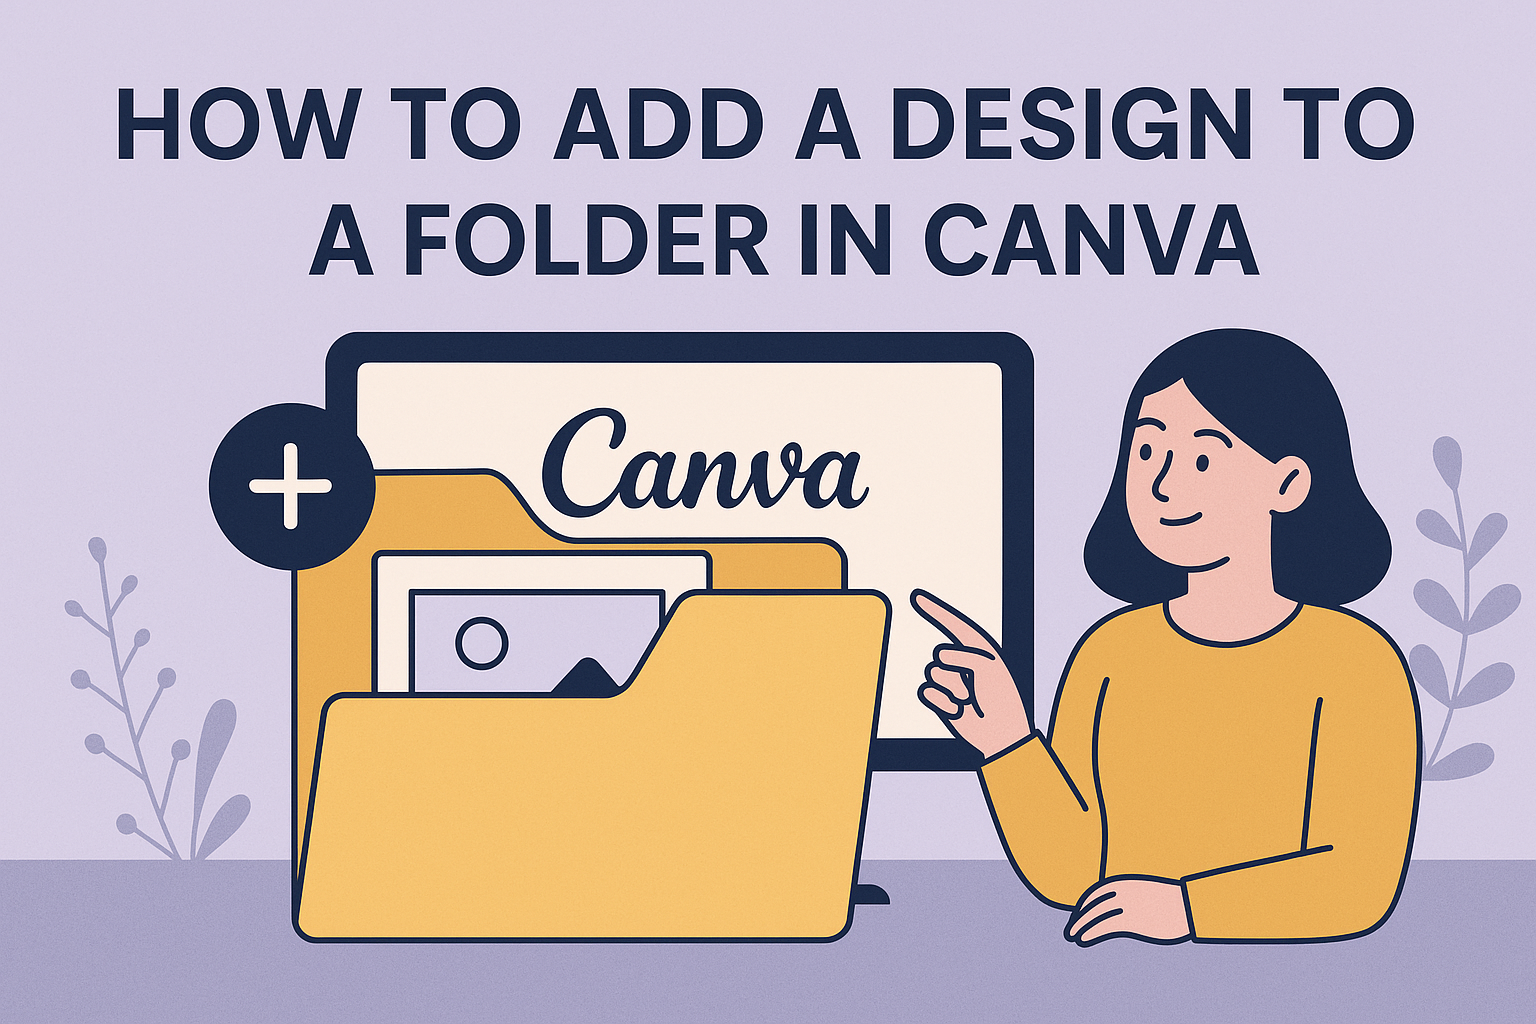
Organizing designs efficiently can be a game-changer for anyone using Canva, whether for work or personal projects.
Keeping your designs in order not only boosts productivity but also ensures a seamless creative process. When designs are scattered, it can be frustrating to find what you need quickly.
To make life easier, Canva has a simple feature that allows users to add or create designs in folders. By moving existing designs into folders, or creating new ones within them, you can save time and keep everything organized.
This feature is especially helpful for teams, enabling members to share and access designs effortlessly.
For those wondering how to start, the process is user-friendly.
Users can manage their designs by either dragging them into a folder or selecting the option to move them.
For step-by-step guidance, ways to organize designs and create folders are explained in detail on the Canva Design School.
Curious minds will find this a helpful tool in enhancing their design workflow.
Getting Started with Canva
Getting started with Canva is straightforward and user-friendly.
This section covers account creation and understanding the dashboard, essential first steps to begin creating designs.
Creating a Canva Account
Creating an account on Canva is simple. Users can sign up with an email address or use existing Google or Facebook accounts for a quicker setup.
Following the sign-up page prompts leads users to indicate their purpose for using Canva—options include personal use, work, education, and more.
After selecting the intended use, users can explore Canva’s vast range of templates. These include options for social media posts, presentations, posters, and more.
Opting for Canva’s free plan provides access to many features, while a paid plan unlocks additional tools and resources. This accessibility has made Canva a popular choice among design enthusiasts and beginners alike.
Navigating the Canva Dashboard
Navigating the Canva dashboard is intuitive and designed to help users easily find what they need.
Upon logging in, users will see a homepage displaying options like recent designs, shared projects, and recommended templates.
The left-hand menu provides quick access to key sections such as “All Your Designs,” “Brand Hub,” and “Folders.”
The search bar at the top aids in quickly locating templates or previous projects. Users can also explore the “Discover” tab for tips, tutorials, and design inspiration.
The overall layout allows users to smoothly transition between creating new designs and organizing existing ones into folders for better productivity. This feature makes it easier for individuals or teams to keep projects managed and accessible.
Selecting Your Folder
When working on Canva, it’s essential to keep your designs well organized. The following guidelines will help you either create new folders for fresh projects or efficiently manage existing ones.
Creating a New Folder
Creating a new folder in Canva is straightforward.
Start by visiting the Projects tab, which you can find in the side panel of the Canva homepage. Once there, look for the plus icon (+) located in the top right corner of the page. Clicking it will give you the option to select New Folder.
After selecting “New Folder,” a dialog box will prompt you to name the new folder. This step is crucial for organizing your designs logically.
If you’re using Canva for Education, you may also choose to share this folder with your team or class. This makes collaboration smoother and keeps everyone’s work in one place.
Hit the Create button, and your new folder is ready. This step-by-step method helps ensure that each folder is suitably structured for easy access and enhances productivity by keeping projects sorted.
Organizing Existing Folders
Managing existing folders in Canva allows you to declutter and streamline your workspace.
Start by reviewing the folders you already have. This is important for identifying which folders need reorganizing or even deleting.
Select a folder to see its content, which helps determine how to organize the designs within it.
Consider consolidating similar projects. If multiple folders have overlapping themes, merge them into one to simplify your setup.
Use drag-and-drop functionality to move designs between folders effortlessly.
Additionally, rename folders to make their purposes clear. This makes future navigation easier and ensures quick access to designs when needed.
Regularly revisiting and updating the structure of your folders will keep your Canva workspace tidy and efficient.
Choosing a Design for Your Folder
Picking the right design for your folder in Canva is both exciting and crucial. It involves selecting a template that fits the project’s purpose and personalizing it to meet specific needs.
Browsing Design Templates
Canva offers a wide array of design templates, making it easy to find something that suits various projects.
Users can explore the templates by navigating to the “Templates” section on Canva’s homepage, where they can browse by category such as business, education, or personal use.
Each template is crafted with a specific purpose in mind, so it’s helpful to keep the project’s goal at the forefront when making a selection.
Users can preview multiple templates before settling on one. This way, they can ensure the design’s aesthetics align with their vision.
Keywords and filters can be used to narrow down options, saving time and helping to focus on styles that resonate with the user or project requirements.
Customizing a Template
Once a template is chosen, customization can turn it into something truly unique.
Canva allows users to modify various elements, including text, color schemes, and images.
To begin customizing, users select the template and open it in the editor.
With tools available in the Canva editor, users can replace text with their own content, ensuring that it matches the project’s theme and voice.
Adjusting the color palette and fonts can help keep the design consistent with any branding needs.
Images can also be swapped out or added from Canva’s library or personal uploads, giving users full creative control over the final look of their design.
This makes it easy to ensure that the final product is both visually appealing and effectively communicates the intended message.
Customizing Your Design
Customizing a design in Canva allows users to add unique text elements, include various images and icons, and adjust colors and fonts to suit their vision. Each component serves a different purpose and can significantly enhance the design’s appeal.
Adding Text Elements
Text elements can make a design more impactful.
In Canva, users can add text by selecting the “Text” tab on the left panel. They can choose from headings, subheadings, or body text, depending on their needs.
Once placed, text boxes can be resized by dragging the corners. Clicking on the text opens a toolbar that allows changes to font style, size, color, and alignment.
Users can also apply effects like shadows or outlines to make the text stand out.
Bulleted or numbered lists help organize text details. Bold, italic, and underlined text enhance emphasis and contrast.
With these tools, users can ensure their message is clear and visually appealing.
Incorporating Images and Icons
Images and icons bring life to a design.
Canva provides a vast library of both free and premium images.
By clicking the “Photos” or “Elements” tab, users can search for the perfect image or icon to complement their design theme.
Uploading personal images is also an option by clicking “Uploads” and then “Upload files.”
Dragging any selected image or icon onto the canvas allows users to move, resize, and crop to fit the design efficiently.
For ease of arrangement, users can layer images over or under other elements. Adjusting transparency and applying filters are additional ways to ensure images match the design’s style, contributing to an appealing final product.
Adjusting Colors and Fonts
Color and font choices can transform a design’s mood and readability.
Canva makes it simple to adjust by selecting any design element. A new menu will appear, featuring color options and font choices.
Users can apply a pre-set color palette or customize hues by entering specific color codes. This personalization can ensure consistency with branding or personal preferences.
Font features include options for different styles and weights.
Design balance is essential. Mixing contrasting fonts or alternating colors can establish a visual hierarchy.
Combining these elements ensures that a design is not only aesthetically pleasing but also effectively communicates its intended message.
Applying the Design to Your Folder
When organizing designs in Canva, applying them correctly within folders can streamline your creative process. Using features like “Your Projects” or setting a design as a folder cover helps in managing and visualizing projects efficiently.
Using the ‘Your Projects’ Feature
To apply a design to a folder, one effective method is the “Your Projects” feature in Canva.
Users should first navigate to the “Projects” tab found on the left side of the Canva interface. This area allows individuals to manage and organize all their designs.
After accessing “Your Projects,” locate the specific design you wish to organize. With the design selected, there are options to add it directly to a pre-existing folder.
This helps maintain organization and easy retrieval of work whenever needed.
For those creating a new folder, users can click the “+” button to create one. Naming the folder appropriately will make it easy to remember and locate.
Once the folder is created, moving designs into it can be done quickly by clicking and dragging or through menu options.
Setting the Design as Folder Cover
Another useful tip in organizing designs is setting a specific design as a folder cover. This not only helps in identifying the folder quickly but also adds a visual element to organization.
To set a design as a folder cover, start by selecting the preferred design within your folders. Once chosen, there are options available to assign it as the folder cover.
This visually aligns your work, making navigation easier.
Having a visual representation for folders greatly enhances identification. It’s particularly beneficial when managing numerous projects, as visuals can often communicate more clearly than folder names alone. This method keeps your workspace tidy and visually appealing.
Sharing and Collaboration
Sharing and collaborating on Canva designs is simple and effective. Users can easily share folders with others and work together on design projects, enhancing productivity and creativity.
Sharing Your Folder with Others
To share a folder in Canva, start by ensuring you are the owner or have the right permissions.
Open Canva and go to the Folders section. Find the folder you want to share, and select it.
Next, click the Share button. You can invite others by entering their email addresses. If needed, adjust their access levels to determine if they can edit, view, or only comment on the designs.
Using the Collaboration Link option, share the folder with anyone, providing flexibility in who can access it. This feature allows seamless teamwork without needing to send individual invites.
Collaborating on Folder Design
Collaborating on design projects requires setting clear permissions.
Ensure everyone involved has the correct access to the folder. This is done by selecting Can Edit when sharing to allow editing or Can View for limited access.
Once permissions are set, team members can view or work on designs within the folder. They can add comments directly to the designs for an efficient feedback process.
Communication is key during collaboration, so use Canva’s built-in tools like comments to facilitate discussions.
This helps keep everyone on the same page and ensures the design process moves smoothly. These steps enhance the collaborative experience, leading to high-quality results and satisfied team members.
Maintaining Your Folder Design
To keep your Canva folders neat and effective, it’s crucial to update them regularly. Using smart organization helps locate designs quickly and boosts productivity.
Updating Folder Designs
Regularly refreshing folder contents is key.
When designs are no longer needed, he or she should move them to an archive or delete them completely. This practice avoids clutter, ensuring only relevant designs are quickly accessible.
For frequently updated projects, replacing old versions with new ones keeps your folder current.
Users should also take advantage of Canva’s feature to rename folders as projects evolve. This makes it easier to understand the folder’s purpose at a glance.
Color coding or adding tags is another method to quickly identify the folder’s contents or category. These simple updates save time and keep folders user-friendly.
Organizational Tips
Effective organization involves grouping similar designs in dedicated folders.
Users may create folders by project, client, or design type. This structure helps locate designs without endless searching.
Another tip is to leverage Canva’s shared folder feature for team collaborations.
He or she can grant access permissions to streamline design sharing and feedback. Using clear labels for folder names and sub-folders adds another layer of ease.
Consider implementing a consistent naming convention for files and folders.
This helps maintain order, as everyone knows exactly where to find what they need.
Keeping everything tidy and systematic can significantly improve productivity and reduce the stress of a cluttered digital workspace.