Getting started with Canva can be exciting, especially when collaborating with others. Friends or teammates might send invitations to work together on projects.
To accept a pending invitation on Canva, users need to find the “Invitations” tab on the left side of the homepage and click on it to view all received invitations.
Once in the “Invitations” tab, users can easily see their pending invitations. If an email invitation was received, clicking on the link within the email is also necessary to join a project.
This straightforward process ensures that users can jump right into their designs without any hassle.
Getting Started with Canva Invitations
Canva invitations allow users to join collaborative projects easily. Knowing how to navigate these invitations is important for effective teamwork. Here are some key steps for getting started.
Locating Invitation Notifications
To find invitations, users should first check their email. Canva sends an invitation email when someone wants them to join a team or project. It will contain a link that says “Accept Invitation.”
After checking the email, users can also look in their Canva account. Notifications about pending invitations appear on the dashboard. Clicking the bell icon in the top right corner will show these notifications.
By paying attention to both email and Canva notifications, users can easily keep track of new collaboration opportunities.
Understanding Canva’s Dashboard
The Canva dashboard is the main hub for users. Once logged in, they will see recent designs and teams they belong to. It is essential for users to familiarize themselves with this layout.
On the left side, the dashboard has a menu. This menu includes options like “All your designs” and “Shared with you.” Users should look for the “Teams” section to see if they have any pending invitations.
By exploring the dashboard, users can find their projects and teams quickly. This understanding helps in accessing shared designs after accepting invitations.
Accepting an Invitation on Canva
Accepting an invitation on Canva is a straightforward process. Users can easily join teams or projects by following a few simple steps and resolving common issues if they arise.
Step-by-Step Guide on Acceptance
To accept an invitation on Canva, a user first needs to log in to their Canva account. After logging in, they should look for a notification or message indicating they have been invited to join a team or project.
-
Open the Email: If the invitation was sent via email, the user should locate the email and click on the “Join the team” link. This action will direct them to Canva.
-
Go to Invitations Tab: For invitations not seen in the email, the user can visit their account dashboard. They should find the “Invitations” tab on the left side of the homepage.
-
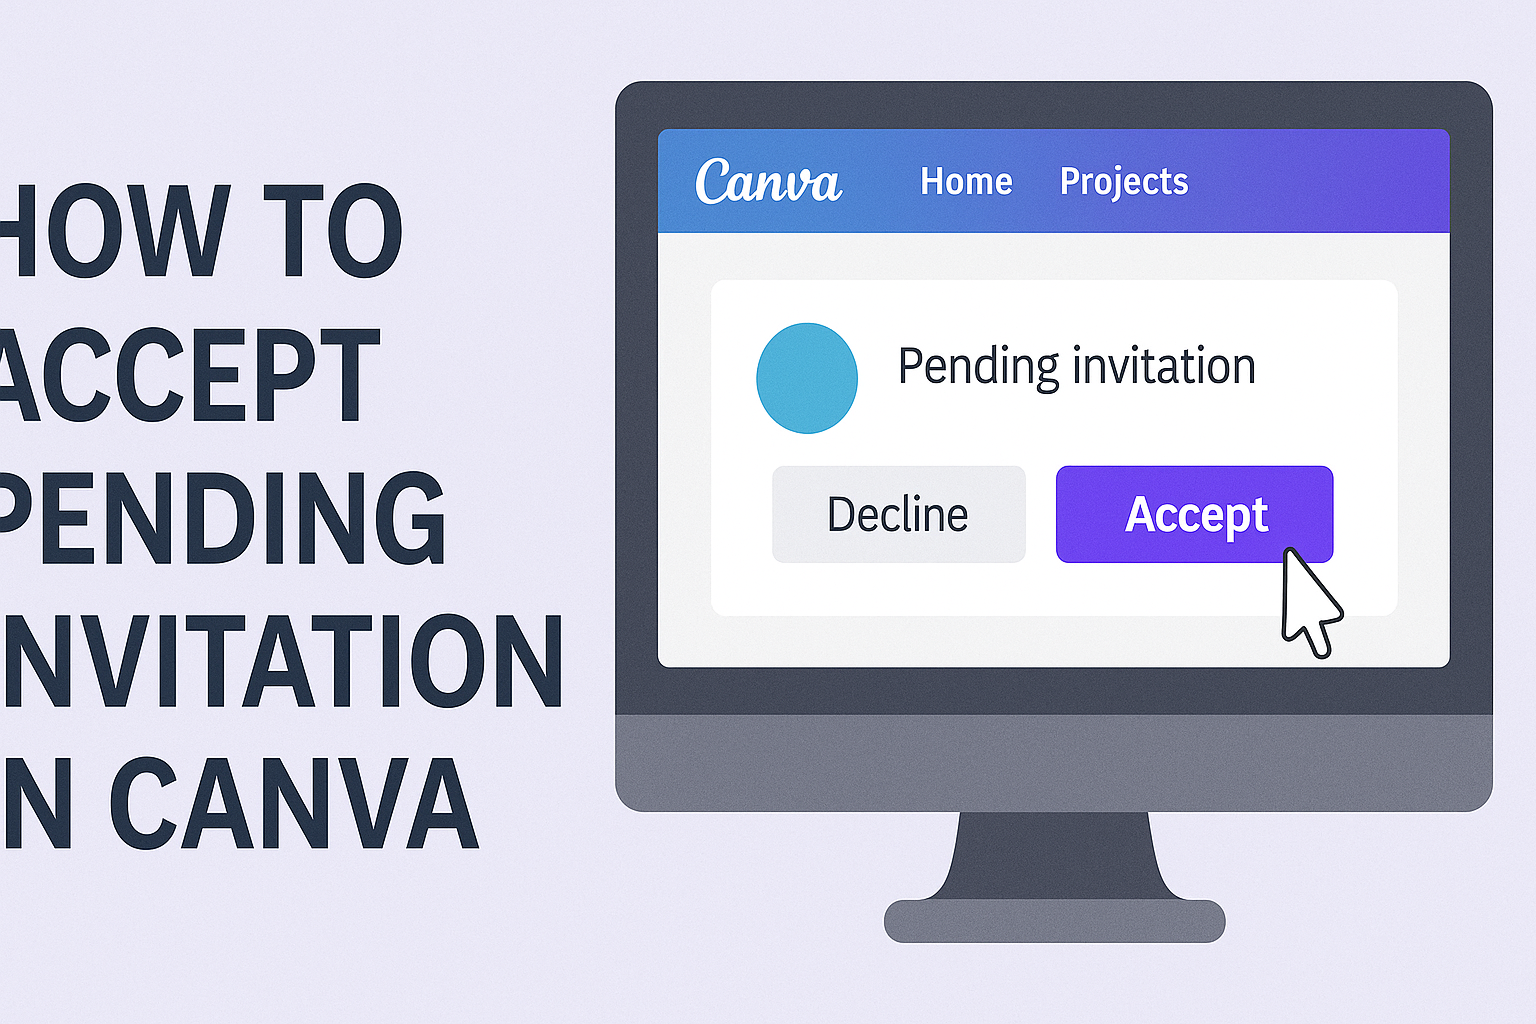
Click Accept: Upon clicking the tab, users will see all invitations. They can simply click “Accept invite” next to the invitation they wish to accept.
After completing these steps, the user will have access to the designated team or project.
Troubleshooting Common Issues
Sometimes, users may encounter problems when trying to accept invitations. Here are a few common issues and how to resolve them.
-
Didn’t Receive Email: If a user doesn’t see the invitation email, they should check their spam or junk folder. If it’s not there, they can ask the sender to resend the invite.
-
Account Not Created: New users may need to create a Canva account before accepting an invitation. Following the prompts during the sign-up will help them get started.
-
Link Expired: If a user tries to accept an invitation after some time and finds the link has expired, they will need to contact the team owner for a new invitation.
These tips can help users smoothly join their teams on Canva.
Collaborating on Canva After Acceptance
After accepting the invitation to join a team on Canva, users can easily collaborate on projects and designs. Understanding how to navigate the shared workspace and communicate effectively with team members is essential for a smooth experience.
Navigating the Shared Workspace
Once in the shared workspace, users should familiarize themselves with the layout. The dashboard displays all available projects and designs. Each project can be accessed by clicking on its thumbnail.
Users can see who is working on a design by checking the team member icons on the top right. This feature allows for easy collaboration and monitoring of progress.
To make edits, simply click on the design, and all available tools will appear. Users can add elements, text, and images as needed. The design comments feature lets team members leave feedback, ensuring everyone stays on the same page.
Effective Communication with Team Members
Clear communication is crucial in any collaborative project. Canva offers tools to facilitate this. First, the comment section on each design allows users to ask questions and give suggestions.
It’s also essential to establish a regular check-in schedule. This can be done through video calls or team messages to discuss updates and ideas.
Encouraging team members to share their thoughts improves creativity. A simple method is to use emojis in comments for quick reactions or feedback.
Managing Canva Account Settings
Canva offers various options to manage account settings effectively. This allows users to optimize their experience and ensure their preferences align with their needs.
Adjusting Notification Preferences
To adjust notification preferences, users should access their account settings. Notifications can include updates on team activities or design comments.
By going to the “Notifications” tab, they can choose which alerts to receive via email or in-app notifications.
Important options might include:
- Email alerts for design comments
- Team member updates
- Project assignment notifications
By selecting or deselecting these options, users can minimize distractions and focus on what’s essential. Regularly reviewing these settings can enhance user engagement and keep them informed only about relevant activities.
Setting Up a Design Profile
Setting up a design profile is a simple yet crucial step. This profile helps define a user’s style and preferences within Canva.
Users can personalize their profile by adding a profile picture and writing a short bio.
To do this, users should navigate to the “Profile” section in account settings.
Here are key elements to include:
- A clear profile picture
- A brief description of design interests
- Links to social media or personal websites
This profile not only showcases their identity but also enhances collaboration with team members.
A well-set-up profile can lead to better teamwork and project outcomes.