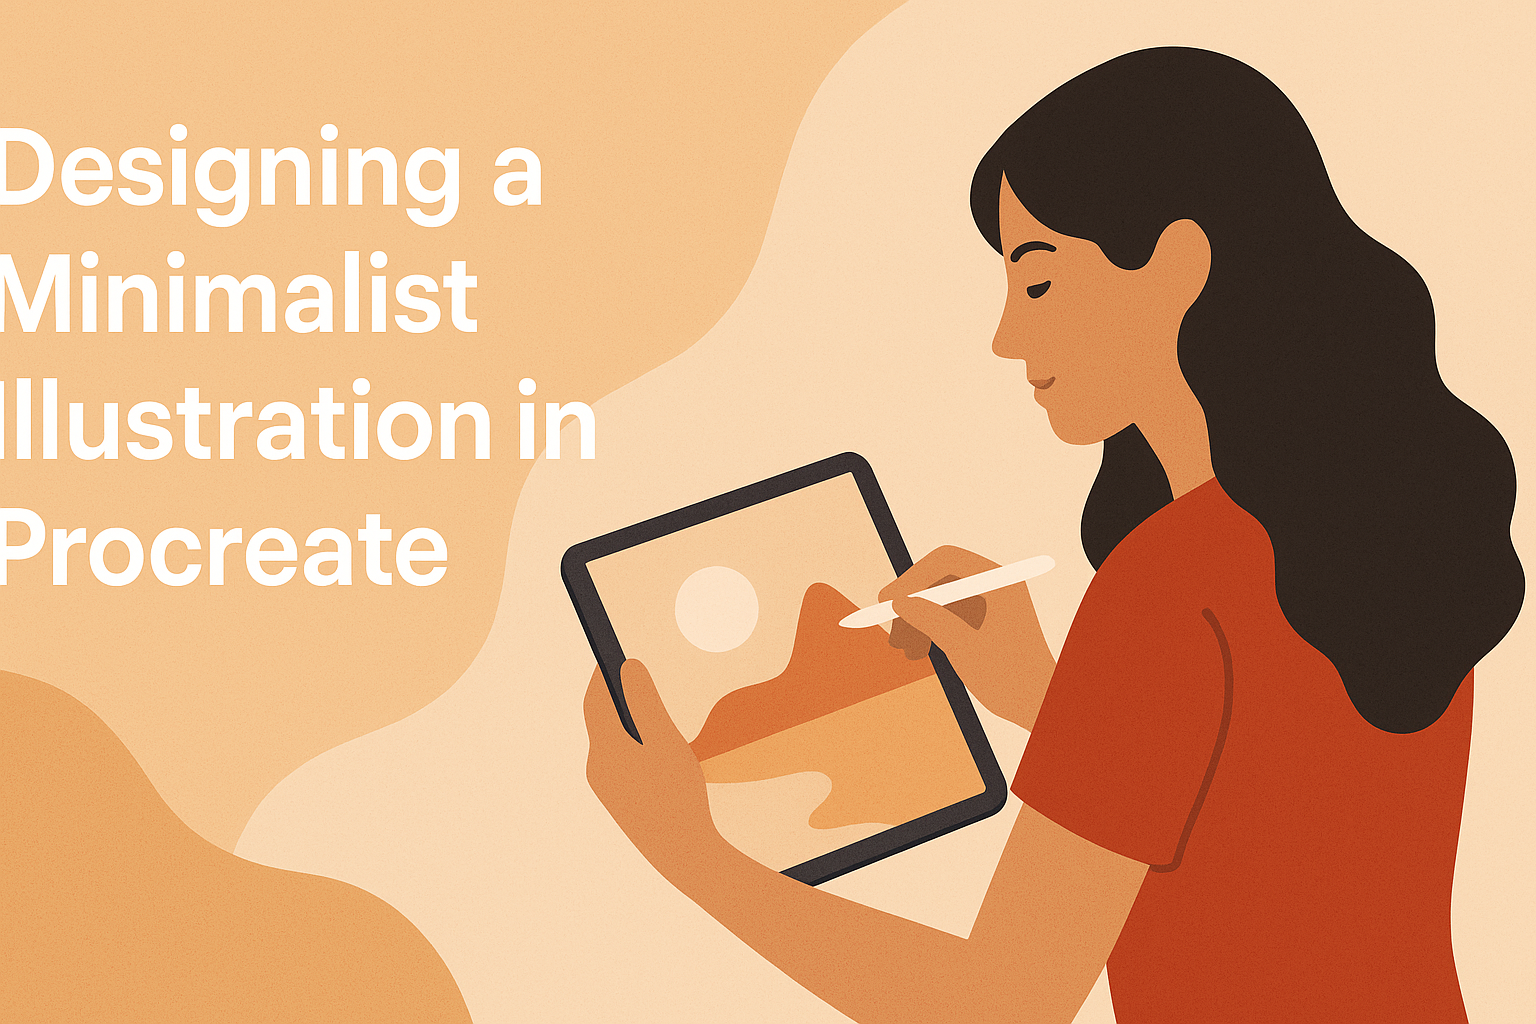
Creating a minimalist illustration in Procreate opens a world of creativity for beginners. Using simple shapes and lines allows artists to convey emotions with minimal elements, a key aspect of minimalist art. This approach makes it easier for anyone to experiment and develop their style without feeling overwhelmed.
Procreate is a fantastic tool for minimalist design, offering features like clean shapes and a limited color palette that are perfect for this style. Beginners find it helpful to incorporate accessories like glasses to add personality, as highlighted in a helpful DIY tutorial.
Aspiring artists can also benefit from online classes that cover essential techniques for achieving minimalist art. Resources like the Skillshare course are designed to help individuals uncover their artistic voice while mastering Procreate features.
Getting Started with Procreate
Starting with Procreate can be fun and simple. Get to know its interface, which is user-friendly with lots of great features. Learn about tools and brushes that are perfect for minimalist designs. Setting up your canvas correctly is the first step to bringing your art to life.
Exploring the Procreate Interface
The Procreate interface is designed to be intuitive. At the top of the screen, you’ll find the toolbar with tools like the brush, smudge, and eraser. Each tool is essential for creating different effects in your illustration.
On the side is the color panel. This feature allows quick color changes, and you can create custom palettes. The layers panel is crucial, giving the ability to work on different parts of an illustration without affecting others.
The QuickShape feature helps in drawing precise shapes, useful for minimalist designs. Remember to explore the gesture controls. They make tasks like undoing actions or zooming in and out quick and easy. These features make Procreate a powerful tool for artists at all levels.
Essential Tools and Brushes for Minimalist Design
Minimalist illustrations rely on simplicity. Choose brushes that help maintain clean and straightforward lines. The “Monoline” brush is a favorite because of its smooth, steady strokes.
Adjust brush settings to achieve the desired thickness. Practice with the eraser tool as well, which is just as important to refine designs. It helps create sharp edges and refine lines.
Experiment with the smudge tool to soften areas, but remember to keep it subtle. The goal is subtlety. Keeping a limited color palette can also help maintain minimalism.
Setting Up Your Canvas
Choosing the right canvas size is essential. Tap the “+” sign to create a new canvas. Procreate offers several presets, but you can customize them to fit your needs.
DPI (dots per inch) is vital for high-quality illustrations. A higher DPI ensures clarity, especially for prints. Setting up guides like grids can be helpful for aligning elements.
Remember to name and save your canvas. This makes it easier to organize your projects. Proper canvas setup can streamline your workflow and enhance the illustration experience.
Understanding Minimalist Design
Minimalist design emphasizes simplicity, clarity, and intentionality. It strives to convey messages or emotions using the fewest elements possible, creating clean and impactful illustrations.
The Philosophy of Minimalism
Minimalism is centered on the idea that less is more. This philosophy encourages artists to strip away unnecessary details, allowing the essence of the subject to shine. In art, this means focusing on core elements that define an object or scene. The result is a clearer, more powerful representation.
Artists who embrace minimalism often find creative freedom in constraints. They use limited tools and styles to hone their focus, expressing more with less. This approach can result in artwork that feels both sophisticated and approachable.
Principles of Minimalist Illustration
Several key principles guide minimalist illustration. Simplicity is critical, focusing on clean lines and basic shapes. The goal is to communicate efficiently, avoiding clutter that can distract the viewer.
Balance plays a vital role. Artists use negative space effectively to create harmony and guide attention. Another principle is contrast, which helps define the illustration’s focal points and ensures visual appeal.
Proportion and alignment matter too, keeping elements organized and aesthetically pleasing. These principles combined result in artwork that captivates with its subtle strength.
Choosing a Color Palette
Selecting a color palette is crucial in minimalist design. Artists often opt for limited colors to maintain simplicity and avoid overwhelming the piece. This approach can enhance the story or mood without distracting from it.
Using a few bold colors against a neutral background creates striking visuals. This method draws the viewer’s eye to the artwork’s important aspects. Some artists prefer monochrome schemes, relying on shades of a single color to convey depth and nuance.
The palette should align with the overall theme and intent of the illustration. Whether bold or subdued, color choices play a vital role in minimalist art’s effectiveness.
Creating Your First Minimalist Illustration
Designing a minimalist illustration involves focusing on simplicity and clarity. This section covers how to approach sketching, simplify your design, and refine it using Procreate.
Sketching Your Concept
Start with a rough sketch of your idea. This step is about capturing the core subject and its essential features. Use simple lines and shapes to outline the main elements.
Sketching on Procreate allows easy adjustments. An iPad and Apple Pencil make it intuitive to erase mistakes and refine your sketch. Remember, simplicity is key, so keep unnecessary details to a minimum.
To visualize your idea, layer your sketches. Each layer helps you focus on specific parts without crowding the entire concept. This initial sketch acts as the foundation for your minimalist artwork.
Simplifying Elements
Once the sketch is complete, the next step is reducing elements. Minimalism thrives on simplicity and the use of negative space. Focus on the important parts by eliminating superfluous details or decorations.
Use Procreate’s tools to streamline shapes and lines. Consider the effect of each element; every line should add to the story you’re telling. Simplifying isn’t about making the artwork bland. It’s about finding the right balance between detail and simplicity.
Working with a limited color palette can also help maintain a clean design. Choose colors that accentuate the subject without overwhelming the viewer. This approach enhances the minimalist feel of the illustration.
Refining Shapes and Lines
In the refinement stage, focus on perfecting shapes and lines. It’s about making the elements consistent and visually appealing. Use Procreate’s features, like the smoothing tool, to create clean, crisp lines.
Pay attention to the symmetry and proportion of your shapes. Minimalism requires careful consideration of every line and curve. Adjusting line thickness can add depth and interest.
Revisit your color choices, ensuring they complement the refined shapes. The final look should possess elegance and clarity, letting the simplicity of your design shine through.
Using Layers Effectively
Effectively using layers in Procreate can greatly enhance your workflow. By mastering layer management, blend modes, and organization, designers can create cleaner, more complex illustrations.
Layer Management
In Procreate, managing layers is crucial for keeping your illustration organized. Start by naming each layer based on its content, like “Background” or “Shadows.” This helps identify parts of your work quickly. Group related layers together. For example, all elements of a character can go into a “Character” group.
Lock layers that don’t need further editing to prevent accidental changes. Use the “Merge” function to combine layers when you’re certain adjustments are complete. This can simplify your workspace and manage file size. Adjust layer visibility with the checkbox to focus on specific parts of your drawing.
Blend Modes and Opacity
Blend modes in Procreate offer various ways to interact with layers beneath. Options like “Multiply,” “Overlay,” and “Screen” can create different effects. Experimenting with these can add depth or texture to your illustration. Changing blend modes is a quick way to adjust lighting or color interaction.
Opacity helps control the transparency of each layer. Lowering opacity can soften an element, making it more subtle. Use this feature to blend colors or create shadows without harsh lines. To adjust opacity, slide the control on the layer menu.
Organizing Layers for a Clean Workspace
A tidy workspace aids focus and efficiency. Layers in Procreate can become overwhelming, so organizing them properly is vital. Use group folders to bundle layers with a similar purpose, like all the elements of a background scene. This keeps things neat and accessible.
Color-code layers using the layer color tag feature. Assign different colors for categories like linework, coloring, and effects. This provides a visual cue that helps in navigating your project. Keeping the layers panel uncluttered allows for a smoother and more productive process.
Adding Textures and Details
Incorporating textures and details into minimalist illustrations in Procreate can add depth and character. Striking the right balance between simplicity and complexity is key.
Incorporating Textures
Textures add richness and dimension to an illustration. In Procreate, textures can be created using various brushes and effects. Artists can use brushes simulating natural materials or create custom textures.
Tips for using textures:
- Use subtle effects to maintain a minimalist feel.
- Experiment with different brush settings.
- Combine various textures for unique results.
Procreate offers a range of options, and by adjusting opacity, artists can ensure textures complement without overwhelming the design.
Adding Fine Details
Fine details can transform a simple illustration, adding interest without complexity. For minimalist art, details should be sparing yet impactful. Artists often focus on lines and small highlights.
Guidelines for adding details:
- Focus on essential elements that convey the message.
- Use contrast to make details pop.
- Avoid overcrowding the artwork.
Attention to detail can help in creating art that is both minimal and expressive. The right choice of details ensures the illustration remains engaging.
Balancing Simplicity and Complexity
Finding a balance between simplicity and complexity is crucial in minimalist design. While adding textures and details, it’s easy to lose simplicity, a core principle of minimalism.
Strategies for balance:
- Prioritize the most essential elements.
- Regularly step back and review the overall look.
- Evaluate if each element serves a purpose.
Maintaining this balance ensures the final piece resonates with viewers, holding their attention while preserving minimalist qualities. Achieving this can elevate the artwork, making it captivating yet simple.
Through careful planning and execution, artists can effectively integrate textures and details into their minimalist creations using Procreate.
Finalizing Your Illustration
Completing your minimalist illustration in Procreate involves a few important steps. Revisiting your design helps refine it, applying the final touches enhances its details, and exporting ensures it’s ready for sharing or printing.
Revisiting Your Design
Reflecting on your design is crucial before calling it finished. Check for balance in shapes and lines, as they hold the key to effective minimalist art. This involves verifying that elements are not cluttered.
Another aspect to consider is consistency in style. Make sure patterns and colors harmonize throughout the piece. Adjust any components that seem out of place or don’t align with the overall mood you’ve established.
Feedback can also play an important role. Sharing your draft with others invites fresh perspectives and insights, which can be valuable.
Applying the Final Touches
As you apply the final touches, focus on small details to make the illustration shine. Tweaking the color palette can enhance the depth and emotion of your art. Subtle changes may create a big impact.
Use Procreate’s tools to smooth out lines and edges. This helps in emphasizing the clean simplicity that minimalism demands. Layers can be merged at this point for a cohesive look.
Consider textures and shading for a bit of extra flair. In minimalist design, less is often more, so use them sparingly. These elements should enhance, not overwhelm, your design.
Exporting Your Artwork
Exporting your minimalist illustration from Procreate is the final step. Choose a file format that suits your needs. PNG is great for maintaining quality, especially if you plan to print. JPEG can work well for online sharing as it offers smaller file sizes.
Adjust the dimensions to fit your intended use. Whether it’s social media, a portfolio, or print, proper sizing is key to maintaining quality.
Procreate offers the ability to share directly to platforms or save to cloud storage. This makes it easy to display your art or send it for feedback or further work.
Sharing and Publishing Your Work
Designing minimalist illustrations is only half the journey. Sharing and publishing your art allows artists to reach broader audiences, sell their work, and establish a digital presence. This section covers social media strategies, printing tips, and how to protect your digital creations.
Sharing on Social Media
Social media is a powerful tool for artists to showcase their work. Platforms like Instagram and Pinterest are particularly popular due to their visual nature.
When sharing, use high-quality images to represent your art accurately. Engage with your audience by posting regularly and using relevant hashtags to reach more viewers. Artists should also join groups or forums where they can connect with others in the art community.
Consider sharing behind-the-scenes looks at your process or time-lapse videos, which can captivate your audience and show your artistic journey. This personal touch helps followers connect with your art on a deeper level.
Printing Considerations
For those looking to sell physical copies, understanding printing is essential. Use a high-resolution file to ensure quality prints. It’s crucial to choose the right paper; options like matte, glossy, or textured can affect the final appearance of your work.
Choose a reputable printing service that understands the nuances of art prints. Artists may also want to try test prints first to check color accuracy and decide on the best presentation style.
Always adjust your artwork for the print medium, considering borders and the size you’ll be offering. This preparation ensures that the final product meets your vision and the buyer’s expectations.
Protecting Your Digital Art
As digital art is easy to replicate, protecting it should be a priority. Artists can start by watermarking their art to deter unauthorized usage. Another useful strategy is scaling down image resolutions when posting online to prevent high-quality piracy.
Consider copyrighting your work. This legal protection can be crucial if issues arise. Websites like Creative Commons offer different licensing options that fit various needs for those seeking additional security.
For better control, use dedicated platforms to sell digital downloads, ensuring that each sale is legitimate. This approach can safeguard your artwork while still allowing you to profit from your creativity.