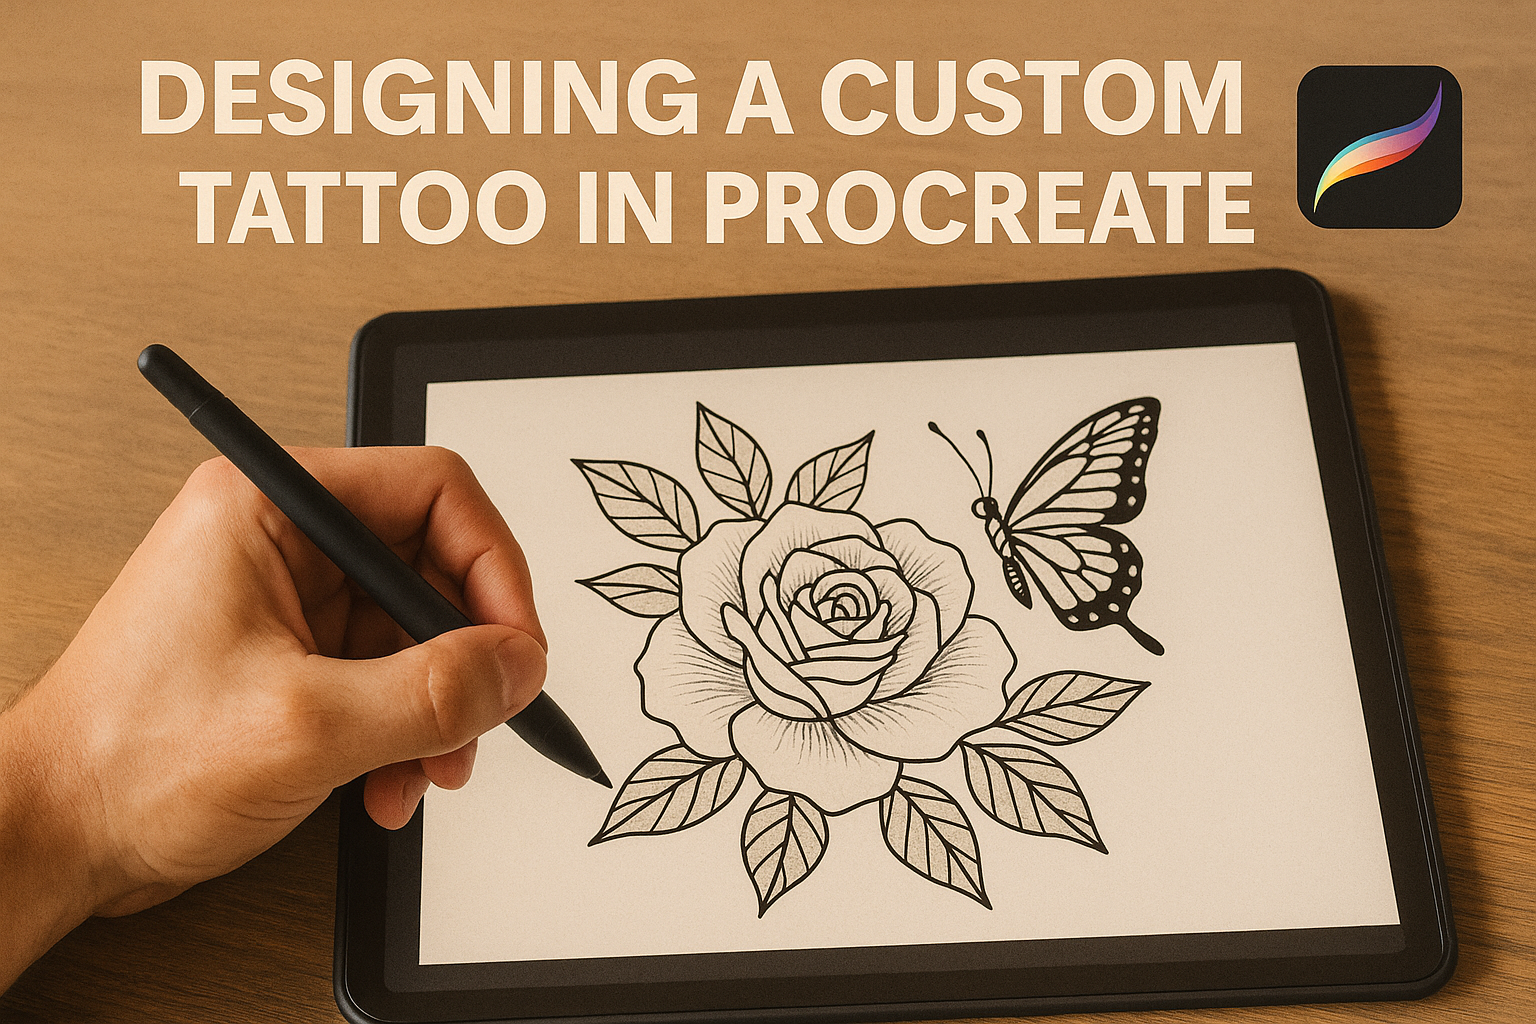
Designing a custom tattoo can be an exciting journey of creativity and self-expression. Procreate, a popular app for digital drawing, offers artists a flexible and user-friendly platform to bring their unique designs to life.
Using Procreate, artists can create detailed and precise custom tattoos that reflect their vision and meet clients’ needs.
Using Procreate, artists can experiment with different styles and techniques without the fear of making permanent errors. This flexibility makes it easier to explore new ideas and refine designs before committing to the final piece. The app provides various tools that streamline the tattoo design process, making it accessible for both beginners and experienced artists.
Artists looking to enhance their skills might benefit from resources like a tutorial on designing tattoos with Procreate. With these resources, artists can gain insights into best practices for using this powerful tool. Whether one is just starting out or seeking to improve, Procreate offers a comprehensive solution for crafting stunning tattoo designs.
Understanding Procreate
Procreate is a powerful digital art tool that offers a variety of features for artists. It provides both basic and advanced capabilities that help bring creative visions to life. From foundational tools to unique brushes, Procreate is essential for artists designing tattoos.
Procreate Basics
Procreate offers an easy-to-use interface where artists can start creating right away. Users can choose from customizable canvases and a wide range of colors. Simple gestures, like pinch and zoom, make it easy to navigate and adjust drawings. Layers are a key feature, allowing artists to work on different parts of their design separately. This makes it easier to organize and perfect each element of a tattoo design.
Procreate also supports high-resolution canvases, ensuring detailed and crisp artwork. Multiple export options let artists share or print their work effortlessly. These basic features lay the foundation for users to explore and create intricate tattoo designs with ease.
Advanced Features
Beyond the basics, Procreate includes advanced features that elevate artwork. The ability to create custom brushes gives artists freedom to explore different textures and effects. This customization can match the unique style of any tattoo design. Tools like the Perspective Guide and Symmetry make intricate designs easier and ensure accuracy in artwork.
Another feature is the Animation Assist, which allows dynamic movement through frame-by-frame animation. Although primarily for animated work, it can also help with visualizing the application of a design. Procreate’s advanced features open up endless possibilities for detailed and unique tattoo creating.
Tools and Brushes
Procreate offers a diverse range of tools and brushes, making it a favorite for tattoo artists. The software provides a selection of brushes categorized for different styles and effects. From fine detailing to bold strokes, these brushes accommodate various artistic needs. Artists can also create and save custom brushes that suit specific design requirements.
The Layers Panel is crucial for organizing different parts of a design without affecting others. This feature functions like multiple canvases, enhancing flexibility in designing. Procreate’s wide selection of tools and brushes ensures that artists can realize their creative ideas effectively and efficiently.
Elements of Tattoo Design
Designing a custom tattoo with Procreate involves understanding key elements like symbolism, style, color theory, and composition. These elements ensure that each tattoo is unique and meaningful to the wearer.
Symbolism and Meaning
Tattoo designs often hold deep meanings for those who wear them. Symbolism in tattoos can reflect personal stories, cultural beliefs, or significant life events. For example, a lion might symbolize strength and courage.
In Procreate, artists can explore various symbols to portray desired messages. Combining elements like animals, flowers, or abstract forms can create a unique design. It’s helpful to understand the meanings behind popular tattoos and communicate with clients to ensure their designs align with personal significance.
Style and Trends
Tattoo styles vary widely, each offering a distinct look and feel. Some common styles include traditional, realism, watercolor, and minimalist designs. Traditional tattoos often feature bold lines and vibrant colors, while minimalist tattoos focus on simplicity and use fewer lines.
Trends often influence tattoo design, and keeping up with them can inspire new ideas. Procreate offers tools to experiment with various styles, allowing artists to create fresh, trendy designs. Combining classic elements with modern trends can result in stunning and timeless tattoos.
Color Theory
Color theory is vital in tattoo design, influencing the visual impact of a tattoo. Understanding how colors interact can help artists choose palettes that evoke emotion and complement skin tones. For instance, complementary colors can make a design pop, while analogous colors offer a more harmonious look.
Procreate’s color tools enable artists to experiment with color schemes easily. Using layers, artists can test different color variations, aiding in the creation of both vibrant and subtle designs. Considering the placement and lighting conditions can also help determine the best color choices for a tattoo.
Composition and Flow
The composition of a tattoo refers to how its elements are arranged and how they flow with the body’s natural lines. Good composition ensures that a design looks balanced and pleasing. For example, tattoos on arms might incorporate curves to match the arm’s shape.
In Procreate, artists can use the grid and guide features to plan compositions effectively. Ensuring that the tattoo extends smoothly across the skin, following natural contours, enhances the overall aesthetic. Considering how a tattoo moves with the body can also improve its visual impact, making the tattoo dynamic and well-integrated.
Preparation and Sketching
Creating a custom tattoo in Procreate involves gathering diverse sources for inspiration, drafting detailed sketches, and refining designs to match the artist’s vision. The process blends creativity with technique to bring ideas to life with precision.
Gathering Inspiration
A strong foundation in tattoo design starts with gathering inspiration. Artists explore various sources, such as art books, nature, and historical symbols, to enrich their concepts. Social media platforms and online galleries offer endless ideas.
Mood boards can be useful. They might include color palettes, existing tattoo designs, and personal photographs. This helps in forming a cohesive theme.
By immersing themselves in different styles and elements, artists can craft unique and personalized tattoo designs that resonate with both the artist and the client.
Drafting Initial Sketches
Once inspiration is gathered, artists move to drafting initial sketches. Procreate, with its intuitive interface, offers a range of tools that cater to every style. Starting with basic shapes and outlines is essential to build the framework.
Artists should use various brushes for different effects. The pencil tool can create soft lines, while pens offer crisp details. Experimenting with layers helps in organizing different parts of the sketch.
They might adjust symmetry, proportions, and positions to suit the design best. This stage is about setting the groundwork, allowing room for adjustments and creativity.
Refining Your Design
Refining is where the tattoo starts to take its final shape. This involves cleaning up lines, choosing colors, and adding details to enhance depth and character. Procreate’s layering capabilities allow artists to tweak individual elements without altering the entire design.
Shadows and highlights bring dimension, while color adjustments add vibrancy. The aim is to create a polished piece that remains true to the initial concept while incorporating feedback from clients.
This stage is crucial, as it transitions sketches into compelling artwork ready for tattooing. Selecting the right tools and techniques in Procreate ensures the design is both stunning and feasible for application.
Digital Drawing Techniques
Digital drawing in Procreate offers artists tools to create detailed tattoo designs. This section covers essential techniques like line art creation, detailed shading, and vibrant coloring methods.
Line Art and Outlines
Line art sets the foundation for any tattoo design. In Procreate, artists can use various brushes to achieve the desired thickness and texture. Monoline brushes are ideal for clean and consistent lines, while sketching brushes add a rough or textured look. Adjusting brush size and opacity helps in creating unique outline styles.
A useful tip is to create a separate layer for line art. This allows for easy adjustments without impacting the rest of the design. Layering becomes crucial for organizing and refining every detail as you progress.
Shading and Texture
Shading adds depth and dimension to tattoo designs. Procreate offers a variety of brushes that mimic traditional shading techniques, such as cross-hatching or stippling. Using a brush with a soft edge can create smooth transitions between light and dark areas.
Artists should experiment with the opacity settings to achieve softer or more intense shading effects. By creating texture within a design, you can mimic the feel of traditional tattoos. Using textured brushes can add a realistic look to elements like fur, scales, or fabric folds.
Adding Color
Color brings a tattoo design to life. With Procreate’s wide color palette, artists can select or blend colors to find the perfect shades. It’s helpful to use a layered approach, starting with a base color and then adding highlights and shadows to build dimension.
The ColorDrop feature allows for filling spaces quickly and can be used with confidence when the line art is properly closed. It’s also beneficial to explore different blend modes to see how colors interact with one another, enhancing vibrancy and depth in the overall design.
Finalizing Your Tattoo Design
In this phase of the tattoo design process, the focus shifts to adding intricate details, ensuring the design fits right, and creating a stencil for transfer.
Detailing
Adding fine details is a crucial step in bringing a tattoo design to life. At this stage, artists use tools in Procreate to enhance textures, refine lines, and create depth. Utilizing brushes designed for detailing can give more precision.
Attention to shading and highlights helps in making the design more vivid. It’s important for artists to frequently zoom in and out, to ensure details contribute to the overall effect and are visible at different scales.
Crafting details not only involves artistic skills but also requires considering how the design will look on skin. Testing different styles and techniques in Procreate can help achieve the desired outcome for a unique tattoo.
Sizing and Proportions
Proper sizing ensures that the tattoo will look proportional and fit the chosen area on the body. In Procreate, artists can adjust the size using the transform tools, allowing for ratio maintenance.
They need to consider the body part where the tattoo will be placed. Curves and angles of the body part can influence perception. It’s a good idea to visualize the design on a body template.
Accurate sizing aids in preserving details and ensuring clarity. Without it, the tattoo might lose its intended impact, making this step essential for a successful design.
Preparing the Stencil
Creating a stencil is the bridge between digital artwork and permanent tattoo. In Procreate, artists often simplify designs for stencil-making to capture only the necessary outlines.
The choice of colors and lines in the stencil should reflect the key features of the design. Artists typically use a monochromatic scheme for clarity.
Once the stencil is prepared, it must be printed accurately. The transfer from screen to stencil requires attention, ensuring every part aligns with the client’s body structure. This careful preparation in Procreate makes the tattooing process smoother and more effective.
Collaborating with a Tattoo Artist
Creating a custom tattoo design in Procreate is an exciting journey, but to bring that vision to life on skin, collaborating with a tattoo artist is key. Finding the right artist, clear communication, and flexibility in making adjustments are essential parts of this process.
Choosing an Artist
Selecting the right tattoo artist ensures that the design translates well from digital to skin. Look for artists who specialize in styles similar to the design created in Procreate. Their portfolio can provide insights into their strengths and weaknesses.
Checking reviews and testimonials can also be helpful. Personal recommendations from friends or online communities can lead to trustworthy and skilled artists.
Consider scheduling a consultation to discuss the project’s specifics. During this meeting, assess their understanding and interest in the design. Trust in the artist’s ability to execute the vision is crucial for a successful collaboration.
Communicating Your Vision
Effective communication with the tattoo artist is vital. Clearly convey the nuances of the design including subject matter, color, and size preferences, and share the Procreate file. The file allows the artist to see every detail.
It can be useful to mention any cultural or personal significance behind the design. This helps the artist understand its importance and any elements that cannot be altered.
Be open to answering questions the artist may have and encourage a discussion about potential enhancements or necessary changes. This dialogue ensures both parties are on the same page.
Making Adjustments
Adjustments may be needed before a design moves from digital to reality. The tattoo artist might suggest changes based on technical or aesthetic considerations. Be open to these suggestions, as they come from professional experience.
Ensure that adjustments still align with the original vision. It’s important to have a balance between the artist’s expertise and the personal preferences of the individual.
Engagement and flexibility during this step lead to a more refined final product. The ultimate goal is a tattoo that looks beautiful on both paper and skin, meeting expectations while ensuring quality and artistry.
Aftercare for Your Digital Artwork
Taking care of your digital artwork involves knowing the right exporting formats, backing up your files, and sharing your designs online efficiently. These steps ensure that your work is preserved, accessible, and showcased in the best possible way.
Exporting Formats
When finishing a tattoo design in Procreate, selecting the right exporting format is crucial. JPEG and PNG are great for general sharing. JPEG is suitable for smaller file sizes, but may lose some detail. Meanwhile, PNG maintains high quality with transparency, perfect for intricate designs.
For print, TIFF or PDF formats are recommended. TIFF keeps the detail and color integrity, suitable for professional print quality. On the other hand, PDF ensures that all design elements remain intact, regardless of the device or software being used.
Exporting in PSD format allows you to keep layers, making it easy to continue editing in software like Photoshop. Experiment with different formats to see what works best for your needs. The right choice depends on how you plan to use or share the artwork.
Backing Up Your Files
Backing up digital artwork is vital in preventing loss from unforeseen issues like device malfunctions. Start by using cloud storage services such as Google Drive, Dropbox, or iCloud. These platforms provide easy access and additional security.
External hard drives can also be useful, offering large storage capacities. Regularly update your backups to ensure all your work is secure. Consider setting reminders for monthly backups to keep everything current.
Another practice is versioning. Save different stages of your designs. This way, you can revert to previous versions if needed. Keeping files organized and labeled properly will save time and prevent frustration when searching for specific designs.
Sharing Your Work Online
Showcasing artwork online can build audience and client connections. Platforms like Instagram, Behance, and Pinterest are popular among artists. These platforms allow for engaging with communities and potential clients.
Ensure your images are high quality and properly tagged to reach the right audience. Provide brief descriptions or stories behind the designs to add a personal touch.
Consider creating a personal website or blog. It can serve as a professional portfolio, showcasing your diverse range of designs. Engaging regularly with comments and interactions can increase visibility and foster collaboration opportunities.