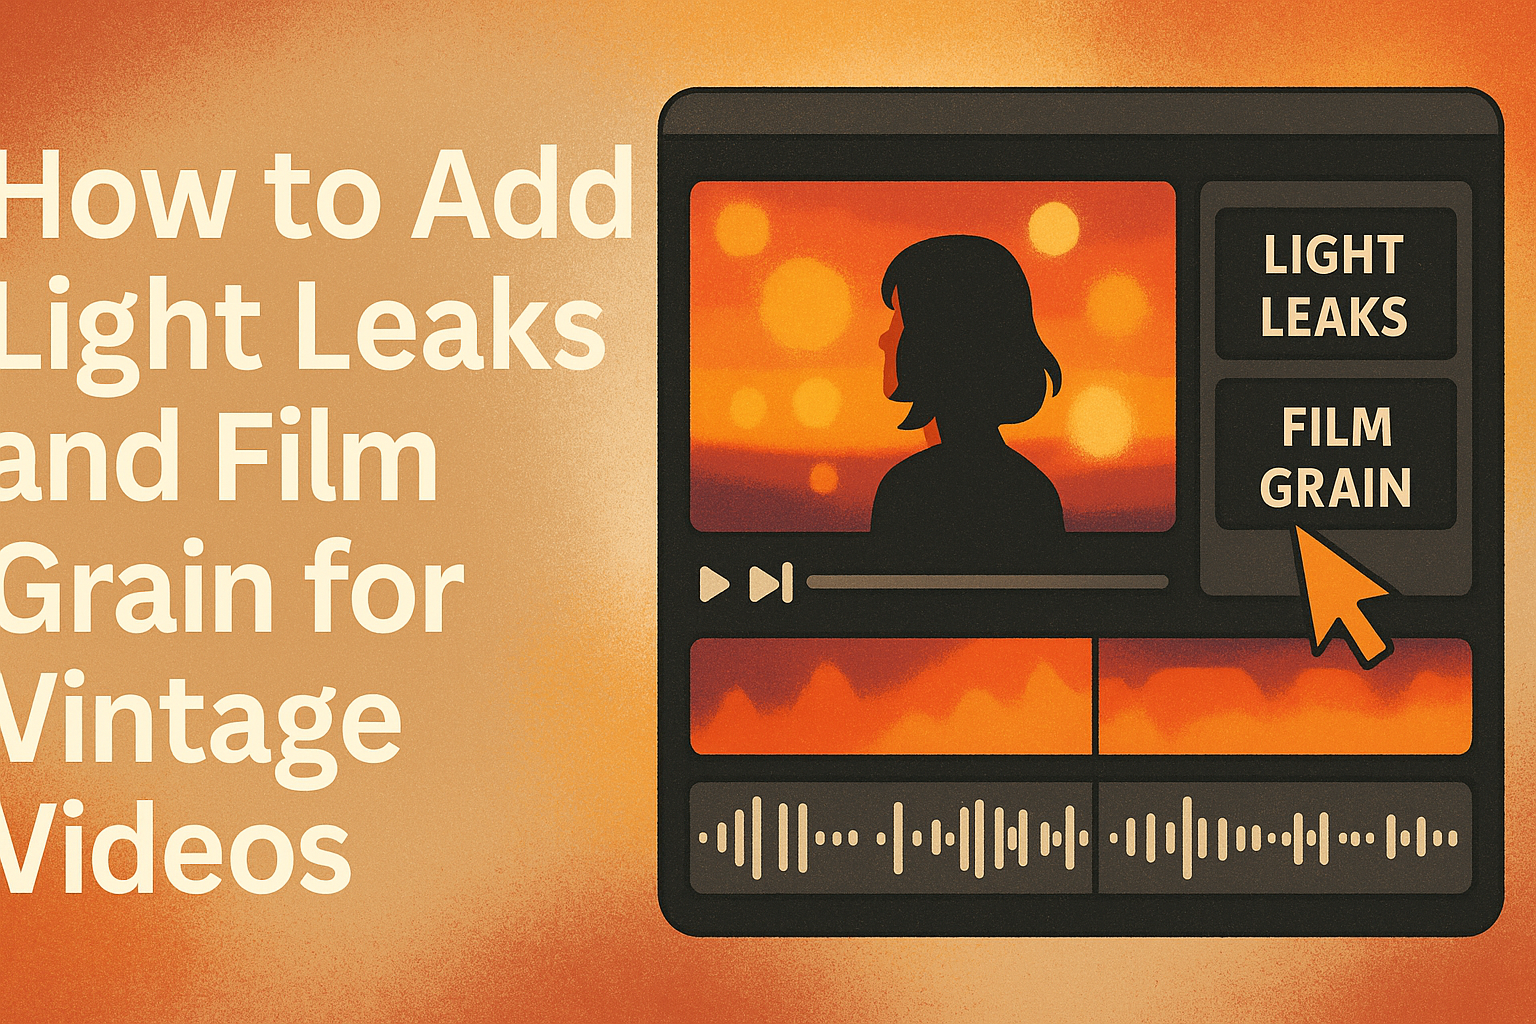
Creating vintage-style videos can add a nostalgic touch to modern projects. To achieve this look, incorporating light leaks and film grain is essential. These effects not only enhance visuals but also evoke feelings of warmth and memory.
Light leaks provide a soft, dreamy glow, while film grain adds texture reminiscent of old movies. Both techniques are easy to apply and can transform any footage into something special. By understanding how to use these effects, anyone can elevate their video editing skills and create stunning vintage aesthetics.
The process of adding light leaks and film grain is straightforward, even for beginners. With various tools and resources available, he or she can experiment and find the perfect combination to suit their unique style. Exploring these effects opens a world of creative possibilities for anyone passionate about video editing.
Understanding Vintage Video Aesthetics
Vintage video aesthetics capture a special charm that many find appealing. It often evokes feelings of nostalgia and warmth. This look can take viewers back to a different era.
Key elements of this style include:
- Color Grading: Soft, muted colors often mimic old film.
- Film Grain: Adding texture helps create an authentic feel.
- Light Leaks: These beautiful bursts of light enhance the dreamy look.
These components work together to create a distinctive vibe. Vintage videos often appear more intimate and personal. They tell stories in a way that feels timeless.
Common techniques to achieve this effect include:
- Using Film Overlays: Add a film grain overlay to existing footage.
- Applying Vintage Filters: Filters can replicate the look of classic films.
- Incorporating Light Leaks: This adds a creative touch that catches the eye.
This aesthetic appeals to many video creators. It can transform modern footage into something that feels classic and cherished. Embracing these elements can make videos stand out in a crowded digital landscape.
Essential Tools for Creating Vintage Effects
Creating vintage effects for videos requires the right tools and software. Different options exist for both desktop and mobile users, allowing for flexibility based on individual needs. Here are the essential tools to consider when adding vintage aesthetics like light leaks and film grain.
Choosing the Right Software
When selecting software for vintage effects, popular programs include Adobe Premiere Pro, Final Cut Pro, and DaVinci Resolve. Each of these offers powerful editing features and plugins for achieving retro looks.
Adobe Premiere Pro provides access to various effects and transitions. It also supports plugins like Red Giant Universe, which offers light leak overlays and film grain. DaVinci Resolve is excellent for color grading, which is vital for setting a nostalgic mood.
Price is an important factor. While some applications may require a subscription or one-time payment, free options like HitFilm Express can also deliver impressive results. Finding the right fit depends on budget and experience level.
Using Mobile Apps for Quick Edits
For those seeking quick edits, mobile apps can be a lifesaver. Applications like KineMaster, InShot, and CapCut make it easy to apply vintage effects on the go.
KineMaster features built-in tools for adding film grain and light leaks. Adjusting brightness and contrast is also simple. InShot allows users to apply various filters that mimic old film styles.
CapCut is emerging as a favorite. It offers an array of presets and effects, making it user-friendly. These apps support quick sharing on social platforms, making them ideal for creating vintage vibes instantly.
Hardware Considerations for Editing
Having the right hardware is crucial for smooth video editing. A computer with sufficient RAM (at least 16GB) ensures that large video files process without lagging. A good graphics card also enhances rendering speeds and video playback.
For mobile users, devices with strong processors and high-resolution screens can make editing easier. Tablets can be a good option for portability while still offering capable performance.
Also, external storage is important. Using SSDs can speed up file transfers and provide ample storage space for videos and effects. Investing in quality hardware allows for a more efficient editing experience.
Adding Light Leaks to Your Videos
Light leaks can transform a standard video into a captivating piece of art by adding warmth and a vintage touch. By carefully selecting styles, adjusting intensity and color, and using overlay techniques, creators can achieve beautiful results.
Selecting Light Leak Styles
Choosing the right light leak style is essential for setting the mood of the video. There are various styles available, such as natural sun flares, colorful bursts, and soft glows.
- Natural Styles: These mimic sunlight peeking through trees or windows, giving an organic feel.
- Colorful Bursts: These can introduce vibrant hues that add energy.
- Soft Glows: These create a subtle, dreamy effect.
Experimenting with different options will allow creators to find a style that complements their footage well.
Customizing Intensity and Color
Adjusting the intensity and color of light leaks can enhance the overall look. This customization helps to blend the effect seamlessly with the video. Here are some aspects to focus on:
- Intensity: Too strong of a light leak can overwhelm the footage. Lowering the opacity can help make it more subtle.
- Color Adjustment: Use color grading tools to match the hues of the light leak with the video’s palette.
- Blend Modes: Combine different modes like “Screen” or “Overlay” to see which looks best.
These adjustments ensure light leaks enhance the visual appeal without distracting from the main subject.
Overlay Techniques
Proper overlay techniques play a critical role in adding light leaks effectively. Creators should consider these methods:
- Layering: Place the light leak layer above the video in the editing software.
- Masking: Use masks to control where the light leak appears, creating targeted effects.
- Keyframing: Animate the light leak’s position, scale, or opacity to enhance the dynamic quality.
Using these techniques helps create a polished and professional look, making the video truly stand out.
Incorporating Film Grain for Authenticity
Adding film grain to videos can create a nostalgic feel, making them look more authentic. Understanding the different types of grain, adjusting the parameters, and balancing grain with video quality are crucial steps for achieving the desired effect.
Understanding Film Grain Types
There are various types of film grain that can enhance a video’s authenticity. Some common types include:
- Standard Grain: This is often uniform and gives a classic film look.
- Vintage Grain: This type carries the characteristics of older films with more texture and imperfections.
- Heavy Grain: More pronounced, this grain mimics films shot on higher ISO settings and can create a gritty feel.
Each type can convey a different mood, so it is important to choose one that fits the video’s theme.
Adjusting Film Grain Parameters
Once the right type of grain is chosen, tweaking its parameters is the next step. Key settings to focus on include:
- Grain Size: Adjust the size to either blend seamlessly or stand out.
- Grain Intensity: This can be varied to make the effect subtle or bold.
- Grain Movement: Adding slight movement can create a more dynamic look.
These adjustments ensure that the grain matches the video’s style and enhances its visual storytelling.
Balancing Grain and Video Quality
Striking a balance between grain and overall video quality is essential. Too much grain can distract from the main content, while too little can diminish the vintage effect. Here are some tips:
- Test Different Levels: Experiment with various intensities to find the right fit.
- Use High-Quality Footage: Start with good video quality to ensure the grain complements rather than overwhelms.
- Preview Regularly: Keep checking how the grain looks in context with the video.
Balancing these elements will help in achieving a polished vintage look while maintaining visual clarity.
Combining Effects for a Cohesive Look
Creating a vintage video involves more than just adding light leaks and film grain. It requires careful planning to ensure that the effects work harmoniously together. This section focuses on how to layer effects effectively and maintain a consistent look throughout the project.
Layering Effects Strategically
Layering effects can enhance the visual storytelling of a video. It’s important to start with a base layer, like a film grain effect, to establish the vintage feel. Next, light leaks can be added on top for a dynamic and atmospheric touch.
Using opacity settings allows for fine-tuning. For instance, reducing the opacity of light leaks can create a subtle glow without overwhelming the scene.
Combining different types of light leaks can also add depth. He or she should experiment with various overlays to see which combinations resonate best with the footage.
Maintaining Consistency Across Clips
Consistency is key to a professional-looking video. To achieve this, creators should use the same effects across all clips. Setting standard parameters for light leaks and grain helps ensure a unified appearance.
Using adjustment layers in software like Adobe Premiere or Final Cut Pro can be effective. This method allows he or she to apply the same settings to multiple clips quickly.
Revisiting the color grading process is also essential. Consistent color tones complement the effects and unify the entire video. Maintaining a cohesive look keeps viewers engaged and enhances the overall storytelling experience.
Creative Color Grading for Vintage Tones
Color grading can transform a modern video into a nostalgic piece that feels like it belongs to the past. By using color presets or manually adjusting colors, one can easily achieve that vintage look.
Applying Color Presets
Color presets are an excellent starting point for achieving vintage tones. Many editing software programs offer built-in presets that mimic classic film styles. These presets can add sepia tones, muted colors, or enhanced contrasts in just a few clicks.
To use presets effectively:
- Select a vintage preset that aligns with the desired mood.
- Adjust intensity to ensure it doesn’t overwhelm the original footage.
- Consider combining multiple presets to create a unique look.
Popular presets often emphasize warm hues and slight color fading. This can enhance the nostalgic feel without significant effort.
Manipulating Colors Manually
For a more tailored vintage effect, manipulating colors manually is a great approach. This method allows for precise adjustments to shadows, midtones, and highlights.
Key steps include:
- Decrease saturation to soften colors and create that washed-out appearance.
- Introduce a slight yellow or orange tint to shadows for warmth.
- Use the color grading panel to adjust hues for a more authentic film feel.
The final look should convey a sense of timelessness. By fine-tuning these elements, any video can evoke feelings tied to the past, turning simple footage into a emotional journey.
Timing and Animating Effects
When creating videos with light leaks and film grain, timing is crucial for a polished look. Synchronizing effects with video content gives a seamless feel. Using keyframes allows for smooth transitions, enhancing the visual storytelling.
Synchronizing Effects with Video Content
To make light leaks and film grain feel natural, they need to sync with the video’s moments. Timing can be based on beats in music, key actions, or emotional moments.
For instance, a light leak can burst as a character smiles or a song’s beat drops. This creates a more engaging experience for viewers.
- Listen to the audio track and identify key moments.
- Watch for visual cues in the footage.
Adjusting the start and end times of effects can help align them perfectly with these moments. This synchronization elevates the emotional connection in the video.
Using Keyframes for Dynamic Transitions
Keyframes are essential for adding movement to the effects. They help control how and when the light leaks or grain overlays appear and disappear.
Creating dynamic transitions can keep viewers’ interest alive. Adjusting keyframes for opacity and position changes adds depth.
Steps include:
- Set Initial Keyframe: Start with a low opacity for a subtle entrance.
- Middle Keyframe: Increase opacity at peak moments to grab attention.
- Final Keyframe: Fade out smoothly to keep the flow.
This approach allows for creative control over how effects unfold, making them feel integrated into the story.
Choosing the Right Format and Resolution
Selecting the right format ensures that the video maintains its quality. Common formats like MP4 and MOV are widely supported and maintain good quality.
Resolution matters too. For online sharing, 1080p is a popular choice. It delivers a clear image without taking too much space. If targeting platforms that support 4K, like YouTube, exporting in 4K can enhance the viewing experience.
For those creating films, they might prefer formats such as ProRes or DNxHD for professional editing. Always check the specific requirements of the platforms used to avoid potential issues.
Optimizing for Different Platforms
Different platforms have different requirements. For example, YouTube recommends using H.264 codec and a resolution of 1080p or higher. Videos should also have a frame rate of 60 fps for smoother playback.
If sharing on social media, shorter clips often perform better. A resolution of 720p is sufficient for these platforms. He or she can also use MP4 format for easy uploads on Facebook or Instagram.
It’s also wise to consider file size. Compressing the video can help it upload faster while maintaining quality. Using tools that preserve quality while reducing size can help in this process.