Creating a vector version of a favorite animal can be a fun and rewarding project. With Vectr, anyone can transform a simple image into a beautiful vector graphic with just a few steps.
This guide will walk readers through the process, making it easy to bring their favorite animal to life in a new and exciting way.
Using Vectr’s features, such as shape creation and editing tools, users can customize their artwork to reflect their style. The platform allows for easy manipulation of images, making it accessible for beginners and those more experienced in graphic design.
By the end of this article, readers will have a stunning vector representation of their beloved animal that they can share or use in various projects.
Getting Started with Vectr
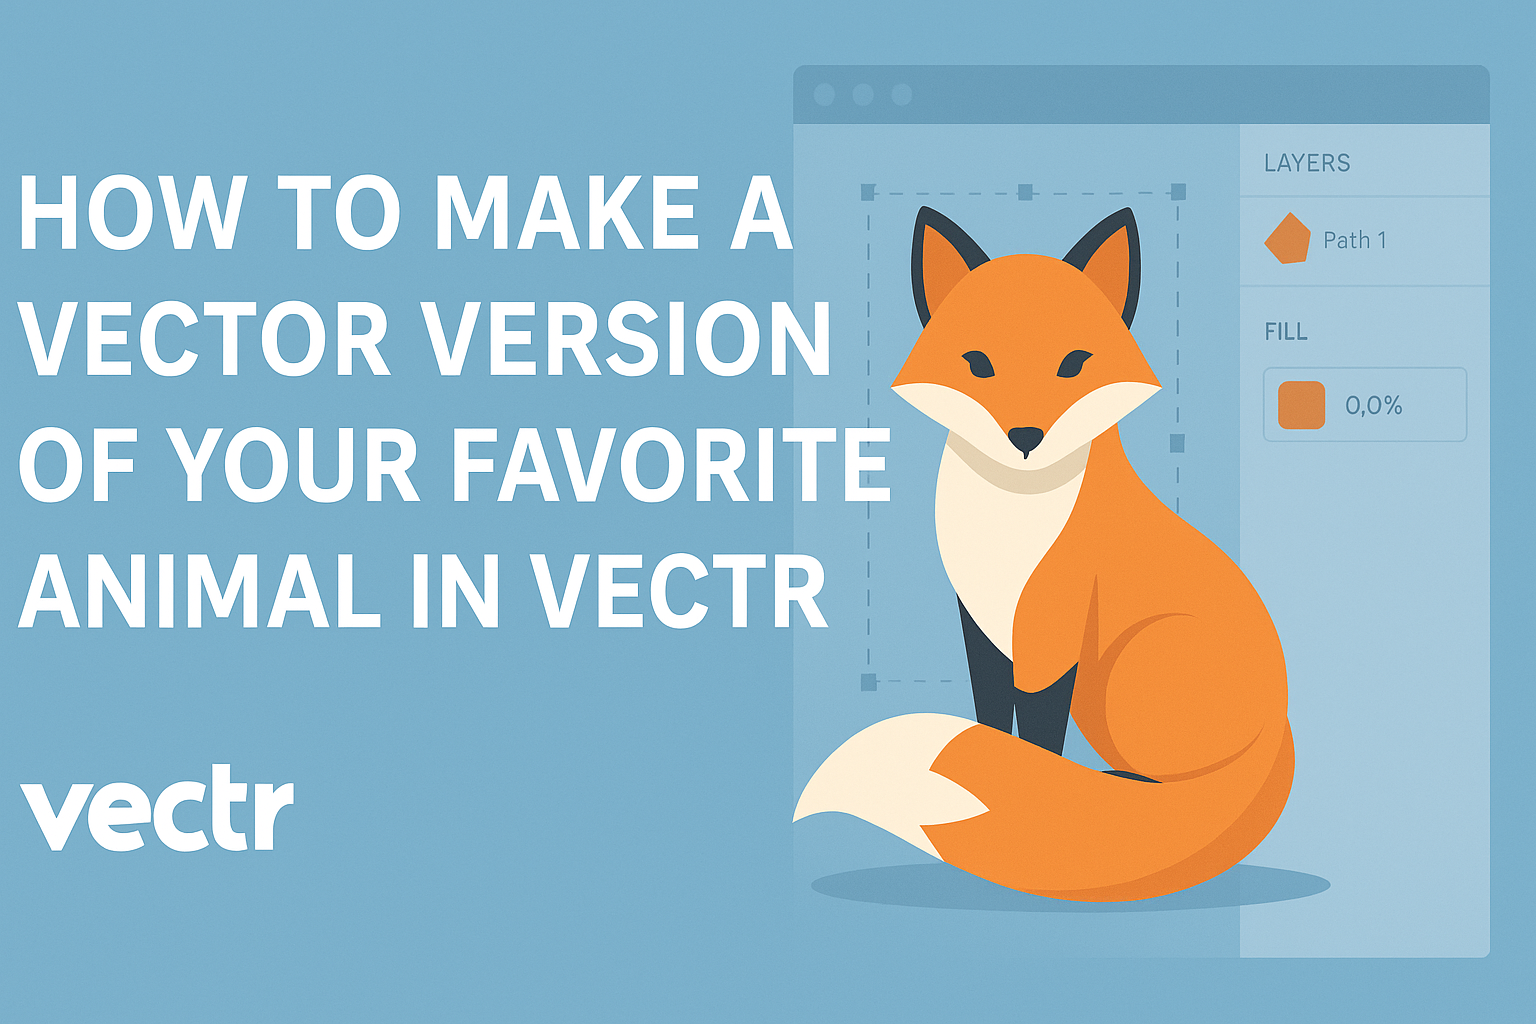
Vectr is a user-friendly tool for creating vector graphics. Learning how to set up an account, navigate the interface, and understand vector graphics is essential for beginners.
Setting Up an Account in Vectr
To start using Vectr, a user must create an account. This can be done easily through the website.
- Visit the Vectr website.
- Click on the “Sign Up” button.
- Fill out the required information, including email and password.
After submitting the form, a confirmation email will be sent. Users must verify their email address to activate their account. Once activated, they can log in and access all features.
Vectr also offers a guest mode for quick access to its tools without an account.
Navigating the User Interface
Once logged in, users will find the Vectr dashboard straightforward and welcoming. The main components include:
- Menu Bar: Located at the top, it offers options like File, Edit, and Export.
- Sidebar: This area shows tools like shapes, text, and colors.
- Canvas Area: The center space where users create and edit their designs.
By clicking on tools in the sidebar, users can easily add shapes or text to their canvas. It’s also possible to zoom in and out using the toolbar.
Getting familiar with these areas helps in building designs effectively.
Understanding Vector Graphics
Vector graphics use points, lines, and curves to create images. Unlike bitmap images, they can be resized without losing quality.
Key features include:
- Scalability: Users can expand or shrink graphics smoothly.
- Editability: Shapes and colors are adjustable even after creation.
In Vectr, users can explore basic shapes to create complex designs. Understanding how vectors work will enhance the design process. It’s a skill that allows for greater creativity and flexibility in graphic design projects.
Creating Your Vector Animal
When making a vector version of a favorite animal, it’s important to take a few specific steps. Choosing the right animal and sketching the basic outline are crucial. Once those steps are done, applying colors and textures will bring the illustration to life.
Choosing Your Favorite Animal
The first step is to select the animal you want to create. It could be a pet like a dog or cat, or a wild animal like a lion or elephant. The goal is to pick something that inspires creativity.
Consider looking at photos from different angles to get a good understanding of its shape and features. This can help in capturing the animal’s essence.
It’s helpful to choose an animal with a distinct appearance for a more engaging image.
Sketching the Basic Outline
Next, sketching the basic outline is essential. Start by creating simple shapes that represent the animal’s body parts, like circles for the head and body. This method helps in building a solid foundation.
Once the basic shapes are in place, connect them with smooth lines. This will create the overall outline of the animal.
Don’t worry about details yet; focus on getting the proportions right. It’s okay to make adjustments in this rough stage to improve the design.
Applying Colors and Textures
After completing the outline, it’s time to add colors and textures. Choose a color palette that reflects the animal’s natural colors. Using shades and gradients can enhance depth.
Textures can give a realistic look. For instance, adding fur or scale patterns can make the illustration stand out.
Use Vectr’s tools to fill in shapes and apply effects smoothly. Paying attention to detail will make the vector animal more lifelike and engaging.
Adding Details and Effects
Adding details and effects enhances the overall look of a vector animal, making it more lively and engaging. Using layers, shadows, highlights, and realistic features can bring the creation to life.
Using Layers for Complex Designs
Layers are essential in creating complex designs. Each part of the animal can be placed on a separate layer. This makes it easy to adjust and modify elements without affecting others.
When working with layers, he or she can label them clearly. This might include names like “Body,” “Eyes,” and “Background.”
Using folders to group related layers can also help maintain organization. This way, finding and editing specific components becomes simpler as the design grows more intricate.
Creating Shadows and Highlights
Shadows and highlights give depth to the animal illustration. He or she can create soft shadows by adding darker shapes under specific parts.
To add highlights, lighter colors can be used on areas that catch light. For example, the tips of ears or the top of the head might need some bright tones. This contrast adds dimension and realism.
Using transparency adjustments can enhance these effects. Reducing the opacity of shadow layers helps blend them naturally into the design.
Incorporating Realistic Features
Realistic features make the animal look more true to life. Textures can be added to mimic fur or scales, providing a tactile quality to the vector.
Using brushes in Vectr can help create these textures. Various brush styles are available, allowing he or she to experiment until they find the right effect.
Additionally, paying attention to proportion and anatomy is vital. Observing real animals and adapting those features into the design leads to a more believable representation.
Exporting and Sharing Your Work
Once the vector version of the favorite animal is complete, it’s time for exporting and sharing. This step involves finalizing the design, choosing the right file format, and using various platforms to share the artwork with others.
Finalizing the Design
Before exporting, it’s crucial to check the design for any last-minute adjustments. Look for any rough edges or colors that may need tweaking.
Ensure all elements are aligned properly. It helps to group layers that work together. This makes the export process smoother and keeps everything organized.
Finally, consider adding finishing touches, like outlines or additional colors, to enhance the overall appearance. This makes the design pop when shared with others.
Exporting to Different Formats
Vectr allows users to export their designs in various formats. The most popular options are PNG, SVG, and PDF.
- PNG is great for web use but won’t keep the vector qualities.
- SVG is perfect for maintaining the vector format, which allows for scaling without losing quality.
- PDF is another choice, especially for printing projects.
To export, go to the “File” menu and choose “Export.” Select your preferred format from the available options. Adjust the settings based on the final use to ensure the best quality.
Sharing Your Vector Animal Online
Sharing the artwork online can be done easily through unique project URLs.
Vectr allows users to generate a link to share their design directly with others.
This link can lead to an editable version, enabling collaboration.
It’s a straightforward way to showcase artwork on various platforms like social media, blogs, or email.
In addition, users can upload their designs to sites like Behance or Instagram for wider visibility.
This helps gain feedback and attract attention to their creative skills.