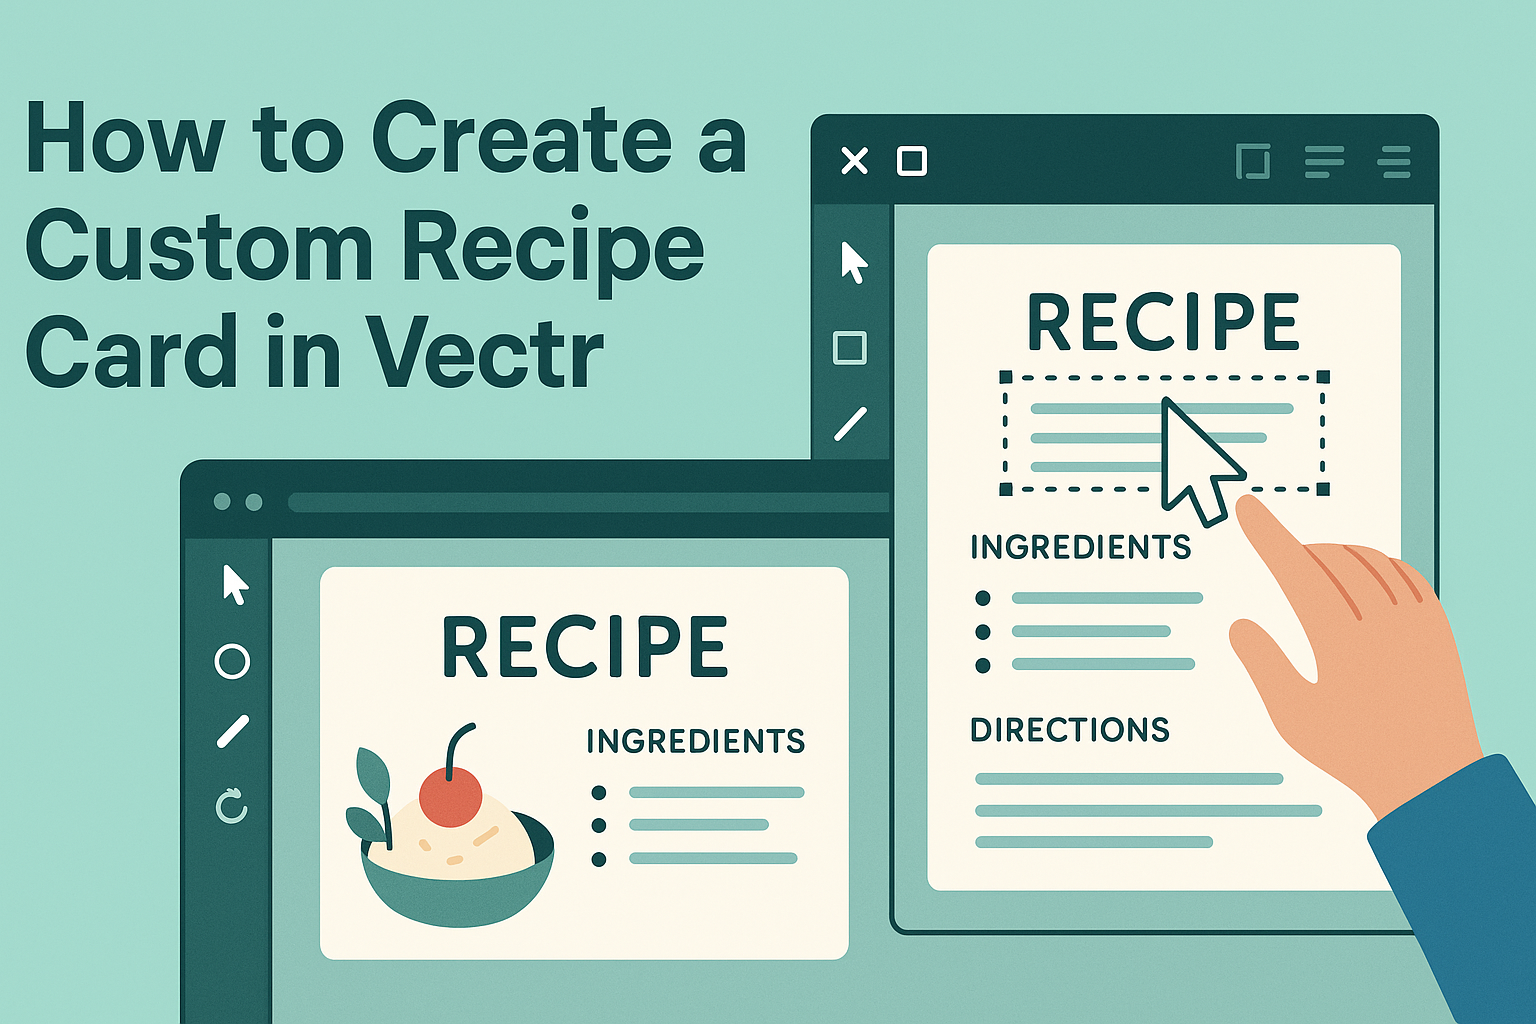
Creating a custom recipe card in Vectr can be a fun and rewarding project. With just a few simple steps, anyone can design a unique card that showcases their favorite recipes beautifully.
This guide will help readers navigate through Vectr’s tools and features to create a card that reflects their personal style.
Whether it’s for family gatherings, gifting, or just organizing personal favorites, a recipe card adds a special touch. Vectr’s user-friendly interface allows for creativity without a steep learning curve.
This article will provide a clear path to making a custom recipe card that stands out.
In a world where digital recipes are common, having a personalized card can bring a sense of nostalgia and warmth. It allows individuals to connect with their culinary roots while sharing delicious meals with loved ones.
Readers will find tips and tricks to make their recipe cards not only practical but also a joy to look at.
Getting Started with Vectr
To begin using Vectr, it is essential to set up an account, navigate the user interface, and understand basic features. This guide will help users dive into the platform seamlessly.
Setting Up Your Account
Creating an account on Vectr is a straightforward process. Users can visit the Vectr website and click on the “Sign Up” button.
From there, they need to enter their email and create a password.
After confirming their email address, users can log into their new account. Vectr also offers options for signing in using Google or Facebook, making it even easier to access the platform.
Once logged in, users will find a welcoming dashboard where they can manage their projects and access various tools.
Navigating the User Interface
The Vectr user interface is designed to be user-friendly. When a user first logs in, they will see a clean layout featuring a menu bar at the top and a sidebar on the left.
The menu bar provides options for creating new files, saving projects, and accessing tutorials. The sidebar contains tools for selecting shapes, text, and other graphic elements.
Users can easily switch between their projects and tutorials as needed. Familiarizing oneself with these elements is key to efficient workflow and design.
Understanding Basic Features
Vectr has several basic features that make it easy to create custom designs. Users can choose from a variety of shapes, colors, and fonts to start their designs.
To add text, they can simply select the text tool from the sidebar and type directly into their canvas. They can also adjust the font, size, and color to match their desired aesthetic.
Another important feature is the ability to layer objects. Users can arrange shapes and text for a more dynamic look. Familiarizing oneself with these basic tools lays the foundation for more advanced designing later on.
Designing Your Recipe Card
Creating a custom recipe card in Vectr involves careful attention to dimensions, backgrounds, text, and images. Each element contributes to the overall look and feel, making it visually appealing and easy to read.
Selecting the Right Dimensions
Choosing the right size for a recipe card is crucial. Most recipe cards come in standard sizes such as 3″ x 5″, 4″ x 6″, or even 5″ x 7″.
For home use, a 4″ x 6″ card is a popular option as it fits nicely in most recipe boxes. If a larger card is desired, the 5″ x 7″ size allows for more detailed recipes and decorative elements.
Before starting the design, it is essential to confirm the dimensions align with any printing plans.
Choosing a Background
The background sets the tone for the recipe card. It can be simple or complex, depending on personal style.
Options include solid colors, subtle patterns, or even images related to cooking. A clean white background works well for readability, while a textured background can add warmth.
When selecting a background, consider the color scheme. For instance, soft pastel colors may create a cozy feel, while bold colors can make it vibrant and eye-catching.
Adding Text and Typography
Text is vital for conveying recipe details. Choosing the right font is equally important.
Selecting a readable font style ensures that everyone can easily understand the instructions. For example, sans-serif fonts like Arial or Helvetica work well for a clean look.
It’s good to mix font sizes to highlight recipe titles and ingredients. Use larger font sizes for headings and smaller sizes for instructions.
Color contrast between the text and background improves visibility. Stick with one or two font styles for a polished appearance.
Inserting Images and Icons
Images and icons can enhance a recipe card’s visual appeal. Including photos of the finished dish makes the card more inviting.
When inserting images, make sure they are high-quality and well-lit. They should complement the recipe rather than distract from it.
Icons can be used for quick reference, like small utensils for measuring or cooking times. These elements help break up text and add a decorative touch.
Remember to position images thoughtfully, ensuring they don’t overwhelm the text. Balance is key for a beautiful and functional recipe card.
Customizing the Design
Creating a custom recipe card in Vectr allows for a tailored look that reflects personal style. Key elements include working with layers, applying colors and gradients, and utilizing borders and shadows to enhance the design.
Working with Layers
Layers are essential in Vectr for arranging design elements. Users can easily manage different parts of the recipe card by creating individual layers for text, images, and backgrounds.
By clicking on the “Layers” panel, they can add, delete, or reorder layers. This organization allows for adjustments without affecting the entire design.
For instance, if someone wants to move a picture, they can select its layer and drag it to the desired position. Layering also enables users to group items for easier editing, keeping the design process efficient and organized.
Applying Colors and Gradients
Colors and gradients bring life to a recipe card. Vectr provides an intuitive color picker to set the mood. Users can choose solid colors or create stunning gradients that transition between hues.
To apply color, select an element and access the fill option. From there, they can customize the shade or apply a gradient by selecting two or more colors for a seamless blend.
Using contrasting colors can help important details stand out. For example, bold colors for headings can enhance readability while softer tones can be used for backgrounds to ensure the text pops.
Utilizing Borders and Shadows
Borders and shadows add depth and definition to a recipe card. Incorporating borders around images or sections can create a polished look. Users should select an element and adjust the border thickness and color to achieve the desired effect.
Shadows can also enhance visual appeal. Users can add subtle shadows to text or images to create a 3D effect.
This feature helps elements appear more prominent and engaging. By fine-tuning the shadow’s opacity and distance, they can achieve a balanced appearance that draws attention without overwhelming the design.
Exporting and Sharing
When creating a custom recipe card in Vectr, exporting and sharing options are crucial. These features allow users to save their work and share it easily with others. Below are the key steps to ensure that your recipe card is ready for use and sharing.
Saving Your Work
Before exporting, it’s important for users to save their work regularly. Vectr offers an easy way to save projects directly within the platform. Users can click on the “File” menu and select “Save” to keep their progress.
For those using an online version, Vectr automatically saves changes. To ensure security, users should also consider exporting a backup copy of their design as they go along. This way, if something goes wrong, they will have a saved version to return to.
Exporting as Image or PDF
Once the recipe card design is complete, users can export it in different formats. Vectr allows exporting as an image (PNG, JPG) or a PDF.
To export, users should navigate to the “File” menu and select the “Export” option. They can choose which format they prefer. For instance, a PDF is great for printing without losing quality, while an image file works well for online sharing. It’s advisable to choose the resolution carefully, especially for images, to ensure clarity in the final output.
Sharing Your Recipe Card
Sharing the recipe card is simple after exporting.
Users can upload their images or PDF files to social media platforms, blogs, or recipe websites.
For a more collaborative approach, Vectr allows users to share a link directly from the app.
By selecting “Share,” they can invite others to view or edit the recipe card.
This feature is especially helpful for friends or family who may want to contribute their own ideas.
Clear instructions ensure that users can easily navigate sharing options, enhancing the experience of creating and enjoying recipes together.