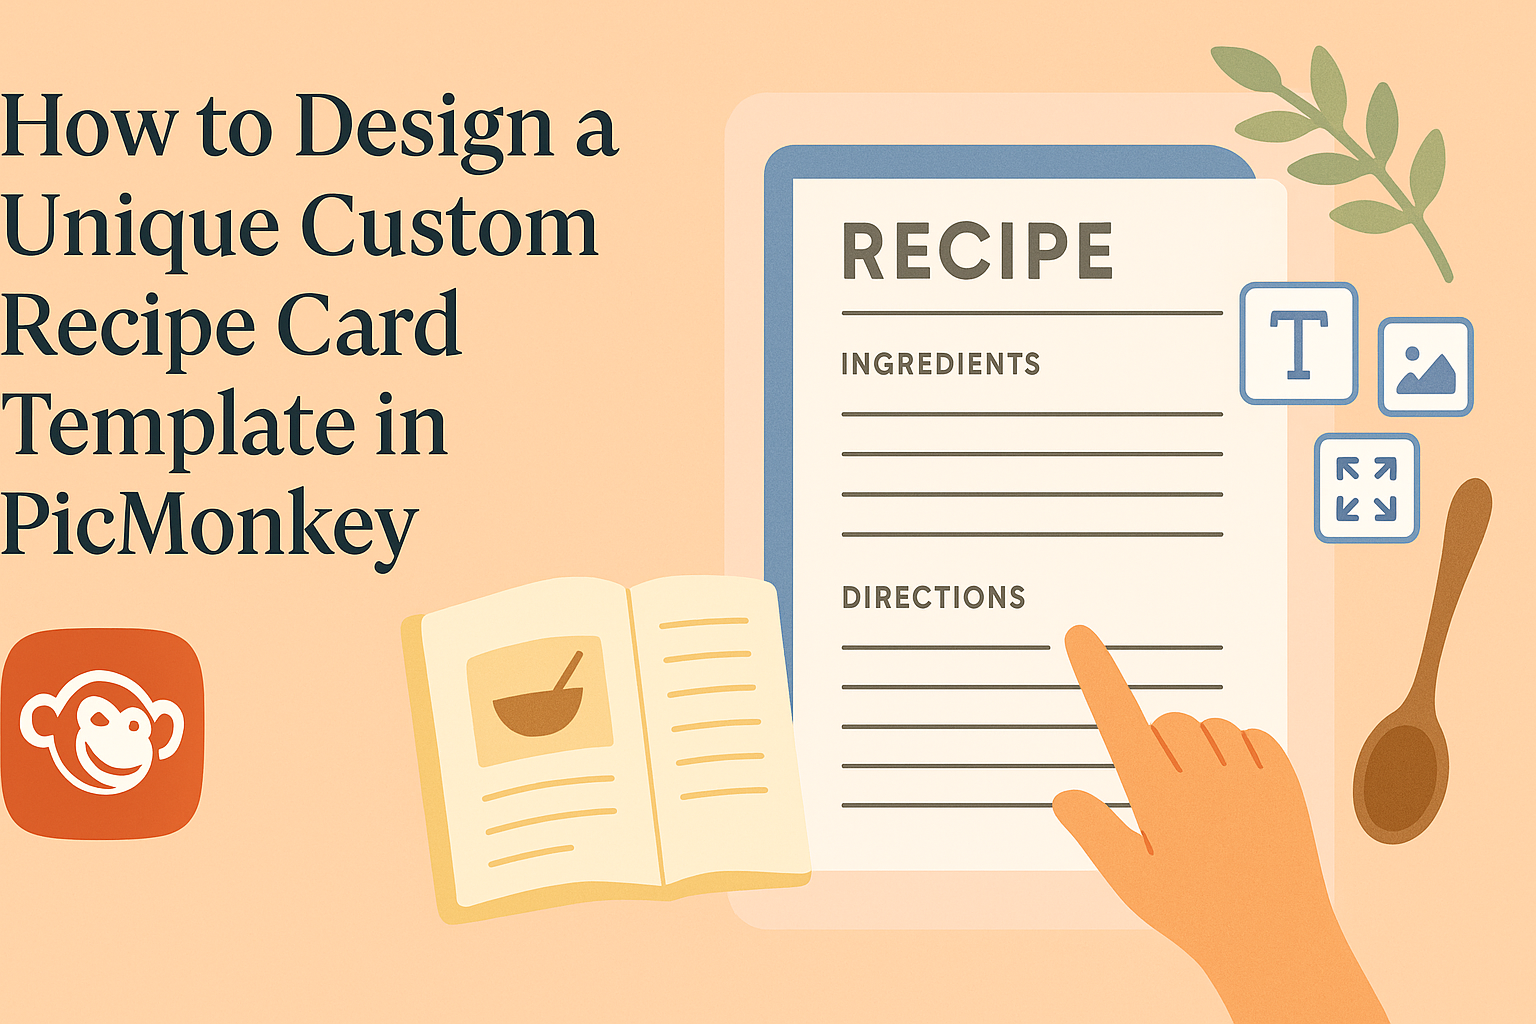
Creating a custom recipe card template in PicMonkey is a fun way to showcase favorite dishes. With PicMonkey’s easy-to-use design tools and templates, anyone can craft a unique recipe card that reflects personal style.
Whether it’s for a family gathering or sharing recipes with friends, a well-designed card adds that special touch.
PicMonkey offers a variety of features that help users create visually appealing recipe cards. From colorful backgrounds to fun fonts, the options are limitless.
Customizing a recipe card not only makes it beautiful but also practical for cooking enthusiasts.
By exploring the steps to design a standout recipe card, readers will discover how simple it can be to press their culinary creations into a lovely format. This article will guide them through the process, making it easy and enjoyable.
Getting Started with PicMonkey
To begin designing a custom recipe card in PicMonkey, it’s important to understand the interface and set up an account. This lays a solid foundation for creating unique and appealing designs.
Navigating the Interface
When someone opens PicMonkey, they will find a user-friendly interface.
At the top are the main menu options: Design, Edit, and Collage. Each option provides tools for different projects.
The Design menu is particularly useful for creating recipe cards. Here, users can access thousands of templates and graphics.
On the left sidebar, users can find design elements like text, shapes, and backgrounds. These can be easily dragged into the workspace.
To the right, settings allow for fine-tuning colors and sizes. Users can also undo actions or redo them easily.
Setting Up Your Account
Creating an account on PicMonkey is simple and quick. Users can sign up using an email address or link it with social media accounts like Facebook.
Once registered, they can enjoy a free trial that offers access to various design features. This includes numerous templates suited for different themes, including recipe cards.
After logging in, users should explore the My Projects section. It stores all their designs automatically. This ensures that they can return to projects without losing any work.
Having an account enhances the overall experience and makes design projects more straightforward.
Designing Your Recipe Card Template
Creating a custom recipe card template allows for personalization that reflects one’s style and culinary flair. Key aspects include choosing the right template size, selecting an eye-catching background, and utilizing various design elements to enhance the card’s appearance.
Choosing a Template Size
When designing a recipe card, selecting the right template size is crucial. Common sizes include 4×6 inches or 5×7 inches, which are perfect for sharing and storing.
One tip is to consider how the card will be used. If it’s meant for a recipe box, a smaller size might work best. For display purposes, larger sizes can grab attention.
Check the resolution of the template to avoid blurry images or text. High-quality visuals are important for ensuring clarity.
PicMonkey offers flexible template sizes, allowing for easy adjustments to fit any need.
Selecting a Background
The background sets the tone for the recipe card. Choosing the right one can make the content stand out.
Options include solid colors, patterns, or even images that resonate with the recipe theme.
For instance, a rustic wood background might be great for a homestyle recipe. In contrast, a bright color could work well for a vibrant dessert.
Using transparent overlays can help text stay readable against busy backgrounds. It’s essential to ensure the background complements the color of the text. This creates a balanced and aesthetically pleasing design.
Utilizing Design Elements
Incorporating design elements enhances the visual appeal of a recipe card. These might include borders, illustrations, or icons that match the cooking theme.
PicMonkey provides a variety of design features, such as custom graphics and fonts. Experimenting with different styles can lead to unique results.
Adding personal touches, like family photos or favorite cooking quotes, can make the card more meaningful.
It’s all about creating a design that feels personal and inviting to those who receive it. Whether it’s using playful fonts or elegant lines, each detail contributes to the overall look.
Customizing Your Template
Customizing a recipe card template in PicMonkey allows for a personal touch. This section highlights how to effectively add text, incorporate images, and personalize with color schemes to create a unique card.
Adding Text and Typography
Choosing the right text and typography is key to making the recipe card readable and appealing.
Users can start by selecting a font that matches the theme of their dishes. PicMonkey offers a variety of fonts, so they should choose one that enhances the card’s style.
Important details to include are the recipe title, ingredients, and cooking instructions.
Bold or larger font sizes can be used for the title to make it stand out. For ingredients, a simple list format helps in quick reading.
Users should aim for a color contrast between the text and the background for clarity.
Incorporating Images and Icons
Images and icons bring a recipe card to life. Users can upload pictures of the dish or use icons to represent ingredients or utensils. Having a clear image of the finished dish can entice viewers.
PicMonkey allows for easy image placement and resizing. Users should ensure that images don’t overwhelm the design; balance is essential.
Additionally, including small icons next to ingredients can add a fun touch. This creates a visual guide that complements the text, making it more engaging and informative.
Personalizing with Color Schemes
Color schemes can significantly influence the look of the recipe card.
Users can choose colors that reflect their personality or the mood of the recipe. For example, warm colors like reds and oranges can evoke feelings of comfort, while cool colors like blues and greens can give a fresh vibe.
PicMonkey allows for easy customization of background colors and text shades.
To maintain readability, users should pick contrasting colors for text and background. A consistent color theme throughout the card creates a professional look.
Using color strategically will enhance the visual appeal and make the card more memorable.
Saving and Sharing Your Design
After creating a custom recipe card in PicMonkey, knowing how to save and share the design is essential. This allows for easy access and distribution to family and friends. Here are the key methods to save and share your creation.
Exporting the Recipe Card
Exporting the recipe card is a simple process. Once the design is complete, users can click the export button. This will present options for file formats, such as JPG or PNG, which are perfect for sharing.
Steps to Export:
- Click on “Export” in the top right corner.
- Choose a file format (JPG, PNG, or PDF).
- Select the desired quality and size.
- Click “Download” to save it to the device.
PicMonkey also offers cloud storage options. Users can save their designs directly to their PicMonkey account for easy future access.
Sharing Options
Sharing the recipe card can be done in various user-friendly ways.
Once exported, it can be emailed directly to friends or shared on social media platforms.
This allows others to enjoy the culinary creation.
Popular Sharing Methods:
- Email: Attach the exported file and send it to loved ones.
- Social Media: Post the recipe card on Instagram, Facebook, or Pinterest for public sharing.
- Direct Link: If using PicMonkey’s cloud storage, users can provide a link for others to view or download the design.
Using these methods ensures everyone has access to the delicious recipes created in PicMonkey.