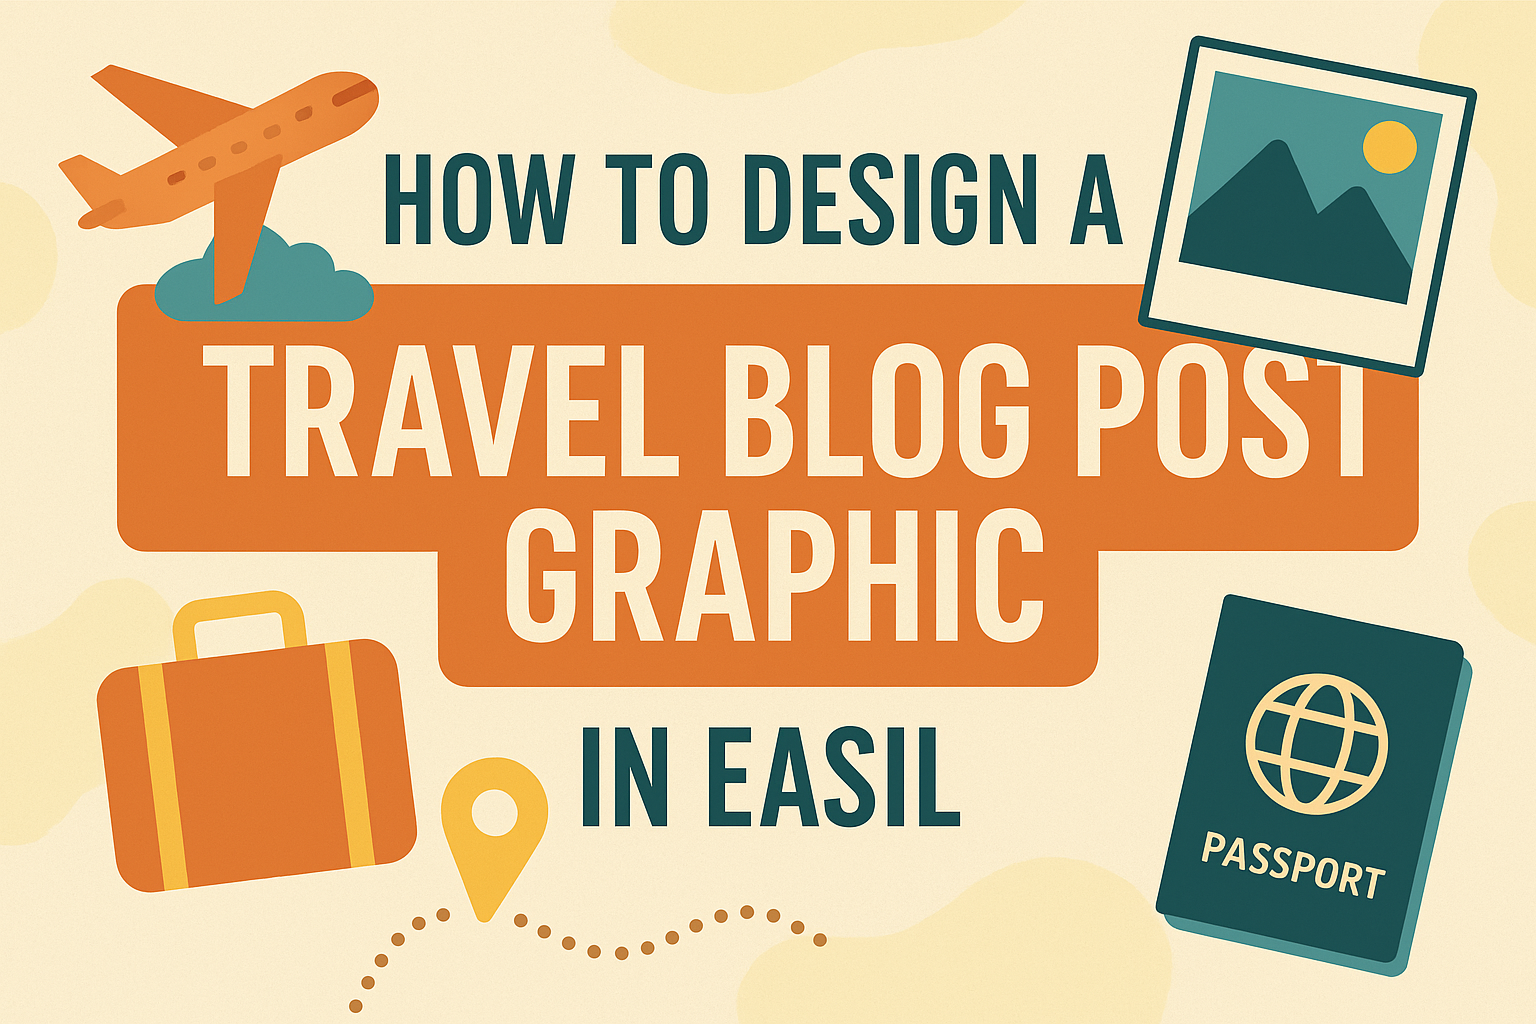
Creating eye-catching graphics for a travel blog can truly enhance the visual appeal of any post.
With Easil, anyone can design stunning travel blog graphics that grab attention and engage readers. This user-friendly tool makes it easy to showcase beautiful destinations and memorable experiences with just a few clicks.
Using Easil’s templates and design features, bloggers can express their unique style while saving time on graphic creation.
From vibrant colors to stylish fonts, Easil offers a range of options to customize visuals that reflect the blog’s theme. The platform is perfect for anyone, regardless of their design skills, making it accessible to all.
With the right tools, designing travel blog graphics becomes an enjoyable and straightforward process. By following simple steps and utilizing Easil’s capabilities, bloggers can create professional-looking graphics that complement their captivating stories. Readers will be eager to see what stunning visuals await them in the full article.
Understanding the Basics of Travel Blog Graphics
Travel blog graphics are essential for capturing reader attention and conveying messages effectively. Understanding both their importance and the principles of good graphic design can help create a more engaging experience for visitors.
Importance of Visual Appeal in Travel Blogging
Visual appeal plays a crucial role in travel blogging. Images and graphics help to draw readers in and create an emotional connection. Well-designed visuals can enhance storytelling and provide context to the writer’s experiences.
Using vibrant images of destinations and activities can make readers feel as if they are part of the adventure. Good graphics can also improve sharing on social media, which is vital for reaching wider audiences. Readers are more likely to engage with and remember posts that include compelling graphics.
Graphic Design Principles for Travel Blogs
There are key graphic design principles to keep in mind when creating travel blog graphics.
First, maintain a consistent style that reflects the blog’s theme. This includes using a cohesive color palette and font choices that align with the brand identity.
Second, focus on layout. Balance images and text to create an inviting design that guides the reader’s eye. Using white space effectively can make content easier to digest, while aligning visuals with text can enhance clarity.
Lastly, prioritize high-quality images. Blurry or poorly lit photos can detract from the content. Crisp, vibrant visuals will better capture the essence of travel and enhance the overall appeal of the blog.
Choosing Your Tools and Resources
Selecting the right tools and resources is crucial for designing eye-catching graphics for a travel blog post. This section covers Easil, essential design tools, and how to find inspiration to create stunning visuals.
A Brief Overview of Easil
Easil is a user-friendly graphic design tool that simplifies the design process. It is ideal for bloggers who want to create high-quality images without needing extensive design skills.
With a drag-and-drop interface, Easil allows users to easily add elements like text and images to their designs. Users can access a variety of templates tailored for travel blogging, such as social media posts and headers. This makes it easier to stay consistent with branding and aesthetics.
Essential Tools for Designing a Graphic
When designing graphics, having the right tools can make a big difference. In addition to Easil, there are several other essential tools to consider:
- Canva: Great for beginners, it offers a wide range of templates and images.
- Adobe Spark: Ideal for creating short videos or web pages along with graphics.
- Pixabay: Provides free images that can enhance blog graphics.
Each tool enhances graphic design capabilities, so users can choose based on their specific needs. Familiarity with these tools can help streamline the creative process and improve the final product.
Finding Inspiration and Resources
Finding inspiration for travel blog graphics is vital to stay fresh and engaging. Here are a few resources to consider:
- Pinterest: A visual platform where users can explore travel-themed designs.
- Unsplash: Offers high-quality photos that can be used in graphics.
- Design Blogs: Websites dedicated to design often share tips and trends.
Exploring these resources can spark creativity and help users discover new ideas. Additionally, connecting with other designers in online forums can provide valuable insights and feedback.
Creating Your Travel Blog Graphic in Easil
Designing a graphic for a travel blog can be enjoyable and straightforward. With Easil, users can create eye-catching visuals by focusing on a few essential elements. Below are the steps to get started.
Setting Up Your Canvas
To begin, users must set up their canvas in Easil. This involves choosing the correct dimensions for the graphic. For a blog post, a common size is 1200 x 628 pixels, which works well for social media sharing.
Users should select a template that matches their style or start from scratch. Easil offers a range of templates tailored for various themes and needs. After saving the canvas, it’s easier to move on to other design elements.
Laying the Foundation with Backgrounds and Colors
Next, users should focus on selecting backgrounds and colors. The background sets the mood of the graphic. It can be a solid color, a gradient, or even an image.
When choosing a color scheme, it’s helpful to consider the blog’s branding. Complementary colors can grab attention and enhance the overall design. Users can utilize Easil’s color wheel to find the perfect palette that resonates with their travel theme.
Incorporating Text and Fonts
Adding text is crucial for conveying the message of the graphic. Users should decide on the main headline first, keeping it concise and engaging.
Easil offers various font styles. It’s important to select fonts that are easy to read and match the vibe of the blog. For a travel blog, playful or elegant fonts can work well. Users can also adjust the size, color, and spacing to make the text pop against the background.
Adding Visual Elements and Imagery
Finally, incorporating images and graphics can truly elevate a travel blog graphic. Users can upload their own photos or choose from Easil’s library of stock images.
Visual elements like icons or shapes can also add interest. Using high-quality images that reflect the topic helps attract readers. It’s vital to ensure that any images used align with the blog’s message and overall style.
Finalizing and Optimizing Your Graphic
After creating a travel blog post graphic in Easil, it’s crucial to ensure the design is polished and suitable for various platforms. The following steps will help in refining the design and preparing it for online use.
Reviewing and Refining Your Design
It’s important to review the graphic carefully. Check for spelling and grammar errors. Even a small mistake can affect the professional look of the graphic.
Next, consider the color scheme and fonts used. Ensure that they match the blog’s theme. If needed, adjust the shades or select fonts that are easy to read.
Also, evaluate the layout. Make sure the elements are balanced and there is enough white space. This helps prevent a cluttered appearance.
Finally, seek feedback from a friend or colleague. A fresh set of eyes can catch issues that might have been overlooked.
Optimizing for Web and Social Media
Once the design is refined, it’s time to optimize it. This step ensures that the graphic loads quickly and looks great across different devices.
Start by saving the graphic in the right format. For web use, JPEG or PNG files are ideal. These formats maintain image quality while keeping file sizes manageable.
Next, adjust the image dimensions.
Each platform has its own optimal size for images. For example, Instagram favors square images, while Pinterest works better with vertical graphics.
Lastly, add alt text for accessibility and SEO benefits. This description helps search engines understand what the image is about and improves visibility.