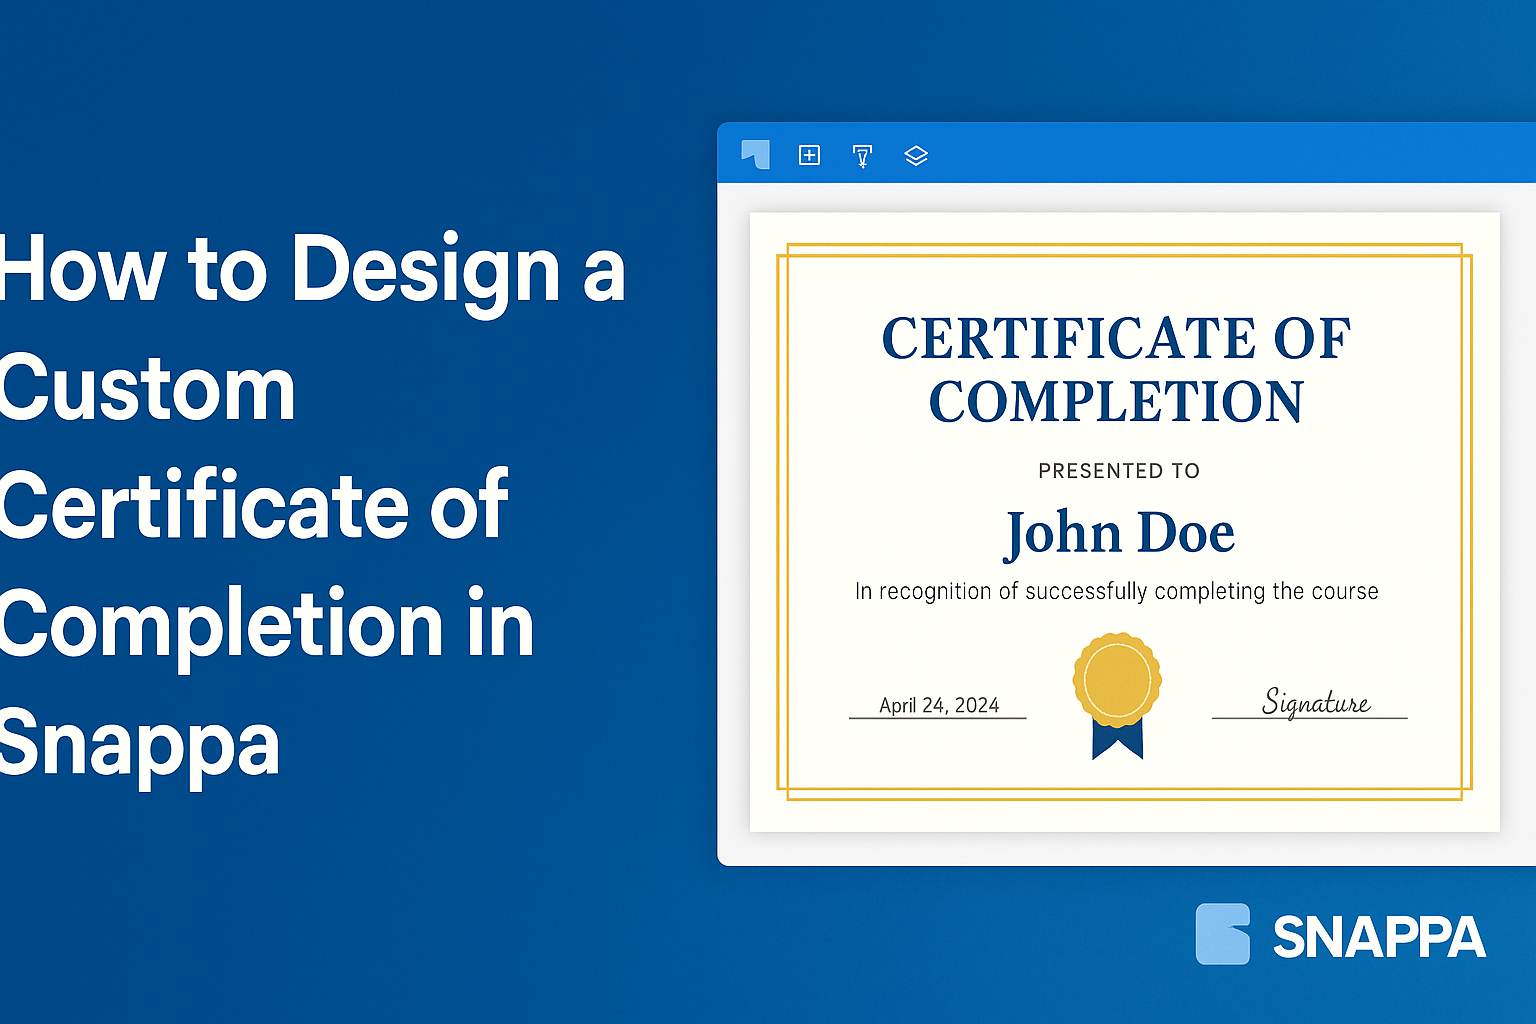
Creating a custom certificate of completion can be a rewarding project. With tools like Snappa, it’s easy to design something that looks professional and personalized.
Using simple templates and intuitive features, anyone can create a certificate that celebrates achievements beautifully.
Whether it’s for a workshop, course, or special event, a well-designed certificate adds a touch of significance.
Users can choose from a variety of templates that allow for customization in colors, fonts, and layouts. This flexibility ensures that each certificate not only serves its purpose but also reflects the recipient’s unique achievement.
By following straightforward steps in Snappa, designing a certificate becomes an enjoyable task rather than a chore. With just a few clicks, anyone can produce a stunning certificate that recipients will treasure.
This blog post will guide readers through the entire process, making it simple to get started.
Getting Started with Snappa
Snappa is a user-friendly design tool that helps users create stunning graphics easily. Before designing a custom certificate of completion, it’s important to set up an account and understand the interface.
Signing Up for an Account
To start using Snappa, a user needs to visit the Snappa website. They can quickly sign up by providing an email address and creating a password.
Alternatively, users can choose to sign up using their Google or Facebook accounts.
After signing up, they will receive a confirmation email. It’s essential to confirm the email to activate the account.
Once activated, users can log in to their new account. Snappa offers a free plan that allows users to create designs with limited features. Upgrading to a paid plan provides access to more templates and tools, enhancing the design experience.
Overview of the Snappa Interface
When users log into Snappa, they are greeted by a clean and intuitive interface. The main dashboard displays several options for creating designs.
On the left side, there’s a navigation menu with categories such as templates, graphics, and text options.
Users can choose their preferred design size or select from pre-made templates.
The central workspace is where users drag and drop elements to their design. They can add backgrounds, images, and text with simple clicks.
At the top, users will find the options to save, download, or share their work. Familiarizing themselves with these features will make the design process smoother.
Designing Your Certificate
Creating a custom certificate involves choosing the right template, tweaking text elements, and adding graphics for style. Each part plays a crucial role in making a certificate both appealing and professional.
Selecting the Right Template
Choosing the right template is the foundation of a great certificate. Snappa offers a variety of professionally designed templates that cater to different themes like education, training, or achievement.
It’s essential to pick a layout that fits the purpose of the certificate. For instance, certificates for educational achievements might need a more formal design, while awards for creativity could use brighter colors and playful fonts.
Once a template is chosen, it can easily be customized further to make it unique. A good template sets the right tone and helps in creating an outstanding certificate.
Customizing Text Elements
Customizing text elements is vital in conveying the right message. Start by entering the recipient’s name in a prominent spot, making sure it’s easy to read.
Next, include details like the course title, the date of completion, and the signature of the issuer.
It’s important to use clear fonts that enhance readability.
Varying font sizes can help emphasize specific parts of the text, like making the title larger. Using bold for important details also captures attention. This way, the certificate not only looks good but communicates its purpose effectively.
Adding Visual Flair with Graphics
Adding graphics can elevate the design of a certificate. Snappa allows users to incorporate logos, borders, and icons, which add a personal touch.
Choosing appropriate graphics is key; for example, a logo from the issuing organization can lend credibility. Borders can frame the content nicely and draw the eye to important details.
It’s also possible to use background images lightly to enhance the overall design without overwhelming the text. Striking the right balance in graphics makes the certificate visually appealing and professional.
Finalizing Your Design
Before wrapping up the certificate design process, it’s important to focus on layout and brand consistency. This ensures the certificate not only looks good but also aligns with the intended branding.
Adjusting Layout and Composition
At this stage, layout plays a crucial role. Use grid lines to organize elements clearly, keeping the certificate balanced.
Important components like the title and recipient’s name should be prominent, while other details can be smaller.
Consider using white space effectively. This helps important elements breathe and keeps the design from looking cluttered. Adjust margins and spacing for a polished look.
Finally, preview the design in different formats. Check how it appears on screen versus printed out.
Making these layout adjustments can significantly enhance the overall impact of the certificate.
Ensuring Brand Consistency
Maintaining brand consistency is essential for recognition. Use colors, logos, and fonts that reflect the brand’s identity. This coherence creates a professional appearance.
Incorporate the brand’s logo in a clear, visible spot. It might be at the top or bottom, but it should stand out without overwhelming the design.
Choose fonts that align with the brand style. If the brand uses modern sans-serif fonts, keep these throughout the certificate.
This attention to detail reinforces trust and recognition with recipients, making the certificate more meaningful.
Downloading and Sharing
Once the certificate is designed in Snappa, the next steps involve downloading and sharing. This process is simple and can enhance the certificate’s reach and usability.
Exporting Your Certificate
To export the certificate, users can click the export button. Snappa allows exporting in multiple formats, including PNG and PDF.
- PNG is perfect for online use and sharing via email.
- PDF provides a high-quality print version.
Users should choose the format that best suits their needs.
After selecting the format, they can adjust the file resolution.
Higher resolutions are ideal for printing, while standard resolutions work well for digital sharing.
Once configured, clicking the download button saves the certificate to the user’s device. It’s advisable to check the downloaded file for quality before sharing.
Sharing Options and Best Practices
Sharing the certificate can be done in several ways.
Users can send it via email, post it on social media, or print it out.
Each method has its benefits.
- Email allows for direct communication.
- Social media boosts visibility.
When sharing, it’s helpful to include a brief description of the certificate’s purpose. This context helps recipients understand the certificate’s value.
For formal occasions, printed certificates should be neatly presented.
Using quality paper can make a significant difference in appearance.
Additionally, keeping a digital copy ensures that it can be re-shared later if needed.
Sharing not only celebrates achievement but also encourages others.