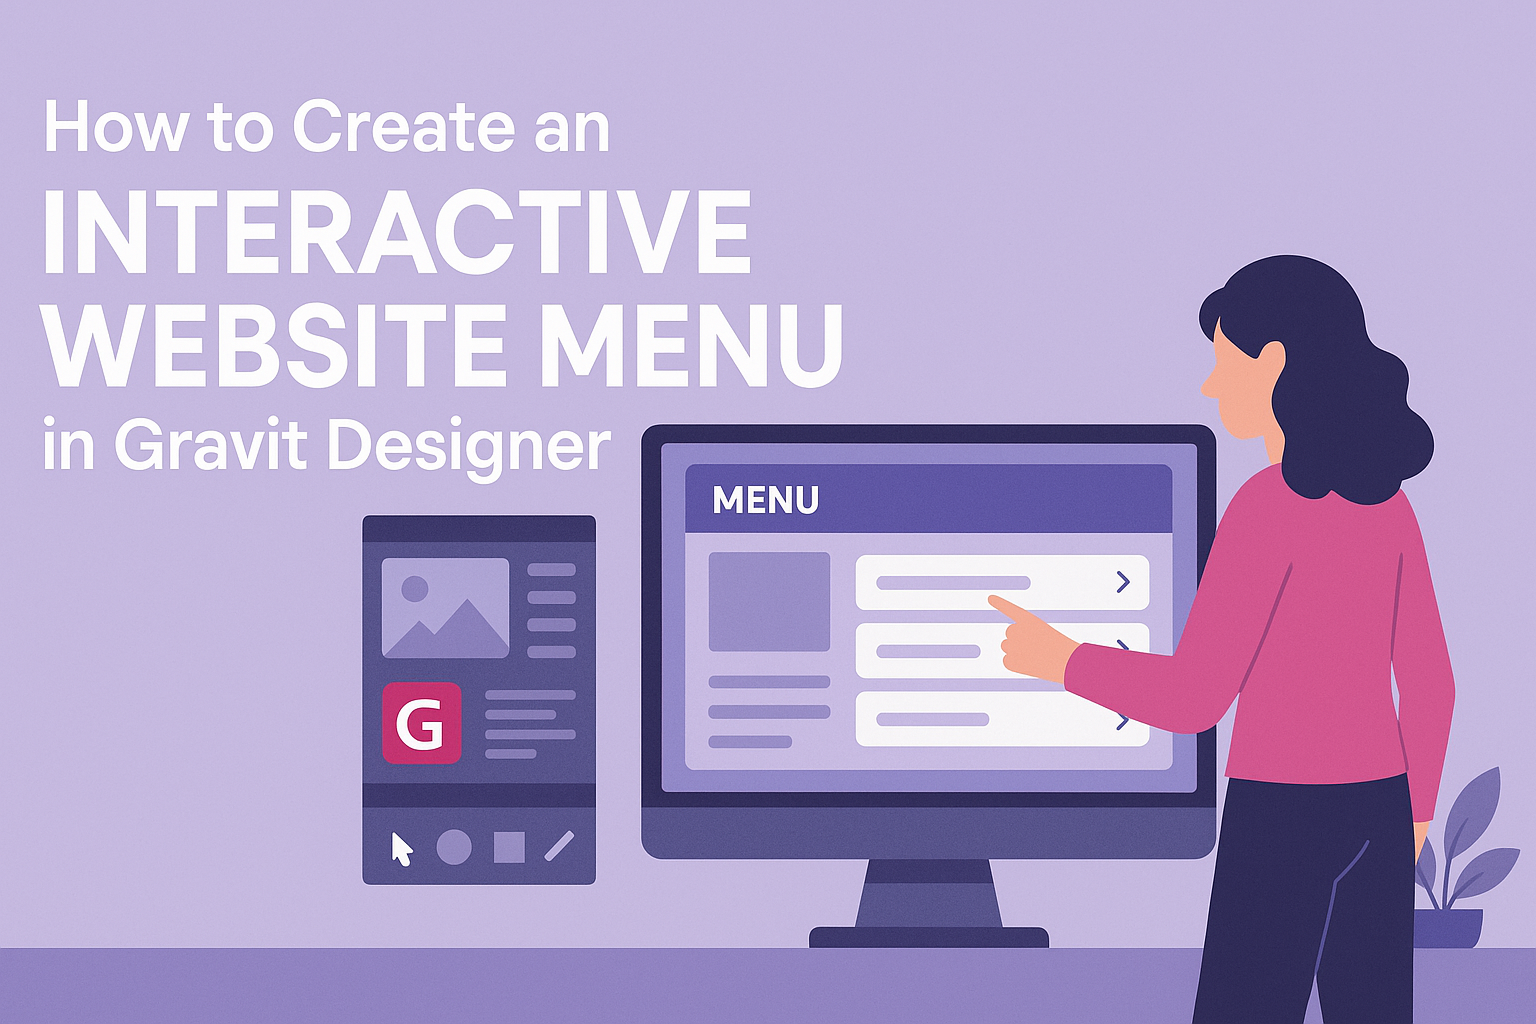
Creating an interactive website menu can greatly enhance user experience and navigation.
Using Gravit Designer, one can easily design a stylish and functional menu that engages visitors and makes browsing seamless.
This post will guide readers on how to utilize Gravit Designer’s tools to create menus that are not only visually appealing but also easy to operate.
Many web designers overlook the importance of a well-structured menu. A good menu helps users find what they need quickly, keeping them engaged with the site.
In this article, readers will discover various tips and techniques that make menu design enjoyable and effective.
Interactive menus can set a website apart in the crowded online space. As users seek intuitive navigation, learning to craft a menu in Gravit Designer can be a game-changer. With the right approach, anyone can transform their website’s look and functionality.
Getting Started with Gravit Designer
Gravit Designer is a powerful tool that allows users to create stunning designs with ease. Understanding its interface and how to set up a project is essential for effective use.
Overview of Gravit Designer Interface
The Gravit Designer interface is user-friendly and organized.
Upon opening the application, users see a menu bar at the top, which includes options like File, Edit, and View. Just below it is the toolbar, where essential tools for drawing, shaping, and text editing are located.
On the left side, the layers panel shows all elements in the project. This allows users to select, hide, or lock specific layers, making management easier.
The canvas area at the center is where the design takes shape. Users can zoom in and out for detailed work or broad overview, ensuring perfect adjustments.
Setting Up Your Project
To start a new project in Gravit Designer, users should click on the “New Document” option.
A dialog box will appear, prompting selections for dimensions, orientation, and color mode. Users can choose from preset sizes or input custom dimensions.
After setting up the project, familiarizing oneself with the grid and guidelines is helpful. They assist in aligning elements neatly.
Lastly, saving the project frequently is crucial. Users can save it on their local machine or opt for cloud storage for easy access and collaboration. This ensures that no progress is lost while working on the design.
Designing Your Website Menu
Creating an effective website menu involves careful attention to detail. This section covers key aspects such as adding text, creating buttons, applying styles, and organizing elements to produce a user-friendly design.
Adding and Formatting Text
Text is a crucial component of any menu. To begin, select the Text Tool in Gravit Designer. Click on the canvas to create a text box.
The key is to use clear, readable fonts. Popular choices are Arial, Helvetica, and Open Sans.
Keep the font size between 16-20 px for visibility. For a stronger impact, use bold for main menu items.
It’s also important to align the text properly. Centered text works well for balanced menus, while left-aligned text can create a straightforward look.
Don’t forget to adjust line spacing for better readability. Adding padding around the text ensures that it doesn’t feel cramped.
Additionally, using consistent formatting across all menu items creates a cohesive look.
Creating Menu Buttons
Menu buttons should be visually appealing and functional. Start by drawing a rectangle shape to serve as the button’s background.
Adjust its size according to the text and ensure it is large enough to click easily.
To make the buttons stand out, apply rounded corners. This design feature is more inviting and softer in appearance.
Use the Fill tool to add your desired color. Consider using a shadow effect for a 3D look, enhancing the button’s visibility.
Once the button shape is created, place the formatted text on top. Group the button shape and text for easy movement.
Keep in mind that buttons should have sufficient spacing between them to prevent accidental clicks.
Applying Colors and Styles
Colors play a vital role in the menu’s aesthetics. Choose a color scheme that aligns with your brand.
Use contrasting colors for text and background to ensure readability. Light text on a dark background or dark text on a light background works best.
You can create a hover effect to add interactivity. This can be achieved by changing the button color when the mouse hovers over it.
Consider using a slight color shift or a shadow to give visual feedback.
Consistent styles across all elements provide a professional finish. Use style libraries within Gravit Designer to save colors and styles for easy access. This allows for a streamlined design process without losing consistency across the menu.
Organizing Layers and Elements
Effective organization of layers enhances both the design process and final product. Group similar elements, like all menu buttons, by selecting them and using the group function. This makes it easier to move or edit them as a whole.
Label layers clearly to avoid confusion later on. Using descriptive names helps in quickly identifying elements, especially when dealing with many layers.
This organization is especially important for responsive design elements.
Make use of alignment tools to space out the menu items evenly. It is important to ensure that the overall layout is balanced and pleasing to the eye.
Lastly, keep the hierarchy clear. More important menu items should be prominent, guiding users through the navigation smoothly.
Making the Menu Interactive
Creating an interactive menu elevates the user experience on a website. It allows users to navigate effortlessly and enjoy visually engaging elements.
Setting Up Links and Navigation
To establish links in Gravit Designer, select the menu item that needs a link. In the properties panel, there is an option for adding a hyperlink.
This link should direct to the relevant section of the website or an external page.
It’s essential to ensure that each link is tested to confirm it leads to the right destination.
A good practice is to organize links based on the menu structure, using categories like “Home,” “About,” and “Contact.”
Using Hover and Click Effects
Adding hover effects can make the menu feel more dynamic.
In Gravit Designer, select the menu item and use the “States” feature to define how it should change when hovered over.
Common hover effects include color changes, enlarging the text, or adding underlines.
These small adjustments can signal to users that the item is interactive.
For click effects, designers can use actions that change the button appearance when pressed.
This could be a slight shadow or color shift.
Implementing these effects gives instant feedback, making navigation smooth.
Remember, the goal is to enhance usability without overwhelming users.