Creating custom illustrations can be a fun and rewarding experience, especially with powerful tools like Gravit Designer. The Pen Tool in Gravit Designer allows users to draw precise and detailed artwork, making it a favorite for both beginners and experienced designers. By learning how to master this tool, anyone can bring their creative ideas to life.
Gravit Designer’s Pen Tool is versatile, enabling artists to create everything from simple shapes to complex designs. With just a bit of practice, they can easily control curves and lines, opening up endless possibilities for illustration.
This article will guide readers through the process of using the Pen Tool effectively, ensuring they can create stunning custom illustrations.
Whether someone is new to graphic design or looking to refine their skills, understanding the Pen Tool is essential. With its user-friendly interface, Gravit Designer makes it easy for anyone to start drawing. By following the steps outlined here, they will be well on their way to crafting unique and impressive illustrations.
Getting Started with Gravit Designer
Gravit Designer is a powerful tool for creating vector graphics.
Knowing how to download, install, and set up the software will help anyone get started on their creative journey.
Downloading and Installing Gravit Designer
To begin the journey, visiting the Gravit Designer website is the first step. Users can download the application for different operating systems, including Windows, macOS, and Linux.
After downloading, the installation process is straightforward. Users simply follow the prompts provided during the setup.
It’s important to note there may be some issues with the Linux version, where using the browser version might be preferable for a smoother experience.
Understanding the Gravit Designer Interface
Once installed, users are greeted with a clean and user-friendly interface. The main workspace displays tools on the left, properties on the right, and the canvas in the center.
Key tools included are the Pen Tool, Shape Tool, and Text Tool. The toolbar is customizable, allowing users to arrange their favorite tools for easy access.
Additionally, the right panel offers options to adjust colors, sizes, and other properties for precision in illustration.
Setting Up Your Canvas for Illustration
Setting up the canvas is crucial for creative projects.
Users can create a new document by selecting the desired dimensions for their artwork. It’s possible to choose between preset sizes or enter custom dimensions manually.
In the settings, users can also set the resolution, which affects the quality of the final output.
Choosing the right background color may enhance visibility while working. A blank canvas is often preferred to start fresh, making it easier to focus on details.
Mastering the Pen Tool
To create custom illustrations, mastering the Pen Tool is essential. It allows for precision and flexibility in designing complex shapes. Understanding its basics, learning to create both straight lines and curves, and knowing how to edit nodes and handles will greatly enhance any designer’s skills.
Basics of the Pen Tool
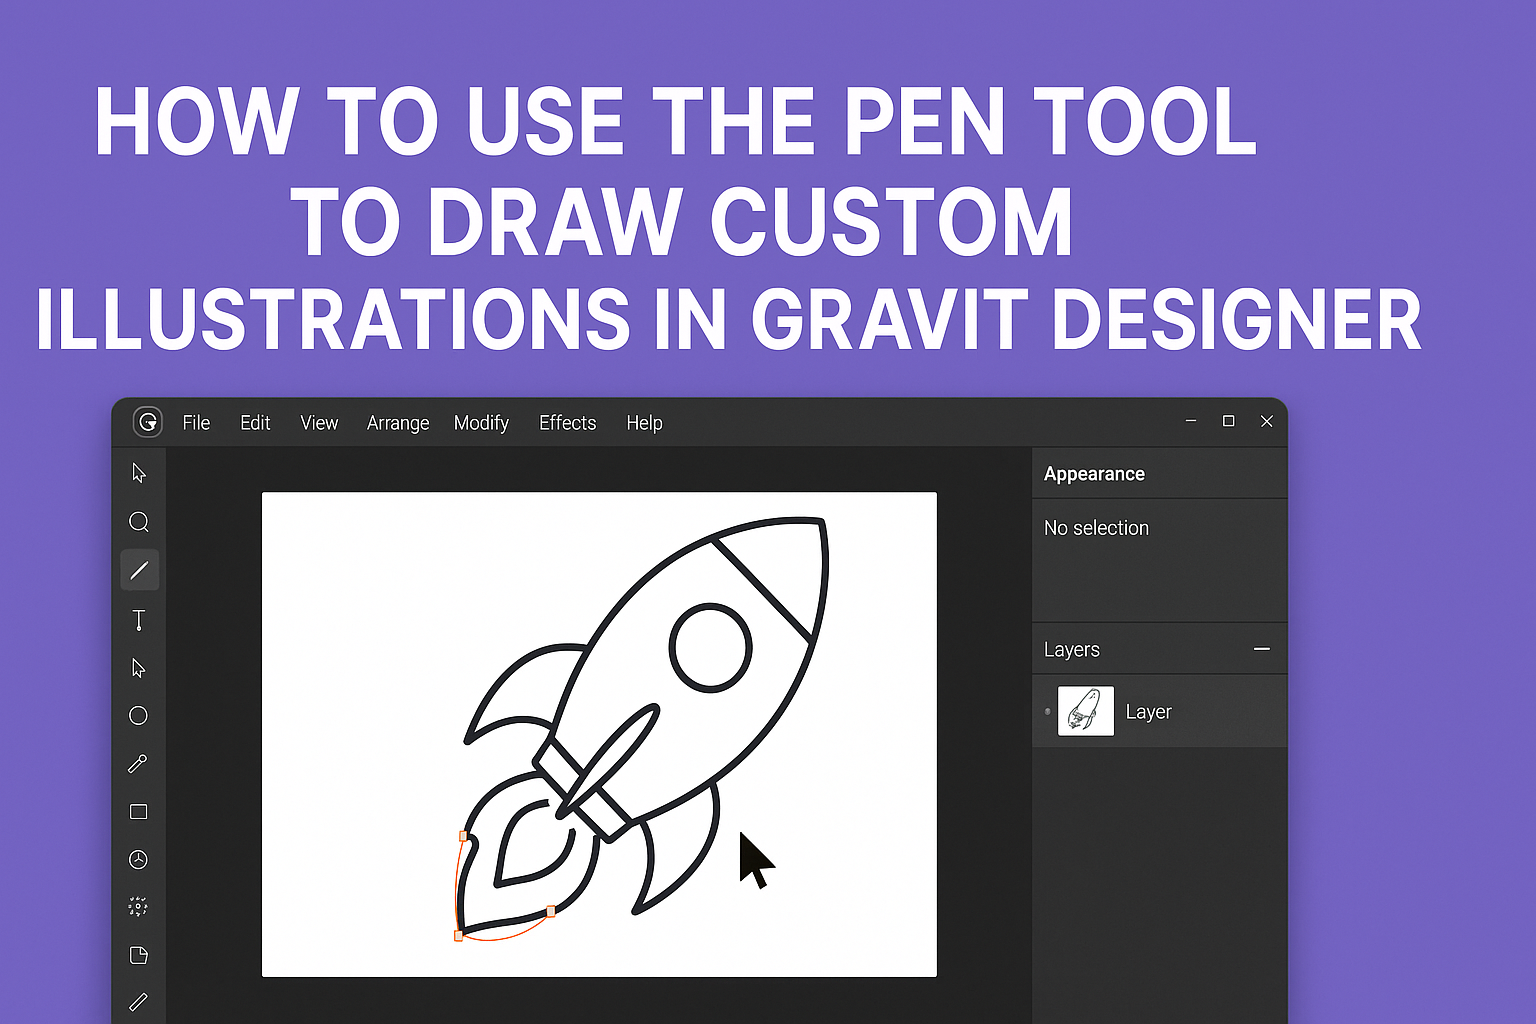
The Pen Tool is a powerful feature in Gravit Designer, enabling users to create paths and shapes with ease. It consists of anchor points and direction handles that control the curves and lines.
To use the Pen Tool, select it from the toolbar or press the shortcut key, usually “P”.
Clicking on the canvas creates anchor points. A straight line is formed by connecting these points. To create curves, click and drag, which pulls direction handles, shaping the path.
It’s worth noting that each click forms a new anchor, while dragging adjusts the curve. Practice makes perfect, so take time to familiarize with placing anchors accurately.
Creating Straight Lines and Curves
To create straight lines with the Pen Tool, users simply click to place anchor points. Each click forms a straight line segment until another anchor is placed.
For example, click the first point, then the second. This method allows for clean, geometric shapes.
For curves, users need to click and drag. When dragging, the direction handles appear, controlling the slope of the curve. Adjusting these handles modifies the curvature.
To switch between straight lines and curves, carefully manage the clicks and drags. Mastering this balance is key for precise designs.
Editing Nodes and Handles
Editing the shapes after creating them is equally important. The Direct Selection Tool often works alongside the Pen Tool, allowing designers to alter paths easily.
This tool enables the selection of individual anchor points. Once selected, the designer can move the points around to reshape the design.
Additionally, adjusting the direction handles lets one fine-tune curves. Users can click-and-drag these handles to achieve the desired look for their design.
Understanding how to edit nodes and handles will significantly improve the precision and quality of illustrations. This skill ensures that designs remain smooth and visually appealing.
Crafting Your Custom Illustration
Creating a custom illustration involves careful planning, organization, and thoughtful application of colors and styles. By following a structured approach, anyone can enhance their artwork in Gravit Designer.
Planning Your Illustration
Before diving into drawing, it’s important to visualize the final piece. They should sketch ideas on paper or use digital tools to create rough layouts. This helps clarify the main elements, composition, and proportions.
Using simple shapes can guide the structure of the drawing. They might think about the overall theme and style, which can influence the choice of colors and shapes.
It’s also helpful to gather reference images. These can inspire and provide guidance on anatomy, perspective, and design elements.
Layering and Organizing Your Drawing
Layers are essential in Gravit Designer for maintaining clarity while working.
Users should create individual layers for different components, such as foreground, background, and details. This keeps the workspace neat and makes elements easier to edit later.
They can label layers based on their content, like “Sky,” “Characters,” or “Objects.” This practice minimizes confusion when making adjustments.
Additionally, using groups for similar elements is a smart way to keep related items together. It allows for quick edits and movements across the canvas.
Applying Colors and Styles
Applying colors and styles is the next exciting step.
They should start by choosing a color palette that fits the mood of the illustration. A limited palette can create harmony and focus.
Users can apply colors using the fill tool for solid areas and the gradient tool for depth.
Textures and styles add character to the artwork. They can explore different brush styles to create effects like shadows or highlights. Adjusting opacity can also provide a layered feel.
Finally, exporting the finished illustration in the correct format ensures it retains quality for sharing or printing.
Advanced Techniques
Mastering the Pen Tool involves more than just drawing shapes. By incorporating shadows, highlights, and utilizing advanced features, an artist can significantly enhance their custom illustrations.
Adding Shadows and Highlights
Shadows and highlights can bring depth to illustrations.
To create shadows, a designer can duplicate the shape, fill it with a darker color, and adjust the opacity for a softer look. This method creates a sense of realism.
For highlights, the same process applies. Duplicate the shape again, use a lighter color, and position it where light would naturally hit.
Using blending modes can also enhance these effects further, allowing for more intricate layers of lighting.
These techniques make the artwork look more three-dimensional, drawing viewers’ eyes to the focal points.
Using Clipping and Masking Features
Clipping and masking are powerful features in Gravit Designer.
A clipping mask can limit the visibility of a layer to the shape of another layer. This is useful for applying textures or patterns without affecting the entire illustration.
To create a clipping mask, place the layer you want to clip above the layer you want to use as a mask. Then right-click and select “Use as Clipping Mask.” This method helps manage complex designs with ease.
Masking offers similar benefits, allowing one to hide parts of designs and focus on specific areas. It keeps the artwork neat and well-organized.
Exporting Your Final Artwork
Exporting the final illustration is a crucial step to ensure quality.
Gravit Designer supports multiple formats, including PNG and SVG.
To export, go to File > Export.
Choose the desired format based on the project needs. For web use, PNG is often best for high quality with transparency.
SVG is great for scalable graphics.
Adjust the export settings, including resolution and quality, to match the intended use.
This helps maintain the integrity and appeal of the artwork.
By following these guidelines, an artist can create polished and professional illustrations.