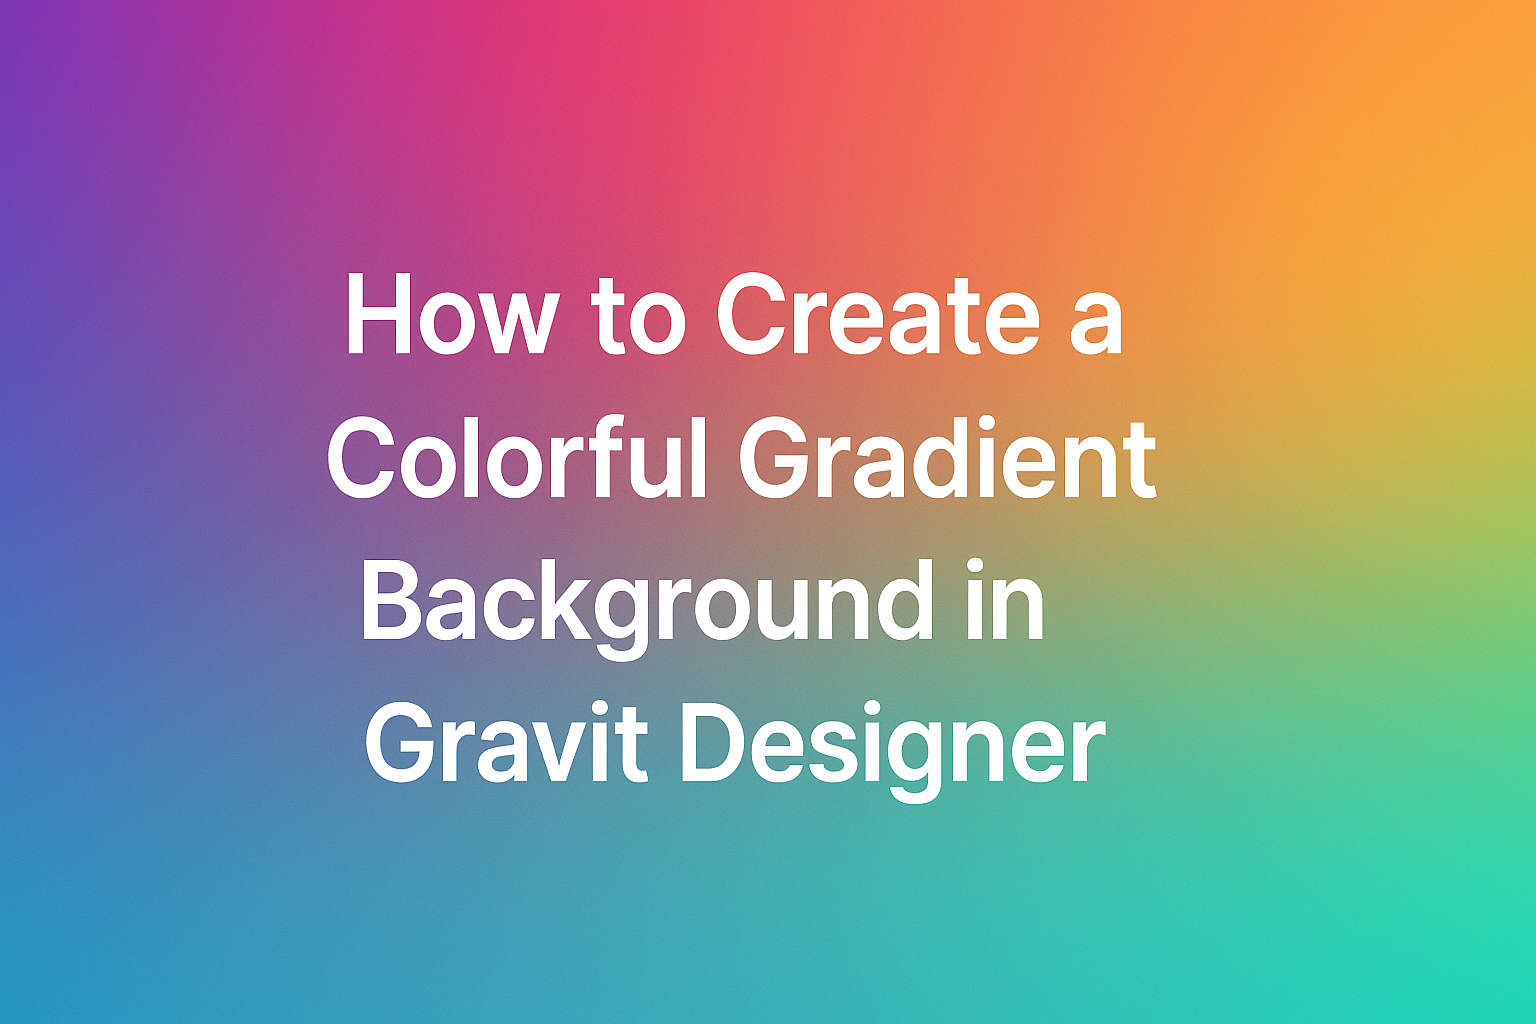
Creating a colorful gradient background can add depth and flair to any design project.
In Gravit Designer, users can easily achieve stunning gradient effects by selecting the Gradient Fill option and adjusting the color sliders to their liking.
This simple technique transforms mundane designs into vibrant masterpieces.
Many designers appreciate the versatility of gradients. They can evoke emotions, set a mood, or simply enhance visual appeal without overwhelming the viewer.
The beauty of using Gravit Designer is that it allows for easy experimentation with colors and styles, making it a perfect tool for both beginners and seasoned designers.
As readers dive into this article, they will discover step-by-step instructions on how to create eye-catching gradient backgrounds. With just a few clicks, the possibilities for creativity are endless!
Getting Started with Gravit Designer
Before diving into creating colorful gradient backgrounds, it’s essential to understand how to set up Gravit Designer.
This includes knowing how to create a new project and familiarizing oneself with the interface.
Creating a New Project
To begin, the user needs to open Gravit Designer and create a new project. They can do this by clicking on the “New Design” button.
A dialog box will appear, prompting them to choose the canvas size. Options include common dimensions like A4, Web, or a Custom Size.
After selecting the size, users can name their project for easy reference later.
Once the canvas opens, it’s ready for all sorts of creative work like drawing shapes or applying colors.
Familiarizing with the Interface
The interface of Gravit Designer is user-friendly and offers various tools for creativity.
On the left side, there’s a toolbar with options like Select, Shape, and Text tools.
In the top menu, essential functions such as File, Edit, and View are easily accessible. Users will also notice panels for Layers and Styles on the right side, which are crucial for organizing designs.
Each tool has specific features. For instance, the Gradient Tool is key to creating rich backgrounds.
A little exploration will help users feel comfortable navigating Gravit Designer.
Understanding Gradients
Gradients are an important design element that can add depth and interest to any graphic project. They blend multiple colors together to create smooth transitions.
Learning about the types of gradients and basic color theory can help in creating beautiful and effective designs.
Types of Gradients
There are several types of gradients that a designer can use:
-
Linear Gradient: This type transitions colors along a straight line. The direction can be adjusted to create different visual effects.
-
Radial Gradient: This features color transitions radiating from a central point outwards. It is often used to create a spotlight effect.
-
Angular Gradient: This is similar to a radial gradient but fades around a circle. It can give a dynamic and energetic look.
Each type can impact the mood and style of a design. Using the right gradient type is key to achieving the desired effect.
Color Theory Basics
Color theory involves how colors interact and influence each other. Understanding this can greatly assist in creating pleasing gradients.
-
Analogous Colors: These are colors next to each other on the color wheel. They blend well together and produce harmonious gradients.
-
Complementary Colors: These are colors opposite each other on the wheel. Using them can create vibrant gradients that stand out.
-
Triadic Colors: This scheme includes three colors evenly spaced on the wheel. It results in a balanced and energetic gradient.
Using these color combinations wisely helps achieve visual balance and interest in any gradient background.
Designing Your Gradient
Creating a colorful gradient background requires thoughtful choices about colors and how they flow together. In this section, the reader will learn about selecting color schemes, using the gradient tool effectively, and adjusting the gradient direction and colors for the desired effect.
Selecting a Color Scheme
Choosing a color scheme is crucial when designing a gradient. The right colors will enhance the visual appeal and create harmony.
Consider using tools like Adobe Color or Coolors to find palettes that work well together.
When selecting colors, think about the mood you want to convey. Cool colors like blues and greens evoke calmness, while warm colors like reds and oranges feel vibrant and energetic.
He or she can also draw inspiration from nature, such as sunsets or oceans, which offer beautiful color combinations.
Applying the Gradient Tool
Gravit Designer offers an intuitive gradient tool that simplifies the design process.
To apply a gradient, select the object or shape that needs a background. Then, navigate to the fill options in the right panel.
Here, users can pick the gradient option. They can choose between linear, radial, or angular gradients.
It’s essential to experiment with these styles to see how they change the overall look. With just a few clicks, creating a stunning gradient is within reach.
Adjusting Gradient Direction and Colors
Once the gradient is applied, it’s time to fine-tune it. The gradient panel allows adjustments to colors and direction.
To change the direction, click and drag the gradient line to the desired angle.
Adjust each color stop by clicking on the color circle. He or she can change a color by clicking on it and selecting a new shade.
Testing different combinations helps achieve the perfect blend. This step is key to making the design vibrant and eye-catching.
Refining Your Design
To enhance a colorful gradient background in Gravit Designer, layers and effects play a crucial role. Fine-tuning with blending modes can further elevate the visual appeal, allowing for a polished and professional look. Here are important aspects of both techniques.
Adding Layers and Effects
Layers can greatly improve the depth and richness of a design. By creating multiple layers, a designer can add textures or colors that complement the gradient background.
-
Create Additional Layers: Start by adding a new layer for each effect. This can include shapes, images, or other graphic elements.
-
Experiment with Opacity: Adjusting the opacity of a layer allows the gradient to show through while giving it a unique touch.
-
Incorporate Textures: Textures can add warmth and complexity. Designers can import textures or create them directly within Gravit Designer.
Finally, applying effects such as shadows or glows can create a more dynamic and engaging design.
Fine-Tuning with Blending Modes
Blending modes are powerful tools for refining designs. They determine how a layer interacts with layers below it.
-
Experiment with Different Modes: Modes like Multiply, Screen, and Overlay can yield various visual results. Each blends differently and can drastically change the look.
-
Adjusting Layer Order: Changing the stacking order of layers can affect how blending modes appear. This might require some trial and error for optimal results.
-
Preview Changes: Constantly previewing changes helps in deciding which adjustments best enhance the gradient.
By utilizing these techniques, a designer can achieve a vibrant and eye-catching background that stands out.