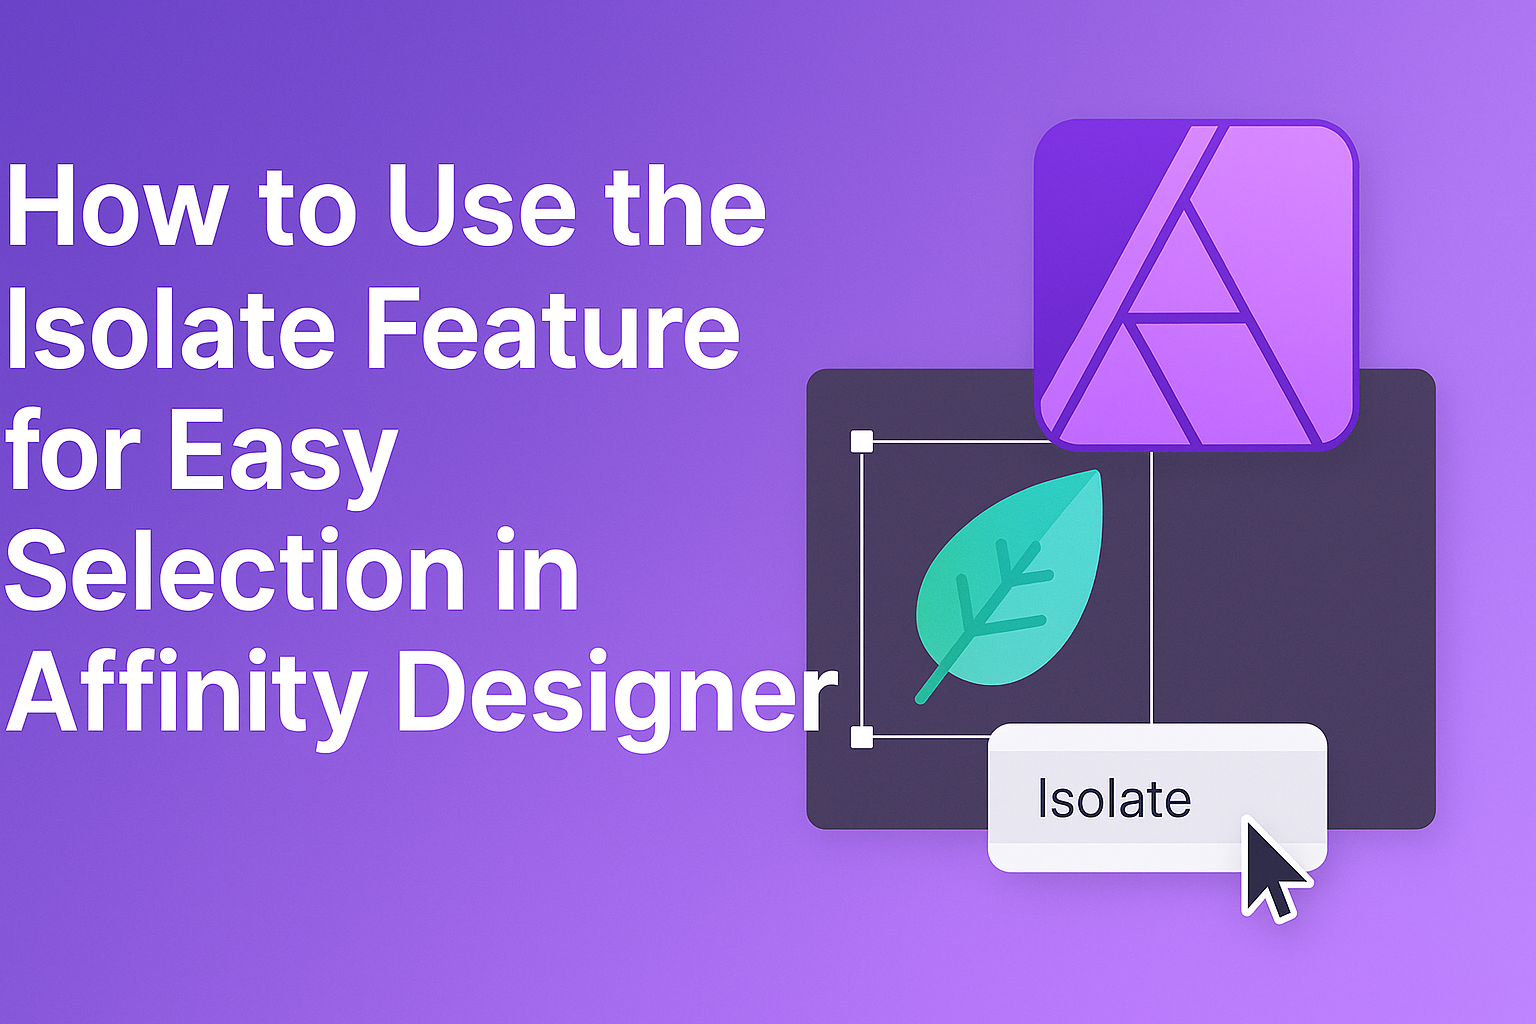
Using the isolate feature in Affinity Designer can greatly simplify the task of selecting and editing specific elements within complex designs.
This feature allows users to temporarily hide all other layers, making it easier to focus on one object or layer at a time.
Whether working on detailed illustrations or intricate graphics, this tool enhances workflow and precision.
Designers often face challenges when multiple elements overlap. By utilizing this isolate feature, they can manipulate the selected object without distractions. It not only saves time but also prevents mistakes when editing individual components.
Learning how to effectively use the isolate feature can transform the design experience. With just a few simple steps, designers can improve their efficiency and achieve more polished results.
This exploration into the isolate feature will help users unlock its full potential for their creative projects.
Getting Started with Affinity Designer
Affinity Designer offers a user-friendly environment for graphic design. Understanding the workspace and locating essential features like the isolate tool can enhance the design experience.
Understanding the Workspace
The workspace in Affinity Designer is organized to help users effectively create and manage their designs.
Upon opening the program, the user will notice a toolbar on the left side. This toolbar contains tools such as the Move Tool, which is crucial for selecting and moving objects.
On the right, the layers panel displays all the components of the design. Users can see individual layers, groups, and artboards here. Familiarity with these elements allows for easier editing tasks.
Additionally, the main canvas area is where all design work takes place. Users can click and drag elements, zoom in and out, and manipulate objects easily.
Navigating to the Isolate Feature
Finding the isolate feature is straightforward. This tool helps users focus on specific objects without distraction, making it easier to edit overlapping elements.
To access it, users should first select the object they want to isolate.
In the layers panel, holding down a specific key and clicking on the thumbnail of the selected object activates isolation mode. It allows users to work on that object exclusively.
To exit isolation mode, users can click away from the selection or press a designated key. This easy navigation streamlines the design process, making the program more efficient for various tasks.
Using the Isolate Feature
The Isolate feature in Affinity Designer helps users focus on specific objects or layers, making selection easier. By isolating objects or layers, they can work efficiently without distractions from other elements.
Selecting Objects
To select objects easily, users can utilize the Layers panel.
First, he or she should click on the object directly on the canvas. Once selected, right-click and choose Find in Layers Panel. This action quickly locates the layer corresponding to the object.
Another way to select is by using the tick boxes in the Layers panel. When these boxes are checked, the layers remain visible. Unticking a box hides that layer, which simplifies the workspace significantly. This is particularly helpful when working with complex designs that have many overlapping elements.
Isolating Layers
Isolating layers allows users to focus on specific items without interference from others.
In the Layers panel, he or she needs to hold down the Alt key, then click on the desired layer or group. This action enters isolation mode, hiding all other layers in the design.
To exit isolation mode, simply click outside the isolated content or select another layer. This functionality is perfect when adjustments to individual elements are needed. Users can manipulate overlapping parts without changing any other parts of the design inadvertently.
Tips for Efficient Selection
For efficient selection, it’s useful to keep the workspace organized.
Naming layers clearly in the Layers panel helps in identifying elements quickly. It provides a better overview, especially in projects with countless layers.
Using keyboard shortcuts can further streamline the process. For example, using Ctrl + 2 can lock layers and prevent accidental changes. Similarly, Ctrl + Shift + I allows users to enter isolation mode quickly.
These practices enable a smoother workflow and better focus on design.
Advanced Techniques
Using the isolate feature effectively can greatly enhance selections in Affinity Designer. By combining it with other tools, users can achieve more precise results. Additionally, creating complex selections allows for greater creativity and flexibility in design projects.
Combining Isolate with Other Tools
The isolate feature works well with tools like the Selection Brush and the Marquee tool.
When using the Selection Brush, users can outline the object they want to isolate. This makes it easier to refine the selection.
Once the object is selected, switching to the Transform tool allows for quick adjustments. Users can resize or move isolated elements without affecting the background. This combination provides full control over the design.
Another effective method is to enhance the selection with the Refine Edge tool. This tool helps smooth out the edges, ensuring a clean cut. By refining the selection before isolating, users can achieve professional results.
Creating Complex Selections
Creating complex selections often requires a mix of different techniques and tools.
One way to start is by using multiple layers for different elements. This method can keep components organized and separate.
Users can also employ the Lasso tool for freeform selections. This tool allows for detailed selection around intricate shapes. Once selected, isolating these areas makes it easier to apply effects or changes.
Combining multiple selections can also enhance complexity. Holding down the Shift key while selecting expands the area without starting over. This feature adds flexibility to the selection process, making it easier to manipulate vibrant designs.
Best Practices for Workflow Improvement
Improving workflow can help make design tasks smoother and more efficient. Here are some best practices to consider:
- Use Templates: They save time and provide a consistent starting point.
Designers can easily adapt them for new projects.
- Organize Layers: Keeping layers well-organized allows for easier navigation.
Group similar elements together and name layers clearly.
- Leverage Keyboard Shortcuts: Utilizing shortcuts can speed up the design process.
Familiarize yourself with the most common commands in Affinity Designer.
- Establish a Routine: Having a consistent workflow routine can boost productivity.
Designers should set aside dedicated time for specific tasks.
- Collaborate Effectively: Sharing progress with team members can lead to better outcomes.
Regular check-ins or feedback sessions help keep everyone aligned.
- Review and Adjust: Periodically reviewing workflow processes can identify areas for improvement.
Small adjustments can lead to significant gains over time.