Adding and editing backgrounds in Adobe InDesign can significantly enhance the visual appeal of any project.
By customizing background colors or images, a designer can create a unique atmosphere that draws in the audience.
This skill is not only useful for books and brochures but also for presentations and marketing materials.
Whether a user wants to switch to a bold color or layer in a stunning photo, the process is straightforward. They will find that a few simple steps can lead to impressive results.
Knowing how to manipulate backgrounds effectively can result in more engaging and professional designs.
In this article, readers will discover various methods to implement backgrounds on pages in InDesign. From changing solid colors to adding intricate images, the possibilities are vast.
With the right techniques, anyone can elevate their design work and make a lasting impression.
Getting Started with InDesign
Getting familiar with InDesign’s workspace and creating a new document are essential first steps for any user.
This knowledge will help streamline the design process and enhance productivity.
Understanding the Workspace
InDesign’s workspace is user-friendly, designed for easy navigation. It includes panels for tools, pages, and layers. Users can customize the layout according to their preferences.
The Tools Panel is usually on the left. This panel provides quick access to essential tools like the selection tool, text tool, and shape tool.
The Control Panel resides at the top. It shows options for the selected tool or object. For example, when selecting text, users can change font styles and sizes right here.
The Pages Panel on the right shows all the pages in the document. Users can quickly add, delete, or rearrange pages, making it easier to manage multi-page projects.
Creating a New Document
To begin, launch InDesign and click on File, then select New and Document. A dialog box appears where users can set document options.
First, choose the size. Options include standard sizes like A4, letter, or a custom size. Users can also define orientation as portrait or landscape.
Next, set the number of pages. InDesign allows users to create multiple pages right from the start.
It’s also important to select margins and bleed settings. Margins define the space around the content, while bleed ensures that colors and images extend to the edge of the page.
After setting preferences, clicking Create opens the new document, ready for design.
Adding Backgrounds to Your Pages
Adding backgrounds in InDesign can enhance the look of your projects. This section covers how to place images, apply colors, and use master pages effectively.
Placing Images as Backgrounds
To add an image as a background, the user should start by selecting File in the top menu. From there, they can click Place and choose the desired image. After this, they need to click and drag over the page to size the image appropriately.
It’s important for the selected image to have a high resolution. This ensures it looks sharp and clear.
Once the image is placed, it may need to be adjusted behind other objects. The user can do this through the Arrange menu or right-click and select Send to Back.
Applying Color as a Background
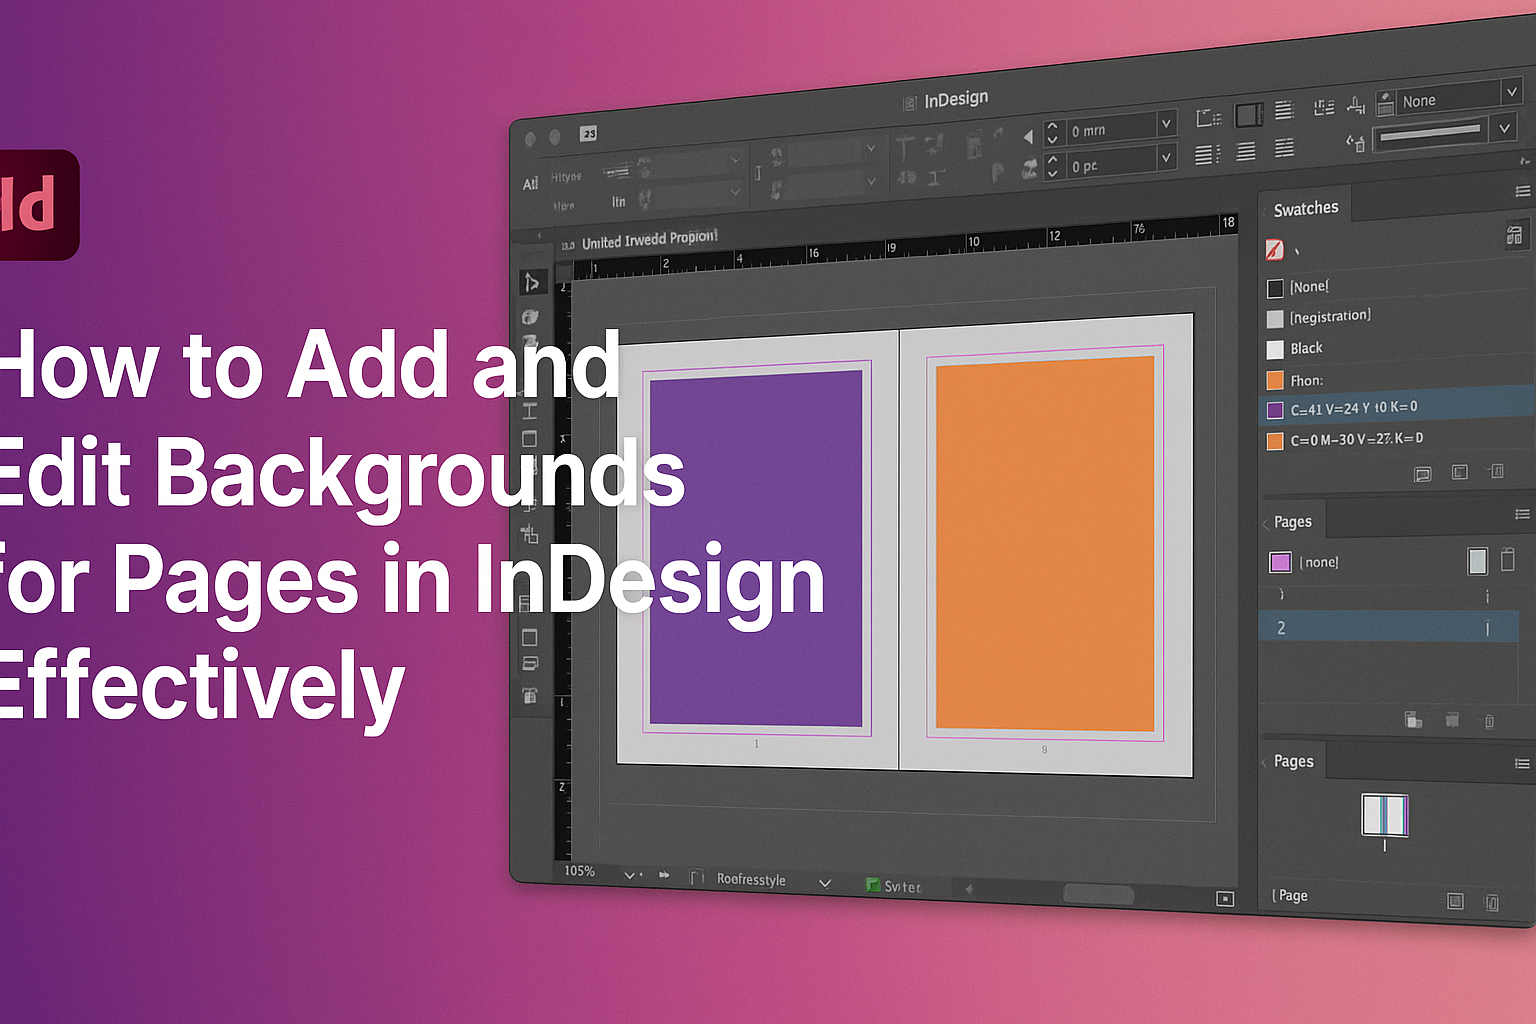
Changing the background color is straightforward. The user should select the background area with the Selection tool. Then, they can go to the Swatches panel and choose a color.
For a quick swap between fill and stroke colors, pressing Shift + X is helpful. This allows for easy adjustments as the user experiments with different color combinations to fit their design.
If the user wants more than one background color across pages, they can create rectangles filled with colors.
Using Master Pages for Consistent Backgrounds
Master pages are a great way to ensure consistency in background design. The user can define a background on a master page, and it will apply to all linked pages.
To do this, the user should navigate to the Pages panel and double-click on the master page. Next, they can add backgrounds, whether images or colors, just like on regular pages.
When the user adds or modifies content on individual pages, the background from the master page remains in place.
Using master pages can save time and maintain a cohesive look throughout the document.
Editing Backgrounds
Editing backgrounds in InDesign can enhance the overall design of a page. Understanding how to adjust image transparency, modify colors, and apply gradients can make a significant difference.
Adjusting Image Transparency and Effects
To adjust the transparency of an image, select the image using the Selection Tool. Then, look for the Effects panel under Window > Effects.
Here, users can find the Opacity option.
Lowering the opacity will allow background elements or colors to show through. This is useful for creating a layered look.
Users can also apply effects like drop shadows or glows by selecting “Add Effects” in the same panel.
These options make images blend naturally with the page. It’s a simple way to achieve a professional look.
Modifying Colors and Gradients
Changing background colors or applying gradients is straightforward.
First, select the area to color using the Selection Tool. Then, go to the Swatches panel by navigating to Window > Color > Swatches.
Users can choose from existing colors or create a custom one.
To apply a gradient, select the Gradient Tool. Drag it across the selected area to set the direction and length of the gradient.
Mixing colors and gradients adds depth and visual interest. This technique is essential for various design projects, from brochures to flyers.