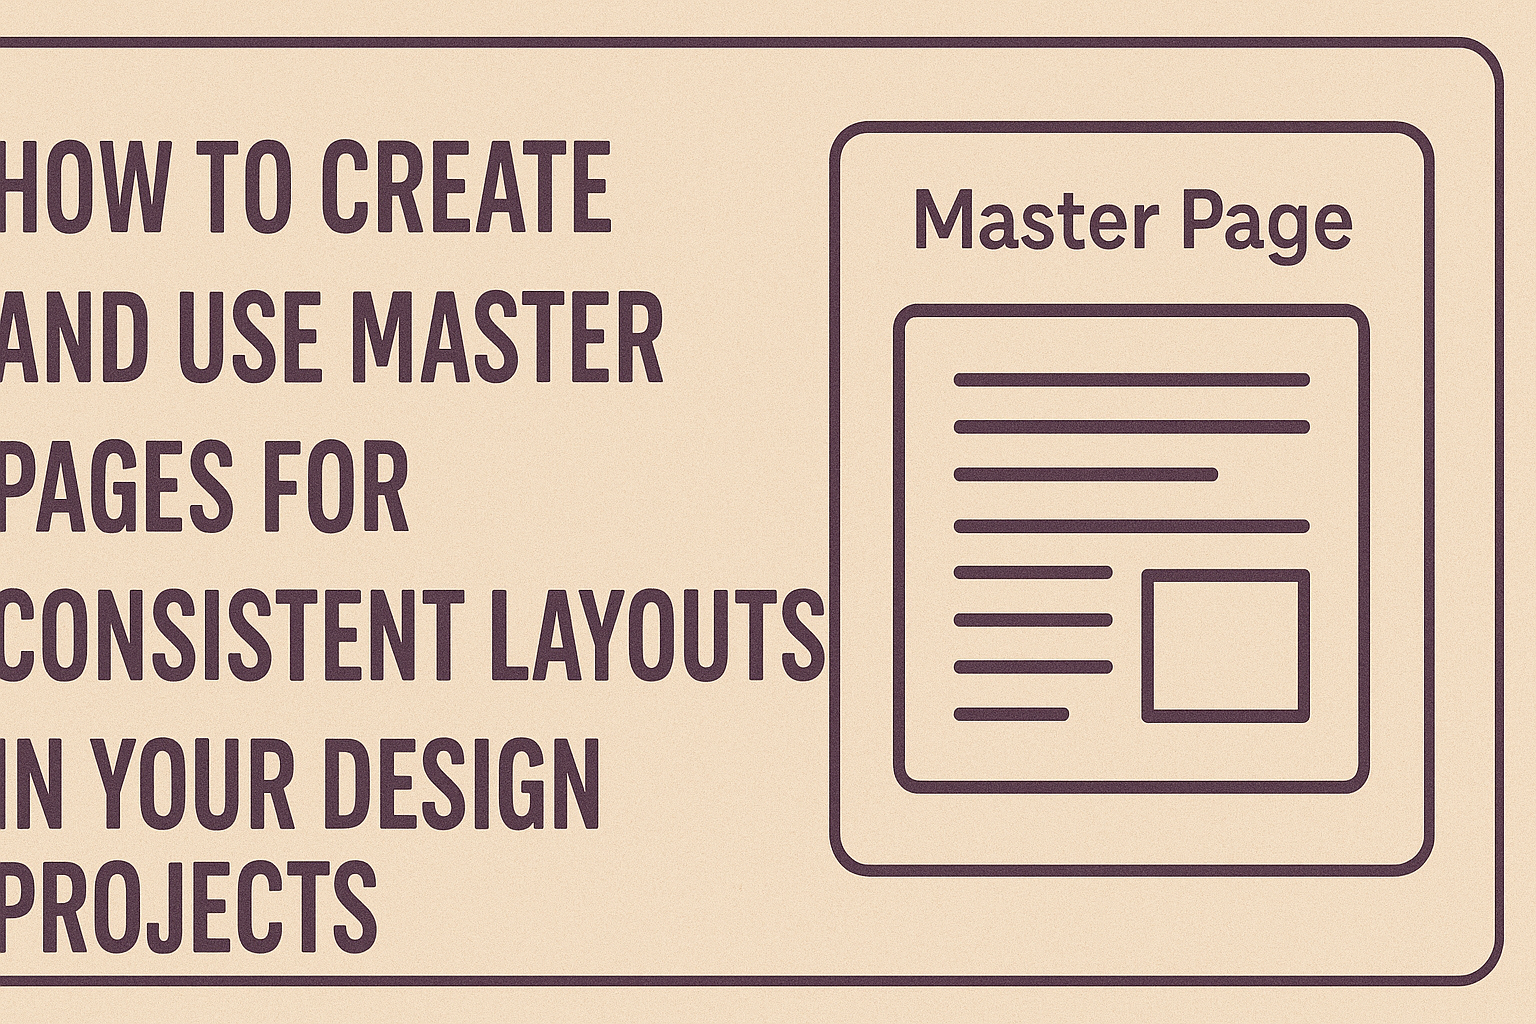
Creating and using master pages is a straightforward way to ensure a consistent layout across multiple pages in any design project.
Master pages allow designers to easily apply uniform elements like headers, footers, and page numbers, saving time and enhancing professionalism. This technique is especially useful in applications like Adobe InDesign, where working with numerous pages can become challenging without a clear structure.
In this blog post, readers will learn the essential steps to set up and edit master pages effectively.
By following these steps, they can maintain a clean and cohesive look throughout their publications. Whether creating a magazine, a report, or any multi-page document, understanding master pages will streamline the design process.
Master pages not only simplify layout management but also empower designers to focus on content rather than repetitive formatting tasks. This helps in producing polished and engaging materials that stand out to audiences. Through this article, they will discover how to harness the full potential of master pages in their projects.
Understanding Master Pages
Master pages are essential for creating a unified look in documents or websites. They help to ensure consistency in layout and design, making it easier to manage content across multiple pages.
Definition and Purpose
A master page acts as a template for other pages within a publication or website. It contains common elements such as headers, footers, and logos.
By using a master page, designers can make global changes easily, ensuring that updates apply to all linked pages.
The main purpose of a master page is to maintain a cohesive appearance. For example, in a magazine, the master page would ensure that page numbers and article titles appear in the same position throughout. This helps to create a professional and organized layout.
Benefits of Using Master Pages
Using master pages offers several advantages for designers and content creators. First, they save time. When updates are needed, changing the master page automatically updates all associated pages.
Second, master pages improve consistency. This is important for brand identity. Consistent layouts enhance recognition and professionalism.
Additionally, master pages provide flexibility. Designers can create variations of master pages to suit different sections of a project. This makes it easy to keep elements distinct while maintaining a cohesive overall design.
In tools like Adobe InDesign or SharePoint, mastering these pages allows for more efficient workflows and fewer errors.
Creating Master Pages
Master pages are essential for achieving a consistent layout in design projects. They allow designers to maintain uniform elements across multiple pages, saving time and effort. Here’s how to create master pages step by step.
Setting Up Your Document
To get started, he should open Adobe InDesign and create a new document.
It’s important to choose the right page size and orientation. This setup will affect how the master pages function later on.
Next, he needs to select the option for facing pages if the project involves a magazine or book format. This choice helps in designing spreads more effectively.
After that, opening the Pages panel from the Window menu will make it easier to work with master pages.
Designing Your Master Page Layout
Once the document is set up, it’s time to design the master page layout. He will start by double-clicking on the A-Master icon in the Pages panel. This action opens a blank master page ready for designing.
Using guides can help in aligning elements consistently. He might want to add headers, footers, or logos that will appear on every page using this master. Designers should also consider the balance of text and images to create a visually appealing layout.
Adding Repeating Elements
Repeating elements are crucial for maintaining a cohesive design. He can drag and drop objects like text boxes, images, or decorative elements onto the master page.
This means that these elements will appear automatically on all pages that use this master.
For example, placing a page number text box at the footer will ensure that it shows up on every related page. It’s helpful to format these elements correctly to match the overall document style.
Using Layers Effectively
Layers in InDesign allow for better organization of different design elements. He should make use of layers to separate background graphics from main text.
Naming layers can also simplify the design process. For instance, he might label layers like “Background,” “Text,” and “Images” for quick access.
By arranging elements on different layers, he can easily hide or adjust them without affecting other parts of the layout. This approach supports a cleaner workspace.
Applying Master Pages
Master pages are essential for maintaining a consistent look across a document. They allow users to apply the same design elements to multiple pages effortlessly. This section will cover how to assign master pages to document pages and how to edit master items on those pages.
Assigning Master Pages to Document Pages
To start using master pages, a user first needs to assign them to document pages. This process begins in the Pages panel.
The user should click on the desired master page and drag it onto the document page they want to modify.
The assigned master page will now apply its elements, such as headers, footers, and guides, to that document page.
It’s also possible to apply a master page to several document pages at once. Just select multiple pages while holding down the Shift key, then drag the master page onto the selection.
This feature saves time and enhances design consistency, making it easier to manage layouts.
Editing Master Items on Document Pages
When a master page is applied, the items on it are linked to the document pages. To edit these items, the user should modify the master page itself.
Any changes made to master page elements, like a header or footer, will automatically update all document pages using that master.
However, there may be instances where changes are needed for a single document page.
In this case, the user can override the master items. To do this, select the item on the document page and choose “Override All Master Page Items” from the context menu. This allows for unique adjustments without losing the overall design structure.
Advanced Tips and Tricks
Creating effective master pages can greatly enhance the design process. Here are some advanced techniques to maximize the benefits of master pages, ensuring a professional and consistent layout throughout any document.
Master Page Variants for Different Sections
Master page variants allow users to create tailored layouts for different sections of a document. For instance, a magazine may need a distinct master page for articles versus advertisements.
To create a variant, users can duplicate an existing master page and alter specific elements, such as headers and footers. This method preserves the original layout while providing flexibility.
When making variants, it helps to keep a list of the changes made. This practice allows for quick adjustments down the line. Finally, always ensure that any new variants maintain the overall design theme for a polished look.
Overriding Master Page Items
Sometimes, certain items in a master page need to be modified for specific pages. This is where overriding master page items becomes valuable.
To override, users can simply hold down the Command (Mac) or Ctrl (Windows) key and click on the item. This action allows them to edit that specific instance without altering the master page.
It is useful to note that any overrides will not affect other pages using that master. Keeping track of overridden elements is important. Users can highlight changes so they don’t lose track.
Automating Page Numbering
Automating page numbering is a key feature in InDesign that simplifies the process. Instead of manually adding page numbers, users can insert them into the master page, which automatically applies to all pages.
To do this, navigate to the master page and add a text box.
Inside the box, insert the special character for the current page number. Users can customize the formatting to match their design.
This method not only saves time but also ensures that page numbers remain consistent. If new pages are added later, numbers will automatically adjust, making it a smart choice for long documents.