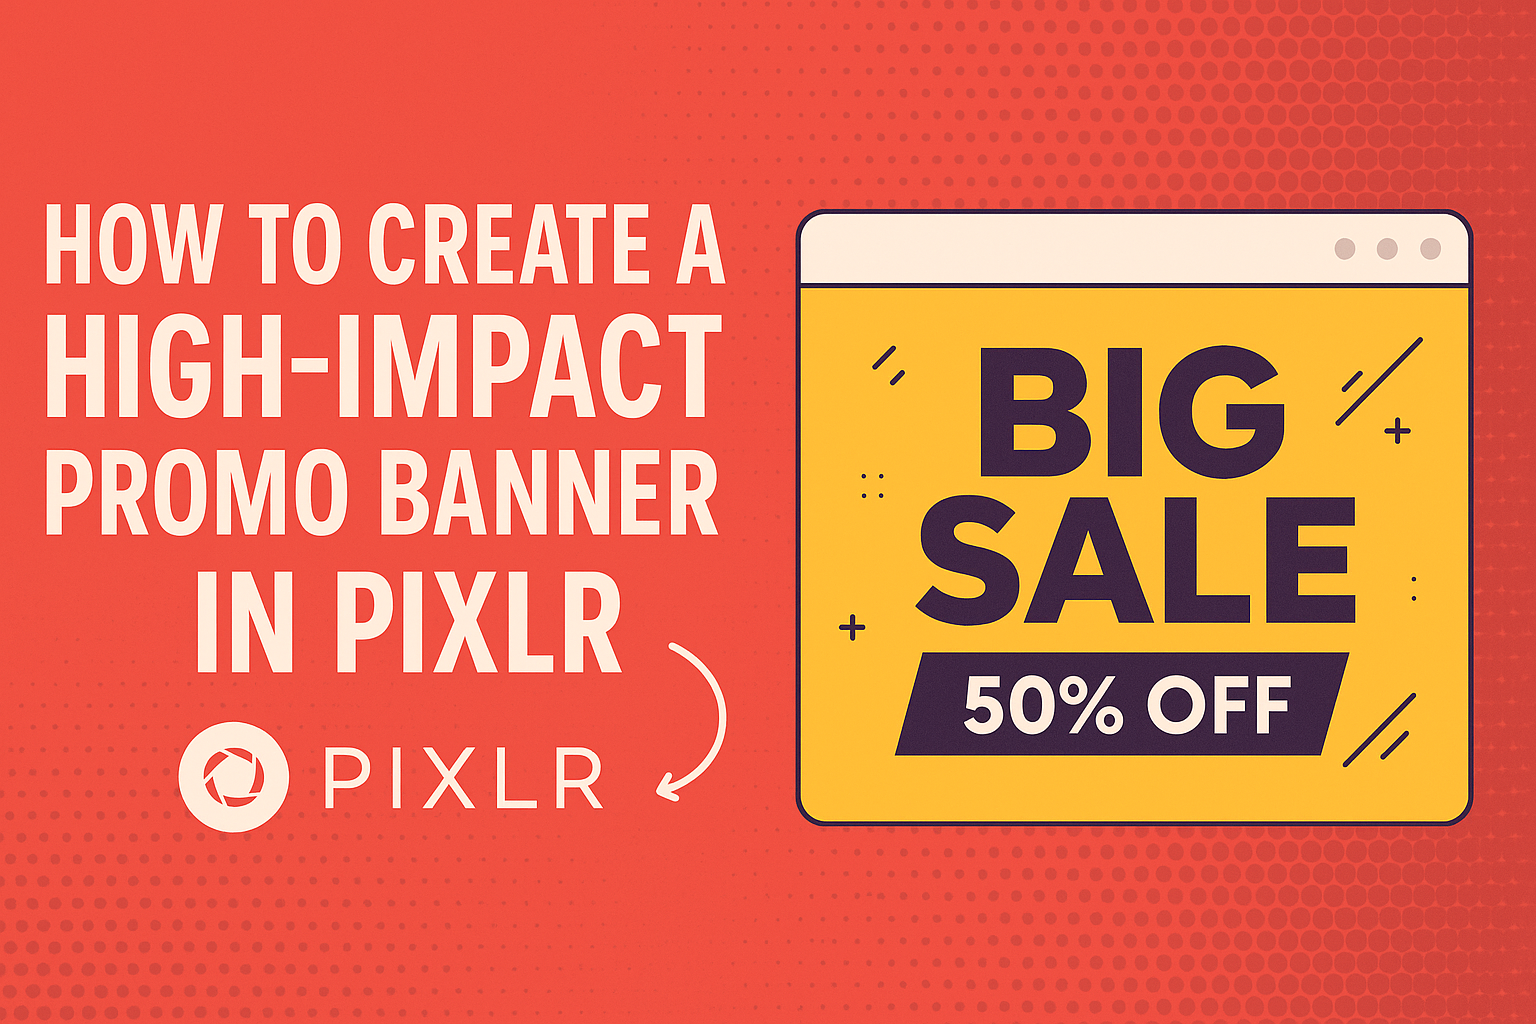
Creating an eye-catching promo banner can really boost engagement for any project.
Using Pixlr makes this process easy and accessible for everyone, regardless of design experience.
With its user-friendly tools, anyone can craft a professional-looking banner that stands out.
The versatility of Pixlr allows for creativity while keeping the design simple. Users can choose from various templates, images, and fonts to express their unique style.
This makes it fun to create something that truly represents the purpose of the promo.
Whether promoting a new product, event, or service, having a high-impact banner can make all the difference.
Getting started in Pixlr is straightforward, and the results can be impressive. By following a few key steps, anyone can create a banner that captures attention and delivers a clear message.
Getting Started with Pixlr
Pixlr is a powerful online tool that makes designing banners easy and fun.
Getting familiar with setting up an account, navigating the interface, and understanding the essential tools can help anyone create high-impact promo banners.
Setting Up Your Account
To start using Pixlr, the first step is to set up an account. She can visit the Pixlr website and click on “Sign Up.”
Pixlr offers a free version, which is great for beginners. Users can also opt for a paid subscription for additional features.
Once registered, they can log in anytime to access their projects. For those worried about privacy, it’s good to know that creating an account does not require personal information like a phone number.
Navigating the Interface
After logging in, the interface is intuitive and user-friendly.
The left sidebar contains the tools needed for any project. At the top, there are options for opening images, creating new projects, and saving work.
The right side displays the layers panel, important for managing multiple elements within a design.
She can easily switch between Pixlr X for quick edits or Pixlr E for more advanced features. Familiarity with this layout will speed up the design process significantly.
Understanding the Tools and Features
Pixlr offers a variety of tools to help with banner design.
The toolbar on the left includes options like the text tool, shape tool, and brush tool. Using the wand tool can help select areas for edits efficiently.
Layers are a crucial feature; they allow users to stack images and text. Understanding how to manage layers will enable her to create depth in designs.
Also, filters and effects can enhance visuals. Experimenting with these tools can lead to unique and eye-catching banners.
Designing Your Banner
Creating an effective promo banner requires attention to detail. This includes choosing the right dimensions, deciding whether to use a template, and selecting the best fonts and text options for the message.
Choosing the Right Dimensions
The size of a banner can affect its visibility and impact.
Standard dimensions for web banners typically range from 728×90 pixels for leaderboard banners to 300×250 pixels for medium rectangles.
Users should check the specific platform guidelines to ensure the banner displays correctly. For social media, dimensions vary. For example, a Facebook cover photo should be 820×312 pixels.
Selecting the right size prevents stretching or cropping of important elements.
Selecting a Template or Starting from Scratch
Pixlr offers users the choice between using a pre-made template or designing a banner from scratch.
Templates can save time and provide inspiration. Users simply need to choose one that fits their theme and customize it as needed.
Starting from scratch allows for more creativity. In this case, users can create a blank canvas and add elements like shapes or images directly.
Either way, it’s important to think about the banner’s purpose and target audience when making this decision.
Adding Text and Typography Tips
Text is crucial for conveying the banner’s message effectively. Users should keep the text concise and to the point. A catchy headline grabs attention right away.
Font choice matters, too. Using bold, easy-to-read fonts ensures that the message stands out.
Combining different font styles can add interest but should be done carefully. Limit the number of fonts used to two or three to maintain a clean look.
Contrast is also key. Light text on a dark background or vice versa enhances readability. Additionally, spacing between letters and lines should be considered for optimal clarity.
Enhancing Your Banner with Visuals
Visuals play a crucial role in making a banner eye-catching and engaging. Using images, graphics, and effects can help convey the message effectively and attract attention. Below are some important strategies for enhancing a banner with visuals.
Incorporating Images and Graphics
Images and graphics are vital elements in banner design. They can illustrate a product, evoke emotion, or add visual interest.
When selecting images, it’s essential to choose high-quality visuals that align with the banner’s message.
Using stock images or custom graphics can elevate the design. For example, vibrant colors and bold designs appeal to younger audiences, while softer tones may connect better with older viewers.
Additionally, consider the placement of images. They should complement the text and not overwhelm it. A balanced layout ensures that the visuals enhance the message without distracting the viewer.
Utilizing Layers for Complex Designs
Layers can bring depth and sophistication to a banner design. In Pixlr, layers allow designers to manipulate individual elements without affecting the entire banner. This can be especially handy in creating complex designs.
One useful technique is layering images and text to create a three-dimensional feel. Designers can add shadows or adjust opacity to make elements stand out.
It’s also helpful to group related elements in layers. This makes it easier to edit or move sections without disrupting the overall layout.
By mastering layers, the designer can achieve a polished and professional appearance.
Applying Filters and Effects for Impact
Filters and effects can transform a standard banner into a striking visual piece.
Pixlr offers various filters that can enhance colors, add textures, or create unique looks.
For instance, a slight blur can soften the background, making the main subject pop. Contrast adjustments can also help certain elements stand out.
Using effects like drop shadows or glows can provide emphasis on important information, such as a call-to-action button.
However, it’s important to use these effects judiciously to maintain the banner’s readability. Keeping a balance between creativity and clarity is essential for a successful banner design.
Finalizing Your Design
At this stage, it’s crucial to ensure the banner meets the desired standards before sharing it. This involves careful reviewing and making necessary edits, as well as exporting the banner appropriately for its intended platform.
Reviewing and Editing Your Banner
The final review process is vital for polish. The designer should look for any typos in text, and ensuring images are clear and well-placed is essential.
Things to Check:
- Text: Is it easy to read? Are the font sizes appropriate?
- Images: Are they high quality and relevant to the message?
- Colors: Do they align with the brand’s palette?
Adjustments can easily be made in Pixlr. Using the editing tools, the designer should tweak colors, resize elements, or reposition graphics to achieve the perfect look.
Exporting Your Work for Different Platforms
Once the banner is perfect, exporting it correctly is the next step.
Different platforms may require different formats and sizes.
For example:
- YouTube banners often need a size of 2560 x 1440 pixels.
- Social media posts may vary, so check each platform’s guidelines.
When exporting from Pixlr, choose formats like PNG for clear images or JPEG for smaller file sizes.
Selecting the right resolution will help ensure the banner looks great wherever it’s posted.