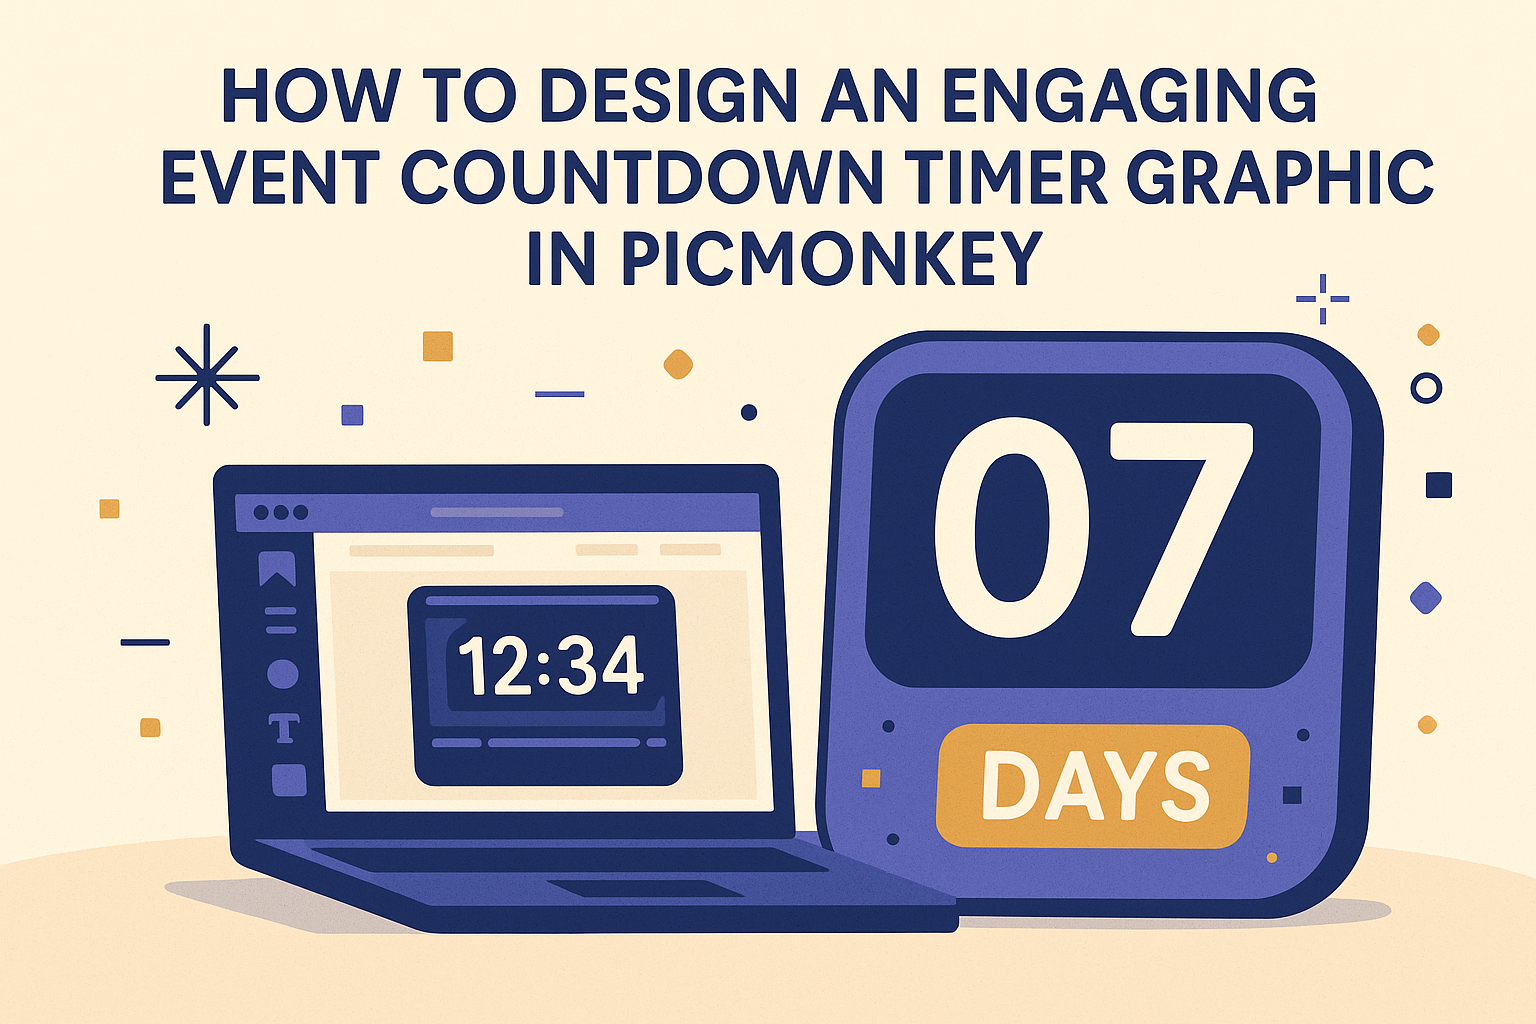
Creating an eye-catching countdown timer graphic can elevate any event. PicMonkey makes this process simple and enjoyable, allowing anyone to design a professional-looking timer that will grab attention.
With its user-friendly tools and templates, anyone can add a personal touch that fits their event’s theme.
Whether it’s for a birthday party, a product launch, or a special promotion, an engaging countdown helps build anticipation. By following a few straightforward steps, he or she can create a graphic that not only informs but excites potential attendees.
This blog post will guide them through the design process step by step, making it easy for anyone to get started.
By the end of the article, readers will feel empowered to create a unique countdown graphic that reflects their event’s energy. With creativity and PicMonkey’s resources, anyone can make their countdown a highlight.
Getting Started with PicMonkey
PicMonkey offers a user-friendly platform for designing graphics like countdown timers. With a simple sign-up process and an intuitive interface, anyone can start creating beautiful designs in no time.
Signing up for an Account
Getting started with PicMonkey begins with signing up for an account.
Users can visit the PicMonkey website and choose to start a free trial. During the sign-up process, they will be asked to enter an email address and create a password.
Once the account is created, users might receive a confirmation email. Clicking on the link in this email will activate the account. After that, they can log in to access all the features PicMonkey offers. Some plans may require payment, so users should review their options carefully.
Overview of the Interface
Once logged in, users will see the PicMonkey dashboard. The main menu is located at the top, giving easy access to various tools and features.
Key areas include:
- Templates: This section is useful for finding pre-made designs suitable for countdown timers.
- Design Tools: Here, users can edit images, add text, and adjust colors.
- Uploads: Users can upload their own photos or graphics to incorporate into their designs.
The layout is designed for simplicity, making it easy for users to navigate. Each tool has clear labels, helping them find what they need without hassle. It’s friendly for beginners and provides plenty of options for more experienced designers.
Designing Your Event Countdown Timer
Creating an engaging event countdown timer graphic requires careful attention to detail. By selecting the right template, customizing design elements, and adding the countdown functionality, anyone can create an attractive timer that draws attention.
Selecting the Right Template
Choosing an appropriate template is essential for an effective countdown timer. PicMonkey offers a variety of ready-made templates that cater to different event themes, from parties to corporate gatherings.
When selecting a template, he or she should consider the event’s tone. A vibrant, fun template works well for parties, while a sleek, modern design suits business events.
It’s also important to check if the template has a built-in countdown feature or space to add one later. This will streamline the design process and help save time.
Customizing the Design Elements
Once a template is chosen, customization begins. He or she can modify colors, fonts, and backgrounds to match the event’s branding. Using brand colors enhances recognition and keeps the design cohesive.
In PicMonkey, it’s easy to adjust elements. Users can change the font style to something bold for emphasis or use a playful font for casual events.
Adding visual elements like icons or images related to the event can make the timer engaging. A well-placed logo can also reinforce brand identity without overwhelming the design.
Adding Countdown Timer Functionality
The final step is to integrate the countdown timer functionality. In PicMonkey, users can manually add a text box to display the countdown. This requires knowing the exact time remaining until the event starts.
For interactive features, he or she might need to use other platforms that support live countdowns or embed codes. Websites that offer countdown widgets can be helpful for this.
It’s vital to test the timer to ensure accuracy. A functional countdown keeps guests informed and excited about the event. By making these settings user-friendly, the countdown can draw in the audience seamlessly.
Enhancing Your Graphic
To make an event countdown timer graphic stand out, using advanced tools and features can help fine-tune the design. Adding visual effects also plays a crucial role in engaging viewers and drawing attention to the countdown.
Using Advanced Tools and Features
PicMonkey offers a variety of advanced tools that can enhance the countdown graphic’s professional appearance. Users can access features like text customization, layering, and color palettes.
- Text Customization: By changing fonts and sizes, they can create a unique look that matches the event’s theme.
- Layering: Combining different images and graphics helps in crafting a more complex design.
- Color Palettes: Utilizing a cohesive color scheme can elevate the aesthetic appeal. Color can evoke emotions, so choosing the right palette is key.
Incorporating Visual Effects
Adding visual effects can grab attention and make the countdown more dynamic. Animations and transitions can bring life to the graphic, making it memorable.
- Animations: Simple effects, like fading in the numbers, can create excitement.
- Transitions: Smooth movement between scenes maintains viewer interest.
Additionally, using shadows and highlights can create depth, making elements pop off the screen.
Tips for Engagement
Creating an engaging event countdown timer graphic is essential for attracting attention. Focus on making the design clear and sharing-friendly to enhance its impact.
Ensuring Readability
Readability is crucial for any countdown timer graphic. Use large fonts that are easy to read, even from a distance. Stick to simple typefaces like Arial or Helvetica, as they offer clarity.
Contrast is another key factor. A dark font on a light background, or vice versa, helps the text stand out. Avoid overly busy backgrounds that might distract from the countdown.
Also, keep the timer’s numbers prominent. They should be the focal point of the design. Adding a slight shadow or outline can enhance visibility.
Lastly, limit the color palette to two or three colors. This keeps the design cohesive and avoids overwhelming the viewer.
Leveraging Social Sharing
Encouraging social sharing can extend the reach of the countdown timer.
Include social sharing buttons directly on the graphic. This allows users to easily share the countdown with their friends and followers.
Use engaging text prompts along with the timer, such as “Can’t wait for the event? Share this countdown!” This invites users to spread the word.
Another effective method is to create custom hashtags related to the event.
This not only makes sharing more engaging but also builds a sense of community and excitement.
Lastly, think about incorporating images or graphics that stir curiosity about the event.
Visual elements can provide context, prompting users to share and participate enthusiastically.