Creating custom infographics can be a fun and effective way to share information visually. With the right tools, anyone can produce eye-catching designs that communicate ideas clearly.
PicMonkey makes this process simple, allowing users to design infographics that stand out with ease.
Whether for a school project, business presentation, or social media post, infographics can help grab attention and convey messages quickly. PicMonkey offers a variety of templates and features that make crafting the perfect graphic straightforward.
By using PicMonkey, they can explore their creativity and create infographics that truly reflect their ideas.
This blog post will guide readers through the steps needed to create an impressive infographic using PicMonkey.
With easy-to-follow tips and tools, anyone can enhance their visual storytelling and engage their audience effectively.
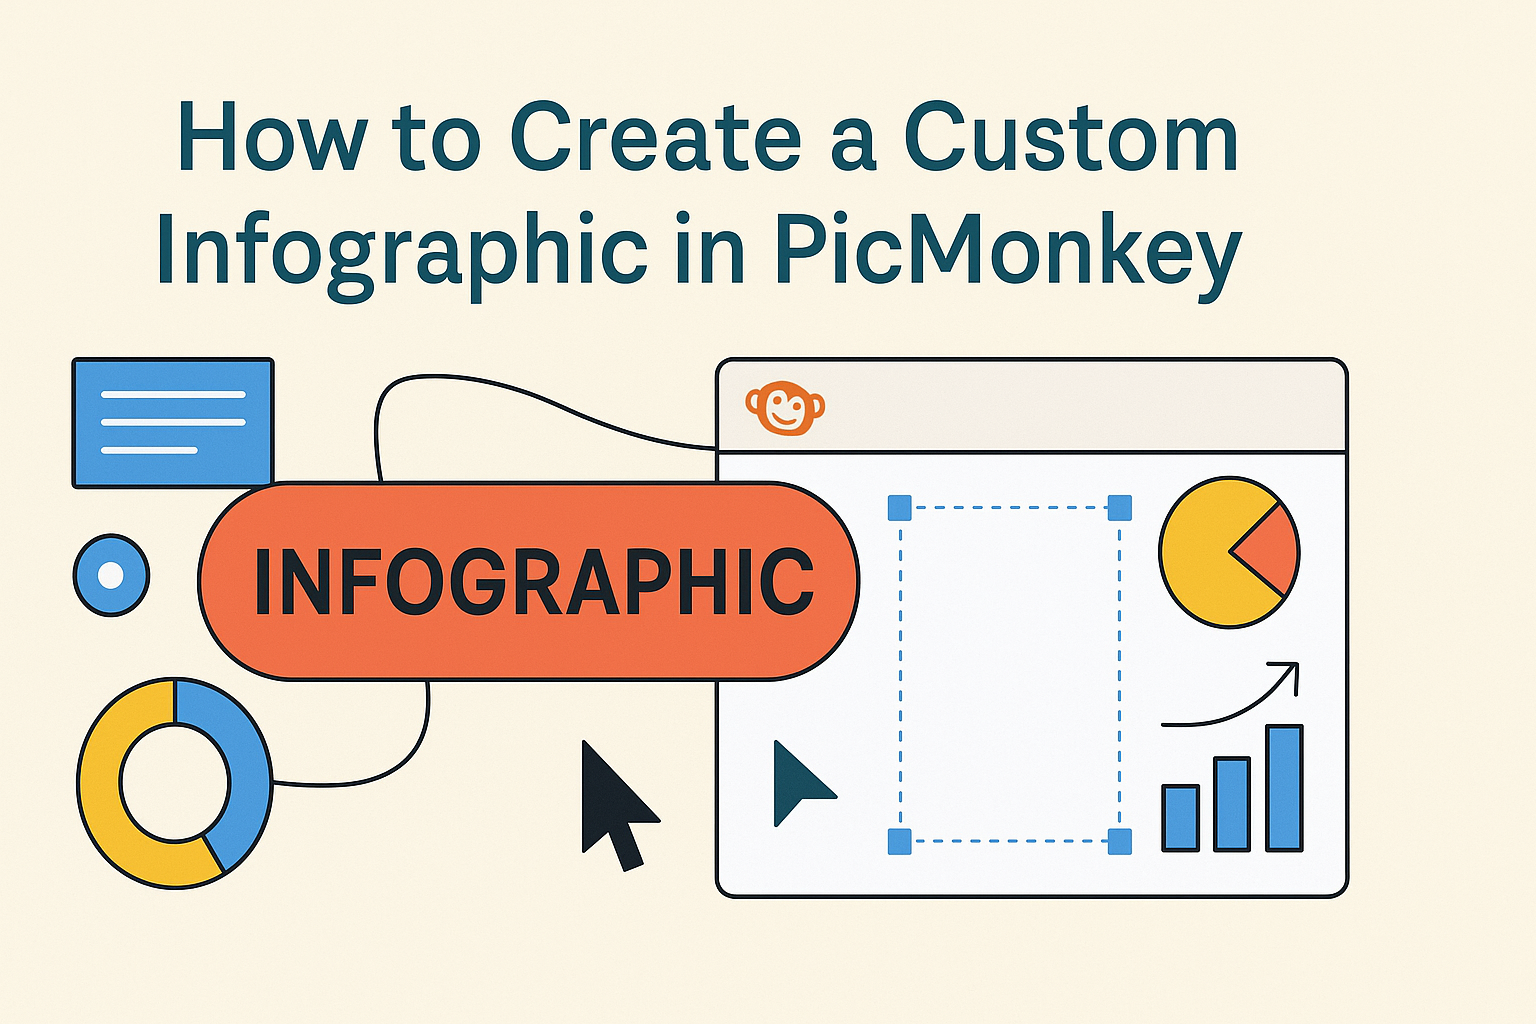
Getting Started with PicMonkey
PicMonkey is a user-friendly design tool that helps users create stunning infographics and more. It offers a straightforward setup process and a simple interface that anyone can navigate easily.
Setting Up Your Account
To begin, users need to create an account on PicMonkey. They can visit the PicMonkey website and click on the “Sign Up” button.
Users will have the option to sign up using an email address, Google account, or Facebook account. It is important to choose a strong password for security.
After confirming their email, they can log in and explore the features available.
Once logged in, users may consider choosing a subscription plan. PicMonkey offers various plans including free and paid options. The free version allows access to basic tools, while the paid plans unlock more advanced features.
Navigating the PicMonkey Interface
After signing in, users will see the PicMonkey dashboard. This area displays the main tools and options for creating designs.
The left panel includes several categories such as “Design,” “Touch Up,” and “Edit.”
By selecting “Design,” users can start a new project, choose dimensions, or select a template.
At the top, a toolbar offers options for saving, sharing, and downloading projects. Also, users will find helpful tutorials that guide them through various features.
To customize their infographics, users can easily drag and drop elements from the side panel. This layout helps make the design process efficient and enjoyable.
Designing Your Infographic
Creating an infographic involves carefully selecting templates, customizing design elements, and adding text that conveys the message clearly. Each step plays a crucial role in making the final product visually appealing and informative.
Selecting a Template
When starting, choosing the right template is key. PicMonkey offers a range of pre-designed templates that are ready to use. This allows users to find a style that matches their message.
He or she can browse through categories to find templates tailored for different topics, such as education, data presentation, or marketing. Once a template is selected, it can be easily modified to fit individual needs.
Using a template saves time and provides a solid foundation for creating an impressive infographic.
Customizing the Design Elements
After selecting a template, customizing the design elements is the next step. This includes changing colors, graphics, and layout to better reflect the individual’s theme.
PicMonkey provides a variety of tools that allow for easy adjustments. Users can swap out images, resize shapes, or change background colors with just a few clicks.
Incorporating personal branding elements, like logos or specific color schemes, helps make the infographic stand out. Mixing and matching design elements also encourages creativity.
Adding and Editing Text
The final part of the design process involves adding and editing text. Clear and concise text is essential to convey the intended message.
Users can insert headings, bullet points, and descriptions to organize information effectively. It’s important to choose fonts that are easy to read and align with the infographic’s tone.
PicMonkey allows users to adjust text size, color, and placement, ensuring it complements the overall design. Regularly reviewing text for clarity and precision keeps the infographic focused and informative.
Using Images and Icons
Images and icons enhance infographics by adding visual interest and helping communicate ideas. PicMonkey allows users to easily upload personal images and access a wide range of icons and shapes to create unique designs.
Uploading Your Own Images
To start, users can upload their own images to PicMonkey. This feature helps maintain a personal touch in the infographic.
- Click on “My Files” in the editor.
- Select “Upload Image” and choose a file from the computer.
Once uploaded, images can be resized, cropped, or adjusted with various filters. Adding personal images makes the infographic more relatable and can effectively reflect the brand or message.
Utilizing PicMonkey’s Image Library
PicMonkey offers an extensive image library to help users find the perfect visuals. This library includes high-quality stock photos and illustrations.
Users can search by keywords to find images that fit their themes. The library is organized into categories like nature, business, and technology.
It also provides options for licensing and usage rights, making it easy to ensure that images can be used freely.
Incorporating Icons and Shapes
In addition to images, using icons and shapes can simplify complex information. PicMonkey provides a collection of icons that can enhance visual hierarchy.
Users can drag and drop icons onto their infographic. They can also change colors, sizes, and placements with ease.
Including shapes such as circles, rectangles, and arrows can help direct viewers’ attention.
They can highlight important information or create visual distinctions between different sections. By layering icons and shapes, users can create a polished and professional look.
Finalizing and Sharing Your Infographic
Once the design of the infographic is complete, it’s time to make the final touches and share it with the world. This involves refining the design, saving it properly, and choosing the right platforms for distribution. Focusing on these areas ensures the infographic is both polished and accessible to the audience.
Applying Finishing Touches
Before sharing the infographic, it’s important to check all elements carefully. Ensure that the text is clear and free of typos. The color scheme should be consistent, and images should align with the overall theme.
Here are a few tips:
- Double-check fonts: Make sure they are readable and appropriately sized.
- Balance elements: Align graphics and text for a clean look.
- Test readability: View the infographic at different sizes to ensure all details are visible.
These steps can dramatically improve the visual appeal of an infographic. A well-finished design makes a lasting impression.
Exporting Your Design
After applying the finishing touches, the next step is to export the infographic. PicMonkey provides various options for saving designs. Users can choose formats like PNG, JPEG, or PDF, depending on the intended use.
- PDF: Best for printing and preserving quality.
- PNG: Ideal for online use because of its high-quality resolution.
- JPEG: Suitable for social media due to smaller file size.
It’s essential to select the correct format for the target platform to keep the infographic clear and engaging.
Sharing on Social Media and Beyond
Sharing the infographic is the final step to reach an audience.
Platforms like Facebook, Twitter, and Instagram are great places to start.
PicMonkey also offers features to optimize images for social sharing.
For effective sharing:
- Use captivating titles and descriptions to draw attention.
- Include relevant hashtags to increase visibility.
- Encourage audience interaction by asking questions related to the content.
Moreover, consider sharing the infographic in email newsletters or blogs to broaden its reach.
This approach maximizes audience engagement and enhances the infographic’s visibility in various networks.