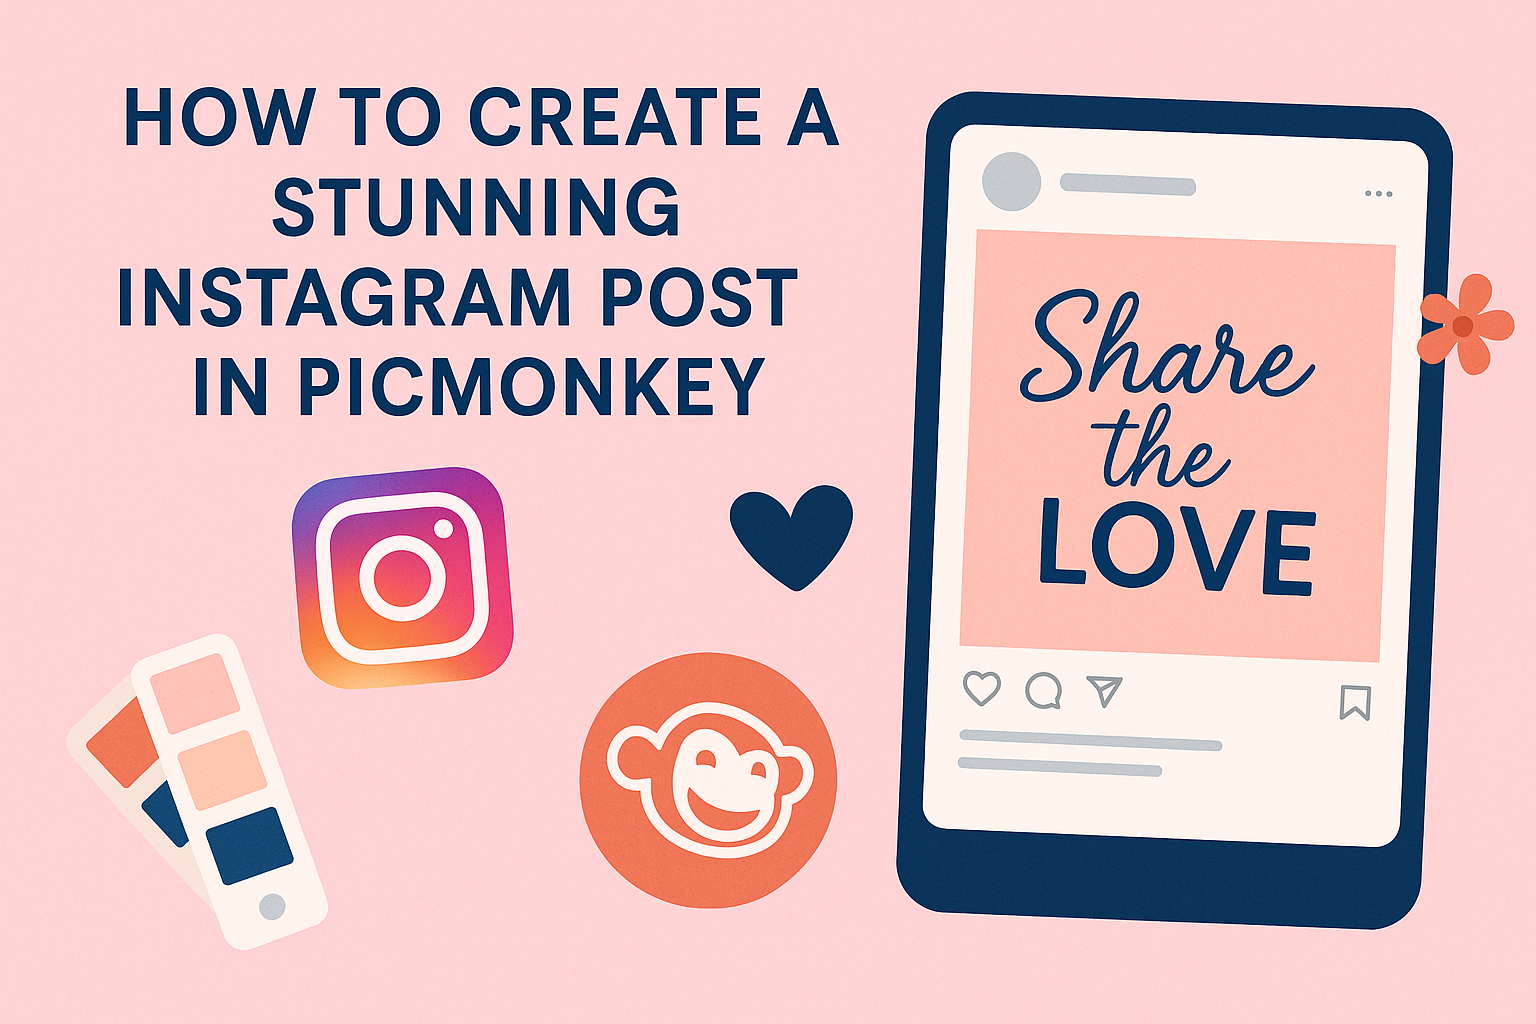
Creating eye-catching Instagram posts doesn’t have to be difficult. With tools like PicMonkey, anyone can design stunning visuals that capture attention and boost engagement.
By following simple steps and utilizing customizable templates, she can transform her ideas into beautiful posts that stand out on any feed.
PicMonkey offers a user-friendly platform filled with various templates and design features that make the process enjoyable. Whether he prefers bright colors, elegant fonts, or engaging layouts, there is something for everyone. This means making great content is possible, regardless of design experience.
Learning how to navigate PicMonkey can open up a world of creativity for designers of all levels. From beginners to seasoned pros, they can craft posts that not only look great but resonate with their audience. With the right tips and tricks, anyone can elevate their Instagram game.
Getting Started with PicMonkey
Using PicMonkey is simple and enjoyable. Users can create an account quickly and explore the user-friendly interface without hassle. Here’s how to begin.
Setting Up Your Account
To start with PicMonkey, users need to create an account. They can visit the PicMonkey website and click on the “Sign Up” button.
- Users can choose to sign up using their email or connect through Facebook or Google for ease.
- After signing up, a verification email might arrive. Clicking on the link in that email confirms the account.
Once signed up, users can start a free trial to explore the features. They can upgrade to a paid plan later for more advanced tools and templates.
Navigating the Interface
After logging in, the interface is straightforward. The main dashboard has options like “Create New” and “Your Hub”.
- Create New: This button allows users to start a new project with a template or a blank canvas.
- Your Hub: Users can find saved projects and images. All changes auto-save, making it easy to return later.
The toolbar on the left offers options for adding images, text, and effects. Quick tutorials pop up to guide users through specific features, making it accessible for everyone.
Designing Your Instagram Post
Creating an engaging Instagram post involves thoughtful design choices. By selecting the right template, using appealing images, and adding effective text, anyone can produce eye-catching content that stands out.
Selecting the Right Template
Choosing the right template is crucial for setting the tone of your Instagram post. PicMonkey offers a variety of pre-sized templates tailored for Instagram. Users can browse through hundreds of options to find one that matches their style or brand.
To narrow down choices, consider factors like color schemes, themes, and layout preferences. If the goal is to promote a product, a template that highlights key features may work best. Remember, templates can be customized, allowing for a personal touch.
Working with Images and Backgrounds
Images play a key role in catching the viewer’s attention. Using high-quality photos can make a significant difference. In PicMonkey, users can upload their own images or choose from a library of stock photos.
Next, backgrounds can be adjusted to enhance the overall look. Users can change colors, apply filters, or add textures to create depth.
It’s important to ensure that the background complements the main image, keeping the focus where it belongs.
Adding Text and Typography
Text conveys the message of your Instagram post. Choosing the right font can enhance readability and style. PicMonkey provides various font options that can be mixed and matched to find the perfect look.
Users should consider font size and placement carefully. Important information must be prominent but not overwhelming. Using bold or italic styles can help emphasize key points.
Keeping text brief and easy to read will ensure followers engage with the content.
Enhancing with Effects and Graphics
To make an Instagram post truly stand out, adding the right effects and graphics can elevate the overall look. Using filters and overlays can change the mood of an image, while illustrations and icons can add unique touches that reflect a personal style.
Using Filters and Overlays
Filters are a quick way to transform photos. They adjust colors, brightness, and contrast. PicMonkey offers various filters that can give images a vintage, modern, or artistic vibe.
Overlays can add depth and interest. Users can choose from textures, patterns, and shapes. For example, a soft light overlay can create a dreamy effect.
To apply a filter or overlay, simply select the image and explore the effects menu. Adjust the intensity to ensure the image doesn’t lose its original charm while achieving the desired look.
Incorporating Illustrations and Icons
Illustrations and icons can make posts more engaging. They can help convey ideas and emotions in a fun way.
Using PicMonkey, users can browse through a library of graphics. Adding illustrations can create a focal point in an image, guiding the viewer’s eye. Icons can also be used to highlight important information or actions.
While adding these elements, it is important to maintain balance. Too many graphics can make a post look cluttered. Carefully chosen illustrations and icons enhance a post without overwhelming it.
Final Touches and Sharing
Before sharing an Instagram post, it’s important to ensure everything looks just right. This includes resizing the image for the correct dimensions and aligning the design elements perfectly. These steps help the post stand out.
Next, it is essential to know how to export the design properly for sharing on social media.
Resizing and Alignment
To make sure the design fits well on Instagram, resizing is crucial. Instagram posts are typically square, with dimensions of 1080 x 1080 pixels. PicMonkey offers easy tools for resizing images.
Users can select the “Resize” option to set custom dimensions.
Alignment is equally important. He or she should check that all elements, like text and images, are arranged neatly. Using grid lines or guides in PicMonkey can help with precise placement.
Keeping elements aligned creates a professional look and improves the overall visual appeal of the post.
Exporting Your Design
Once the design is perfect, the next step is exporting it. PicMonkey allows users to export their creations in various formats, such as JPEG or PNG.
To do this, choose the “Export” option at the top toolbar.
If sharing directly to Instagram, it’s important to connect the Instagram account. Users need to make sure they have a professional account linked to their Facebook page.
After authorizing the connection, they can easily share their design by clicking on the “Share” button and selecting Instagram. This makes posting quick and seamless!