Creating videos can seem complicated, but it doesn’t have to be. Many people appreciate tools that simplify video production, and Canva offers a way to do just that.
With Canva’s AI features, users can easily transform text and ideas into engaging videos in just minutes.
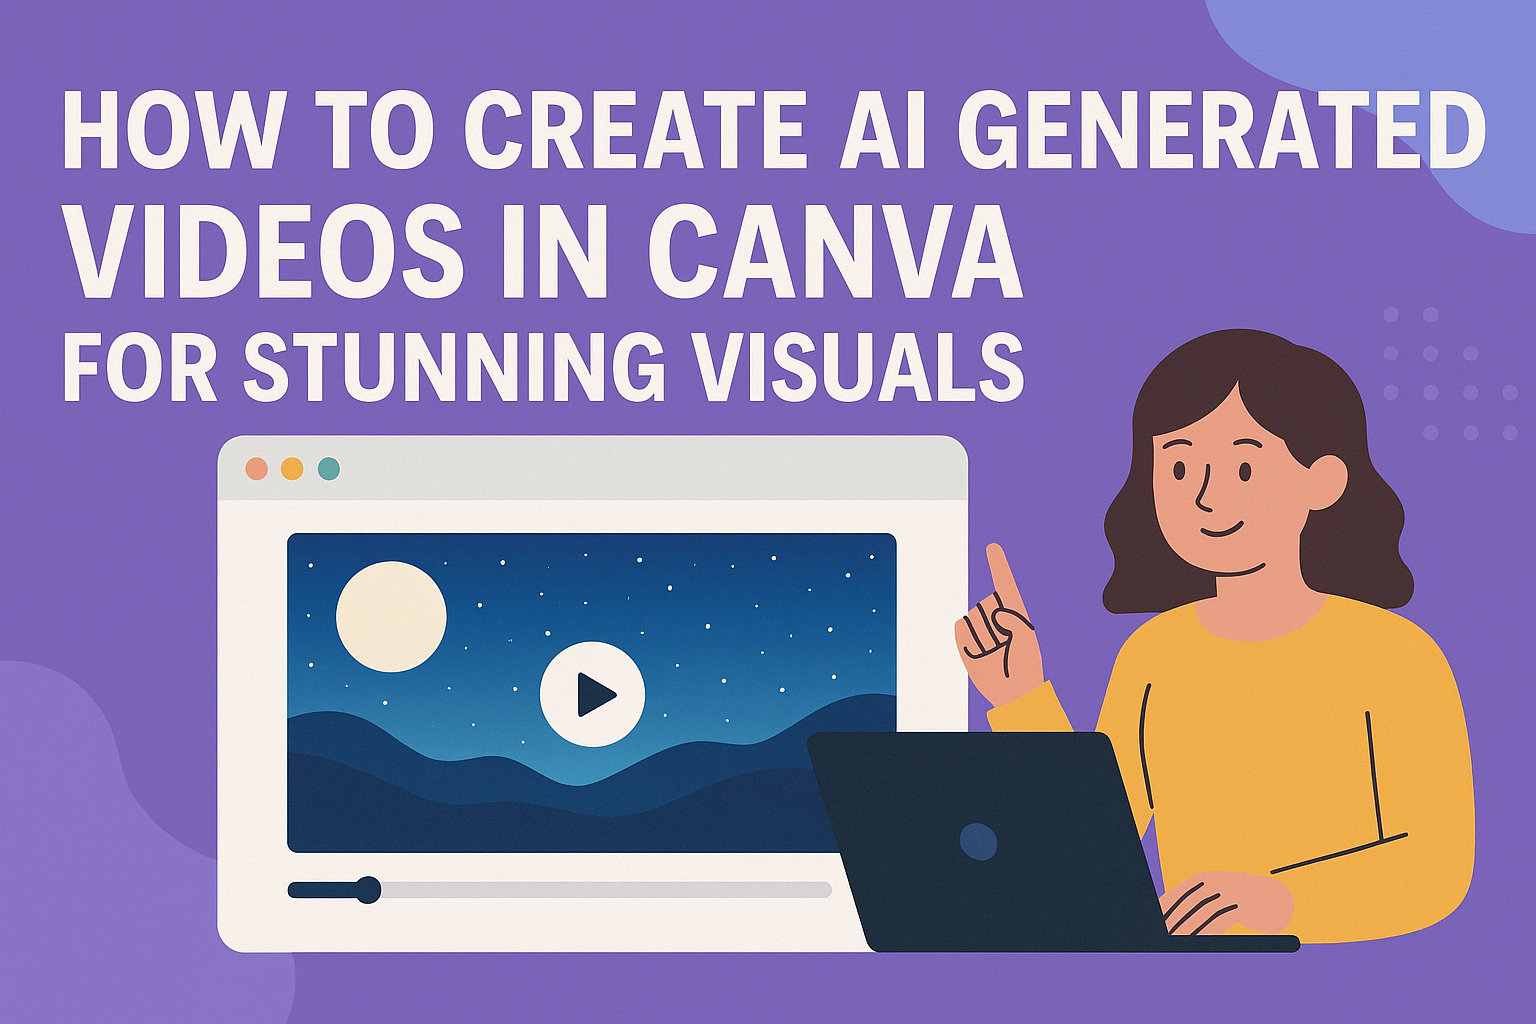
This guide will walk readers through the steps of creating AI-generated videos in Canva. Whether for personal use, social media, or professional projects, the platform’s user-friendly design makes it accessible to everyone.
Those looking to bring their ideas to life will find that harnessing AI technology can be both fun and rewarding.
Getting started is straightforward, and the results can be impressive. From adjusting visuals to adding sound, every step is designed to help users create share-worthy content effortlessly.
This blog post will show how Canva makes video creation a breeze.
Getting Started with Canva
Canva is a user-friendly platform perfect for creating AI-generated videos. This section covers how to set up an account, navigate the interface, and choose video templates.
Setting Up Your Canva Account
To start using Canva, a user must create an account. This is a simple process.
They can sign up for free using their email, Google, or Facebook account. Once they set their password, they will confirm their email address. After that, they can log in and explore the features.
Canva also offers a Pro version with additional features for those who need more advanced options.
Navigating the Canva Interface
After logging in, they will see the Canva dashboard. The left side shows a menu with options like templates, uploads, and projects. Users can easily access their recent designs here.
In the center, a workspace appears where the design takes shape. The top bar includes tools for editing text, adjusting images, and adding elements.
It’s all intuitive, making it easy to create and customize content quickly.
Selecting the Right Video Template
To create a video, choosing the right template is key. Canva offers numerous video templates for various needs.
Users can find templates for social media, presentations, and more. They can browse categories or use the search bar.
Once they find a template they like, clicking on it opens the editing interface. From there, customization begins with text, images, and other elements to make the video unique.
Creating Your Video
Creating a video in Canva is a straightforward process. Users can enhance their projects using text, images, video clips, and AI tools, all available on a user-friendly platform. Here’s how to do it step-by-step.
Adding and Editing Text
Text plays a crucial role in videos. First, the user can select a text box from the editor. They can choose from various text styles or simply type their desired text.
Once the text is added, it can be edited easily. Users can change the font, size, and color using options on the toolbar.
It’s also possible to adjust the alignment and spacing. This flexibility allows for creative expression.
To make the text stand out, applying effects like shadows or outlines can help. Users might want to ensure that the text is readable against the video background.
Previewing the text in the video can ensure it looks just right.
Incorporating Images and Graphics
Images and graphics can elevate a video’s appeal. Users can browse Canva’s library to find high-quality images or upload their own.
Drag-and-drop functionality makes it simple to position images within the video’s layout. In addition to static images, graphics can include icons and illustrations.
These elements help convey information visually. Users can also adjust the size and transparency to match their design.
For a unified look, it’s important to choose images that fit the video’s theme. Correctly aligning images and maintaining a balanced composition makes for a more polished presentation.
Using Video Clips and Backgrounds
Incorporating video clips can inject energy into projects. Canva allows users to search for video clips directly within the platform.
They can select short clips that fit the desired mood or message. Users can easily layer these clips into their projects.
Adjusting the length of the clips ensures they sync well with the text and images. Users can also apply filters to maintain a consistent style.
Choosing a fitting background for the video is essential. Users can opt for solid colors, gradients, or textured backgrounds. This choice complements the overall design and enhances visual interest.
Leveraging Canva’s AI Tools
Canva offers innovative AI tools that simplify video creation. The AI video generator quickly transforms text into video.
Users can type in their script, and the AI will create a talking head video for them. Additionally, features like Magic Design aid in automatically generating video layouts.
Users can create an engaging video with just a few clicks. The AI tools make video creation accessible, even if users lack advanced editing skills.
It’s beneficial for users to explore these features. They can save time and produce high-quality videos quickly. Leveraging AI tools allows anyone to be creative without feeling overwhelmed.
Enhancing Your Video
Enhancing a video can significantly improve its quality and appeal. By applying filters, adding music, and animating elements, one can create more engaging and polished content.
Applying Filters and Adjustments
Filters can change the mood of the video. Canva offers a variety of filters that can give a professional look.
Users can adjust brightness, contrast, and saturation to make images pop. To apply a filter, select the video clip and click on the “Filter” option.
Users can preview different filters to see what suits their video best.
Adjustment Tips:
- Use a light filter for a cheerful feel.
- Opt for dark adjustments for a dramatic effect.
Each adjustment can breathe new life into the clips, making them more visually appealing.
Adding Music and Sound Effects
Music sets the tone of a video. Canva includes a library of royalty-free music tracks and sound effects.
To add music, users can click on the “Music” tab and browse categories like upbeat, calm, or dramatic.
Sound Effect Ideas:
- Use natural sounds for outdoor scenes.
- Include upbeat tracks for lively moments.
Mixing music volume and timing enhances the viewer’s experience and keeps them engaged.
Animating Elements
Animation adds movement and excitement to static elements. Canva allows users to animate text and images with just a few clicks.
To animate, select the desired element and choose an animation style from the options.
Popular Animation Styles:
- Fade: Smooth transitions.
- Pan: Creates a sense of movement.
Animating elements effectively can draw attention and keep the audience watching longer. Each effect can create a unique feel for the video, making it stand out.
Exporting and Sharing
Once the video project is complete, the next steps involve exporting and sharing it. This process allows users to showcase their creativity and reach a wider audience across different platforms.
Previewing Your Video
Before exporting, it’s important to preview the video. This step ensures all elements appear as intended.
Users can click on the play button to watch how the video flows and whether the audio syncs properly. Canva’s preview feature enables quick adjustments.
If something seems off, edits can be made easily. It’s advisable to check for any errors, such as text misalignment or timing issues, before proceeding.
Thoroughly reviewing the video can save time later. Once satisfied, users can confidently move on to the next steps of exporting and sharing their work.
Downloading the Final Product
To download the video, users must click the “Download” option in the top right corner. Canva offers various formats for export, such as MP4, MOV, or GIF.
Selecting the right format is crucial based on how the user plans to share the video. After choosing the format, clicking “Download” initiates the final product export.
Depending on the video size, this may take a moment. Canva will notify the user when the download is ready.
It’s important to save the video in a location that’s easy to access later. This makes it simple to locate when ready to share on different platforms.
Sharing to Social Platforms
Canva makes sharing videos easy with direct options to various social media platforms. Users can click the “Share” button to see a list of platforms like Facebook, Instagram, or Twitter.
Select the desired platform and add any necessary captions or hashtags.
Canva allows for adjusting settings like privacy levels for shared content.
Once everything looks good, clicking “Post” will share the video directly to the chosen platform. This feature simplifies outreach and helps users connect with their audience seamlessly.