Resizing a rectangle in Canva is a quick and simple process that can enhance any design project.
By selecting the rectangle and using the resize handles, users can easily adjust the shape to fit their vision.
Whether it’s for a social media post, flyer, or presentation, knowing how to resize shapes accurately helps create a polished look.
Design enthusiasts appreciate the flexibility Canva offers. It allows for intuitive adjustments, making it accessible for both beginners and experienced users.
Understanding the resizing tools will enable anyone to create beautiful graphics that stand out.
With a few simple steps, anyone can master resizing rectangles. The ease of this feature encourages creativity and experimentation in design.
It’s an essential skill that boosts confidence in using the platform effectively.
Getting Started with Canva
Canva makes it easy for users to create stunning designs. Knowing how to start is important for getting the most from this tool. Here are the key elements to focus on when beginning.
Creating or Opening a Design
To get started, a user must first create or open a design in Canva. They can do this by going to the Canva homepage.
From here, they can choose from a variety of templates or start with a blank canvas.
To create a design, they can click on the “Create a design” button. This opens a menu with options for different types of projects like flyers, social media posts, or presentations.
If they already have a design saved, opening it is just as easy. Users can click on “All your designs” to find and edit their previous work.
Understanding the Canva Interface
The Canva interface is user-friendly and intuitive. Once a design is open, several panels will appear on the screen.
On the left, there is a panel with design elements like photos, text, and shapes. The top bar includes options for file management and editing tools.
The toolbar offers options such as undo, redo, and share.
Familiarizing oneself with these features aids in smooth navigation while working on designs.
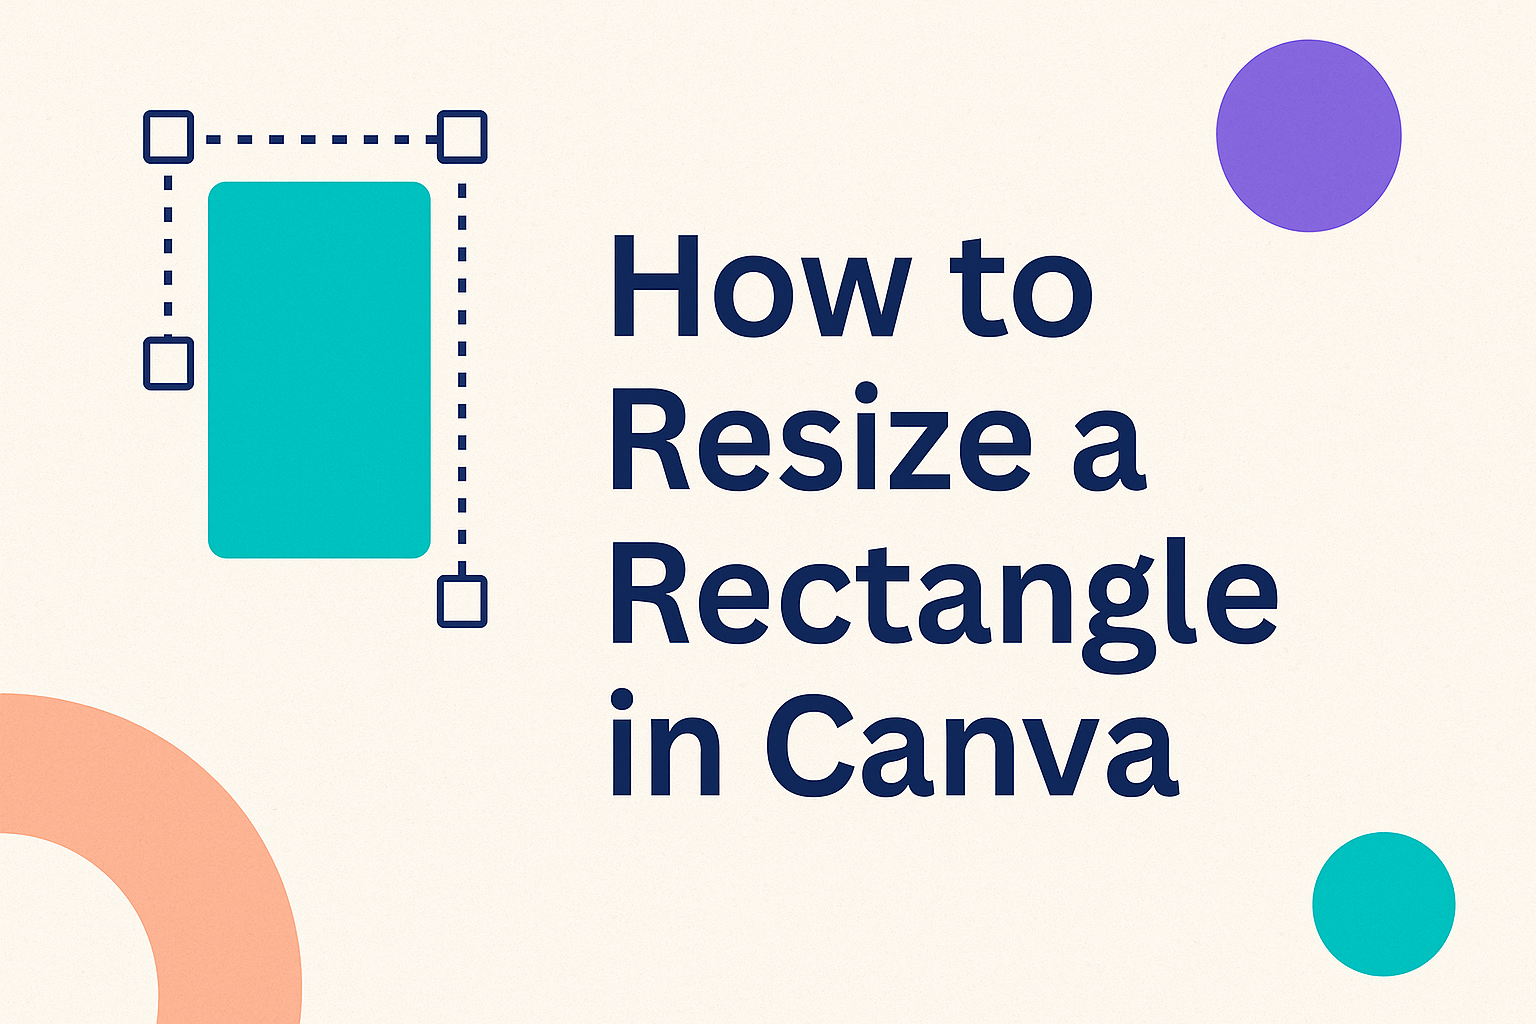
Selecting the Rectangle Element
To resize a rectangle, it must first be selected. In the elements panel, users can find different shapes, including rectangles.
Clicking on the rectangle allows it to be added to the canvas. Once on the canvas, clicking on it again will highlight the shape and display the resize handles.
These handles make it easy to change the size and shape. Users can drag the handles inward or outward to achieve the desired size.
Being familiar with these steps allows for effective design customization.
Resizing a Rectangle
Resizing a rectangle in Canva can be done easily through various methods. Understanding how to use drag and drop or input exact dimensions makes this process efficient.
Using Drag and Drop
To resize a rectangle by drag and drop, a user can click on a rectangle shape. By selecting it, corner handles will appear.
Dragging these handles allows for simple resizing.
Dragging from a corner maintains the aspect ratio. For longer or shorter rectangles, handles on the sides can be dragged. This quick method is great for visual adjustments, giving instant feedback on size changes.
After resizing, the user can check if the rectangle looks suitable in the design. If more adjustments are needed, they can repeat the process easily.
This approach is user-friendly and requires no extra tools.
Inputting Exact Dimensions
For those needing precise sizes, Canva offers an option to input exact dimensions.
Users can select the rectangle and look for the size settings in the toolbar.
In this area, they can enter specific values for width and height.
It’s important to ensure the aspect ratio is locked if the user wants to keep the shape consistent.
After entering the values, clicking “Enter” will resize the rectangle accordingly.
This method is beneficial for creating designs that need to fit exact space requirements. Accurate measurements help streamline the design process and ensure everything aligns perfectly.
Styling Your Rectangle
Styling a rectangle in Canva can enhance its visual appeal and make it stand out in designs. Important aspects include changing colors and patterns, as well as adding borders and effects.
Changing Colors and Patterns
To change the color of a rectangle, select the shape, then click on the color box in the toolbar. A color palette will appear, allowing for the selection of any hue. Users can also input a hex code for specific colors.
For patterns, Canva provides options under the “Styles” tab. Users can apply different textures or images as backgrounds for their rectangles.
This feature is great for adding depth and interest to designs.
Tips:
- Use contrasting colors for better visibility.
- Consider using solid colors for a clean look while patterns add creativity.
Adding Borders and Effects
Borders can give rectangles a defined look.
Users can add borders by selecting the rectangle, then adjusting the “Border” section in the toolbar. They can change the color, thickness, and style of the border to fit their design needs.
Effects can enhance the rectangle further.
Options such as shadows, glows, and lifts can be added through the “Effects” tab. These effects provide a three-dimensional feel, making the rectangle pop off the page.
Suggestions:
- Keep border styles consistent with other elements.
- Experiment with effects but avoid cluttering the design.
Arranging Rectangle Layers
Arranging layers effectively helps in creating visual balance in designs. It enables elements like rectangles to stand out or blend as needed.
Layering Multiple Rectangles
When working with multiple rectangles, layering can create depth. Users can bring layers forward or send them backward to adjust their visibility.
To change the layer order:
- Select the rectangle: Click on the rectangle you want to adjust.
- Right-click: This opens a menu where layering options appear.
- Choose “Bring Forward” or “Send Backward”: This will change the position of the selected rectangle in relation to others.
Users can also use the toolbar options for layering. These tools let users quickly manage rectangle layers for better composition.
Aligning with Other Elements
Aligning rectangles with other elements can enhance organization in a design.
It helps in achieving a tidy look by ensuring all objects line up neatly.
To align rectangles:
- Select the rectangles: Click on each rectangle while holding the Shift key.
- Use the alignment tools: Located in the top toolbar, users can choose options like “Align Left” or “Align Center.”
- Distribute evenly: This ensures equal spacing between rectangles, creating harmony.
Taking these steps ensures that rectangles fit well with text boxes, images, or other shapes in the design.
Proper alignment contributes to a more professional appearance.