Creating a linear gradient in Canva is a great way to enhance the visual appeal of any design project. With just a few simple steps, anyone can add vibrant layers of color that bring depth and personality to their work. This technique allows users to transition smoothly between colors, making designs look professional and polished.
For those new to graphic design or looking to elevate their existing skills, mastering linear gradients can open doors to unique artistic expressions. By learning to mix colors effectively, they can create eye-catching backgrounds, stunning text effects, and much more. The ability to customize gradients also adds a personal touch to every project, making it stand out.
Whether designing social media posts, presentations, or personal projects, knowing how to create a linear gradient can make a big difference. It empowers the designer to experiment and unleash their creativity in exciting new ways.
Understanding Linear Gradients
Linear gradients create smooth transitions between colors, adding depth and style to designs. They are commonly used in backgrounds, UI elements, and text effects.
This section will cover what makes linear gradients unique and the basic components that form them.
Defining Linear Gradients
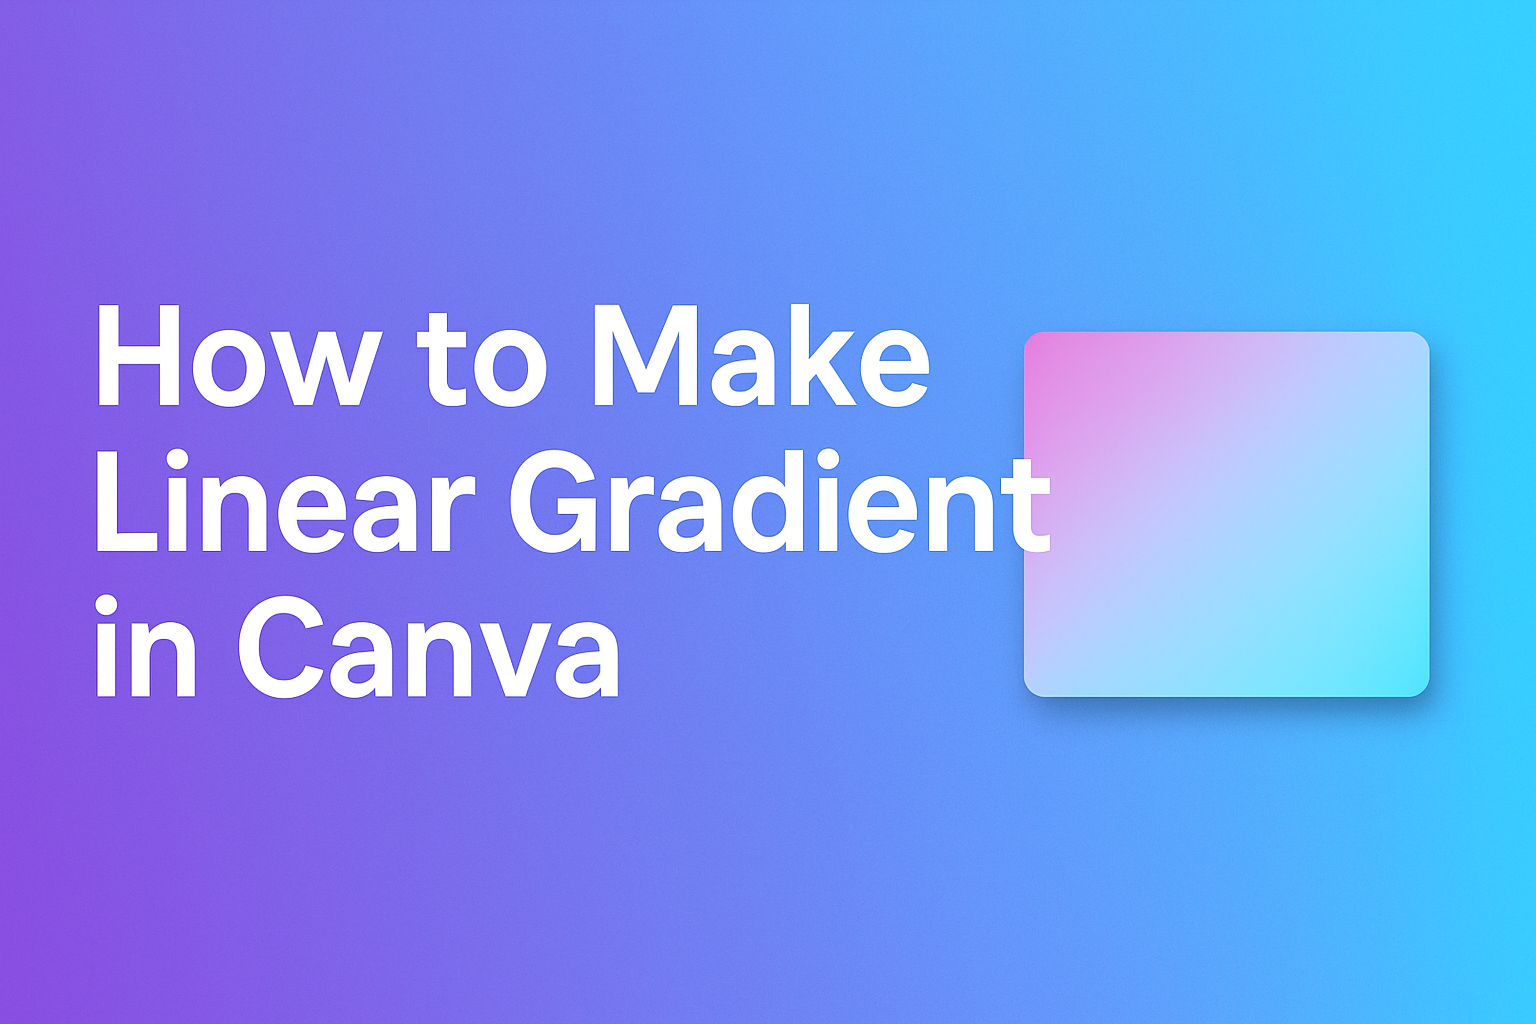
A linear gradient is a gradual blend from one color to another along a straight line. It can move in different directions: horizontally, vertically, or diagonally. The colors can be set to start and end points, often referred to as gradient stops.
In designing with gradients, users can choose multiple colors. This feature offers the ability to create complex blends. The key attribute of linear gradients is their ability to create a smooth visual transition that enhances the overall design.
Gradient Anatomy
Understanding the parts of a linear gradient helps in designing effectively. Each gradient consists of:
- Color Stops: These are the colors used in the gradient. The position of each color stop determines where the color appears in the transition.
- Direction: This indicates the angle of the gradient, which can range from 0 to 360 degrees. Users can select whether the gradient moves from left to right, top to bottom, or in any diagonal pattern.
- Opacity: Some gradients allow for changes in opacity, creating more visual interest. This affects the transparency level of colors, enhancing the blending effect.
Knowing these elements allows for effective use of linear gradients in various design projects.
Creating Your First Linear Gradient in Canva
Creating a linear gradient in Canva is both fun and easy. This section covers choosing a design template, applying the gradient feature, and adjusting the gradient’s direction and colors to achieve the desired look.
Choosing a Design Template
To begin, the user needs to select a design template. Canva offers a variety of templates, such as social media posts, presentations, and flyers.
He or she can start by clicking on “Create a Design” and browsing through the available options.
Once a template is selected, it opens in the editing interface, ready for customization. Users should choose a template that suits their project, allowing for a clear application of the gradient later on.
Applying the Gradient Feature
After selecting the template, it’s time to apply the gradient feature. First, the user should choose the element that needs the gradient effect, like a background or shape.
Next, they click on the “Color” tile on the toolbar. This opens a menu where the user can find the “Gradient” tab.
In this tab, it’s easy to select and add a linear gradient, creating a smooth color transition. Canva allows the addition of various colors in the gradient, helping to build a unique design.
Adjusting Gradient Direction and Colors
Finally, after applying the gradient, the user can adjust its direction and colors. To change the direction, they click and drag the gradient to the desired angle.
Canva allows for the selection of multiple colors, which can be adjusted easily.
For example, if the gradient starts as blue, the user can change it to a lighter shade or switch to a totally different color.
This flexibility gives the design depth and personalization, making it stand out.
Enhancing Your Design
When adding a linear gradient to a design in Canva, it’s important to think about how other elements will interact with it. Using text and graphics effectively can elevate the overall look.
Adding Text Over Your Gradient
To make text stand out against a gradient background, choosing the right color is essential. A text color that contrasts well with the gradient will help readability.
For instance, using a light font on a dark area of the gradient works well, and vice versa.
It helps to adjust the text’s weight and size. Using bold fonts can make the text bolder against the gradient. Additionally, adding a slight shadow effect can enhance the visibility even more.
Canva also allows for text to be placed in specific shapes. This can create visual interest and help the text blend beautifully with the gradient background.
Incorporating Graphics and Elements
Graphics can add extra depth to designs with linear gradients.
Using shapes or icons that match the color scheme will make the overall design cohesive.
Placing translucent graphics over gradients can create a layered effect.
It’s beneficial to adjust the transparency of these elements to maintain focus on the gradient beneath.
Canva offers a wide variety of elements to add to designs.
Using lines, frames, or other shapes can highlight specific areas of the gradient.
This way, the design feels complete and polished.