Many people want to enhance their photos for social media or personal projects. Learning how to soften edges in Canva can add a professional touch to any image.
This technique helps create a smoother transition between the subject and the background, making the overall design more visually appealing.
Canva offers several easy tools to achieve soft edges, even for beginners. Whether using the blur tool, gradients, or feathering effects, these methods can transform a basic image into something stunning.
By following simple steps, anyone can make their photos look polished and eye-catching.
Exploring how to soften edges can open up a world of creative possibilities. With the right techniques, designs will stand out in a crowded digital space.
Readers are encouraged to dive into this guide and discover the secrets for achieving perfect soft edges in their Canva projects.
Getting Started with Canva
Canva is a user-friendly design tool that allows anyone to create stunning visuals. It provides an easy path for both beginners and experienced users to craft beautiful designs by utilizing its features.
Exploring the Canva Interface
When users first open Canva, they encounter a clean and intuitive interface. The homepage features a search bar where users can quickly find templates or elements by entering keywords.
On the left side of the screen, a toolbar provides options for creating new designs and accessing templates.
Users can choose from various categories like social media, presentations, and posters.
The central workspace is where the magic happens. This area shows the selected template or design. Users can drag and drop elements, adjust sizes, and add text.
Helpful features like alignment guides and snap-to-grid help ensure layouts look polished.
Selecting the Right Template
Choosing a template is crucial for a successful design. Canva offers a vast library filled with thousands of options arranged by categories.
Users can find templates for specific purposes, like invitations, marketing materials, and infographics.
To select a template, users should consider their goal and audience. They can browse through popular templates or use the search function to find something specific.
Once a template is chosen, it opens in the design area for customization.
Users can adjust colors, fonts, and images easily. This flexibility makes it simple to personalize a template to fit individual needs.
Starting with the right template can save time and spark creativity, leading to impressive results.
Mastering Basic Editing Techniques
Understanding how to work with objects, layers, and image properties in Canva enhances the ability to create polished designs. Each technique plays a crucial role in achieving a smooth look, especially when softening edges.
Working with Objects and Layers
In Canva, objects and layers are essential for a well-structured design. Users can move, resize, or rotate elements with ease. Layering allows for depth and creativity, as objects can be arranged on top of each other.
To organize layers, click on the “Position” button in the toolbar. This feature allows one to bring objects forward or send them backward.
Simple adjustments can dramatically change the design’s look.
Using grid lines and snap features helps align objects neatly. This can be done through the “View” menu.
Proper alignment gives a clean, professional appearance, making the design more appealing.
Adjusting Image Properties
Adjusting image properties is vital for refining visuals. Within Canva, users can modify brightness, contrast, and saturation. These adjustments affect how images interact with other design elements.
To soften edges, explore the “Effects” menu.
Applying a feather effect can smooth edges, creating a gentle transition between images and backgrounds. Another handy tool is the blur app, which can help fade edges softly.
For fine-tuning, users can adjust the size and positioning of images, ensuring they complement other design aspects.
Adjusting image properties helps create a cohesive and attractive final product.
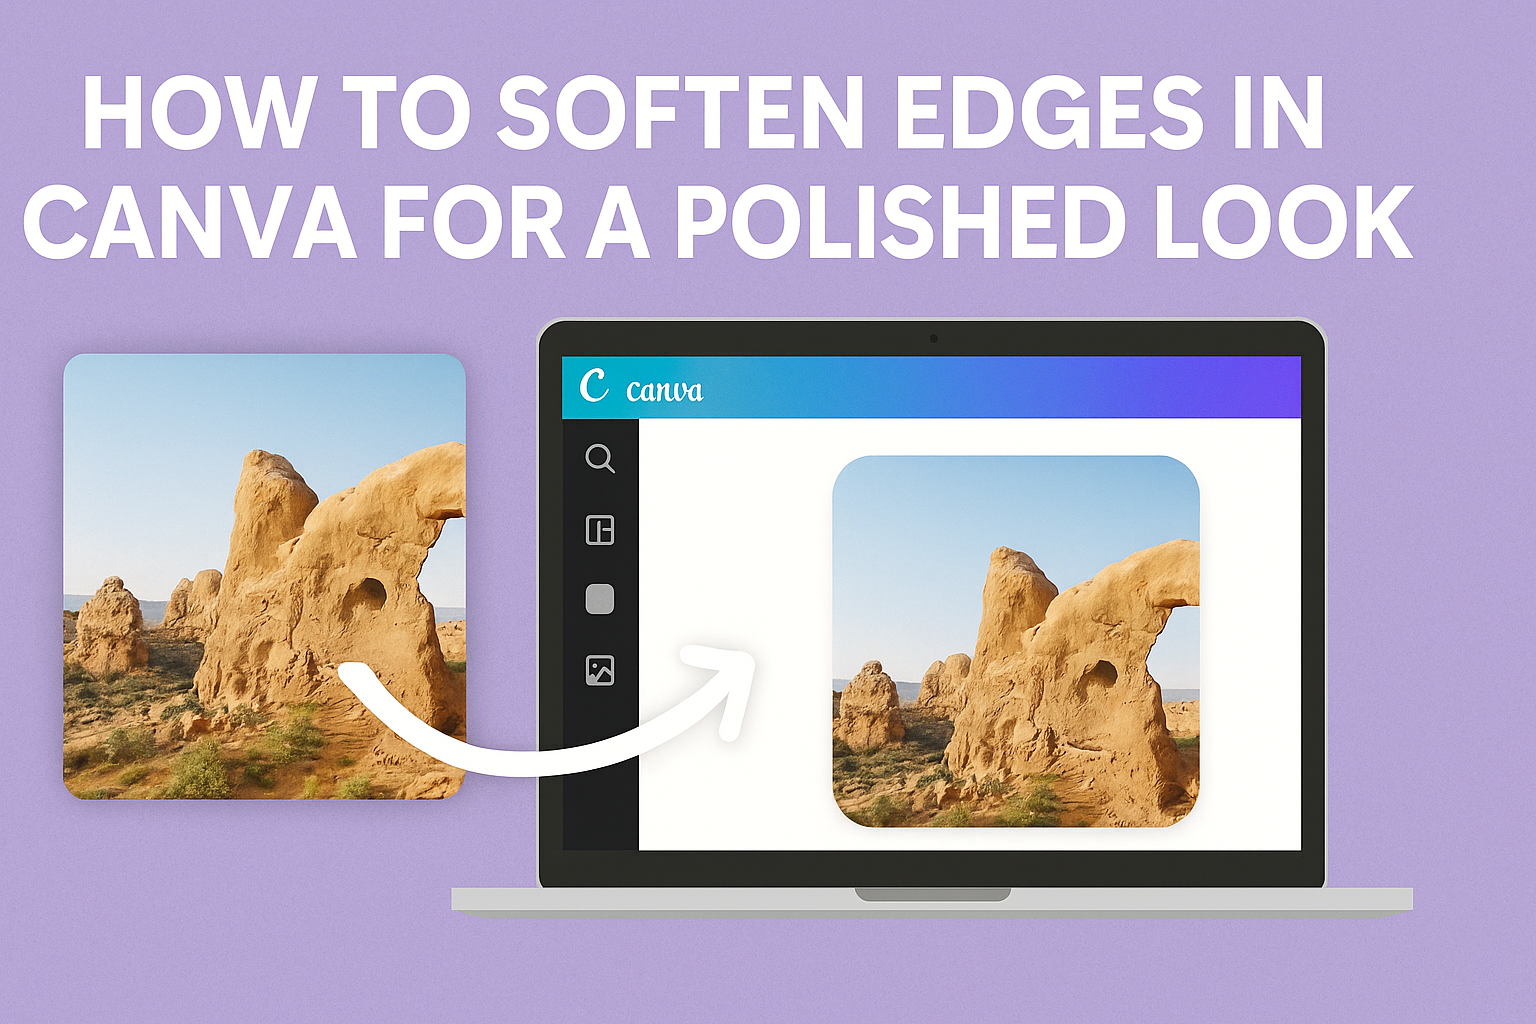
Softening Edges in Canva
Softening edges in Canva can enhance designs and create a more polished look. There are several methods to achieve this effect, including using transparency, applying filter effects, and utilizing blur and vignette options.
Using the Transparency Tool
The transparency tool is a simple and effective way to soften edges. By adjusting the transparency level of an image, one can create a fading effect at the edges.
- Select the image.
- Click on the transparency icon in the toolbar.
- Drag the slider left to decrease opacity.
Lowering the opacity will blend the image into the background, making edges less sharp. This technique works well for images that need a gentle touch without overwhelming colors.
Applying Filter Effects for Edge Softening
Canva offers various filter effects that can help soften edges. Filters can change the overall appearance of an image, adding softness to the edges.
- Choose the image and click on the “Effects” option.
- Explore filters like “Soft Focus” or “Blur.”
- Adjust the intensity to suit the design.
Using these filters, the user can diminish harsh lines and create a harmonious blend around the edges of the image. This method allows for creative expression while still achieving a polished look.
Utilizing Blur and Vignette
The Blur and Vignette effects are powerful tools for edge softening. They work well together to create a dreamy effect.
- Select the image and navigate to “Elements.”
- Search for “Blur” or “Vignette.”
- Apply the desired effect and adjust the settings.
With the Blur effect, the user can choose how much to soften the edges, while Vignette darkens the corners. This combination enhances focus on the central part of the image, drawing attention away from the sharper edges.
Creative Tips and Tricks
Using soft edges in Canva can enhance designs and make them more visually appealing. Here are some creative ideas to effectively use soft edges.
Combining Soft Edges with Text
When combining soft edges with text, it’s essential to create harmony in the design. She can use soft-edged images behind text to create a subtle background that doesn’t overpower the words.
To do this, she should choose a light gradient for the edges that matches the overall color scheme. This way, her text remains readable while adding a stylish touch.
Another helpful tip is to adjust the opacity of the image. Lowering the opacity allows the text to stand out more, making the design engaging. This method can be particularly effective for invitations, announcements, or social media graphics.
Creating Visual Flow with Soft Borders
To create visual flow, soft borders can guide the viewer’s eye.
He can use blurred edges around images to connect them smoothly with other elements on the page. This technique helps maintain a cohesive look.
Incorporating soft borders across different sections can provide a unified feeling.
She can use a consistent style for borders and soft edges to enhance this effect.
Using shapes with soft corners instead of sharp edges can also make the design feel more inviting.
This approach is especially useful for brochures or product displays, where a friendly appearance can attract more attention.