Adding realistic shadows in Canva can transform a simple design into something visually striking. This technique helps create depth and dimension, making images look more professional and polished.
Whether a beginner or someone with some experience, understanding how to use shadows effectively can greatly enhance any project.
Using the built-in features in Canva, users can easily manipulate shadows to match their creative vision. There are options to adjust the angle, blur, and transparency of shadows, allowing for a tailored look that fits any design style.
With just a few clicks, anyone can achieve stunning results that elevate their graphics.
This guide will walk through the steps needed to add realistic shadows to designs in Canva, ensuring anyone can create eye-catching visuals. From selecting the right elements to applying the perfect shadow effects, it’s time to unlock the full potential of Canva’s design tools.
Understanding Shadows in Design
Shadows play a crucial role in creating depth and realism in design. They help define objects, guide the viewer’s eye, and enhance the overall visual appeal. Here are some key aspects to consider.
The Role of Shadows for Realism
Shadows help make flat images look three-dimensional. When correctly applied, they mimic how light interacts with objects in the real world. This gives designs a more lifelike appearance.
For example, a shadow cast beneath an object can suggest that it is resting on a surface. The absence of shadows can cause designs to feel flat and less engaging. By using shadows effectively, designers can create a sense of space and emphasis.
To achieve this realism, attention must be given to shadow angle, blur, and opacity. These elements help dictate how intense or subtle a shadow appears.
Types of Shadows
There are several types of shadows that designers can use to create different effects. Understanding these can aid in choosing the right shadow for each project.
-
Drop Shadow: This is the most common type. It creates a shadow that falls behind the object, giving it the illusion of elevation.
-
Inner Shadow: This shadow appears inside an object, creating a recessed effect. It can add depth or highlight details.
-
Cast Shadow: Similar to drop shadows, these mimic how objects cast shadows in real life. They can be adjusted for length and angle.
-
Gradient Shadow: This type uses varying transparency, making shadows look softer and more natural.
Each type of shadow can change the mood of a design. By experimenting with these options, designers can achieve the desired impact.
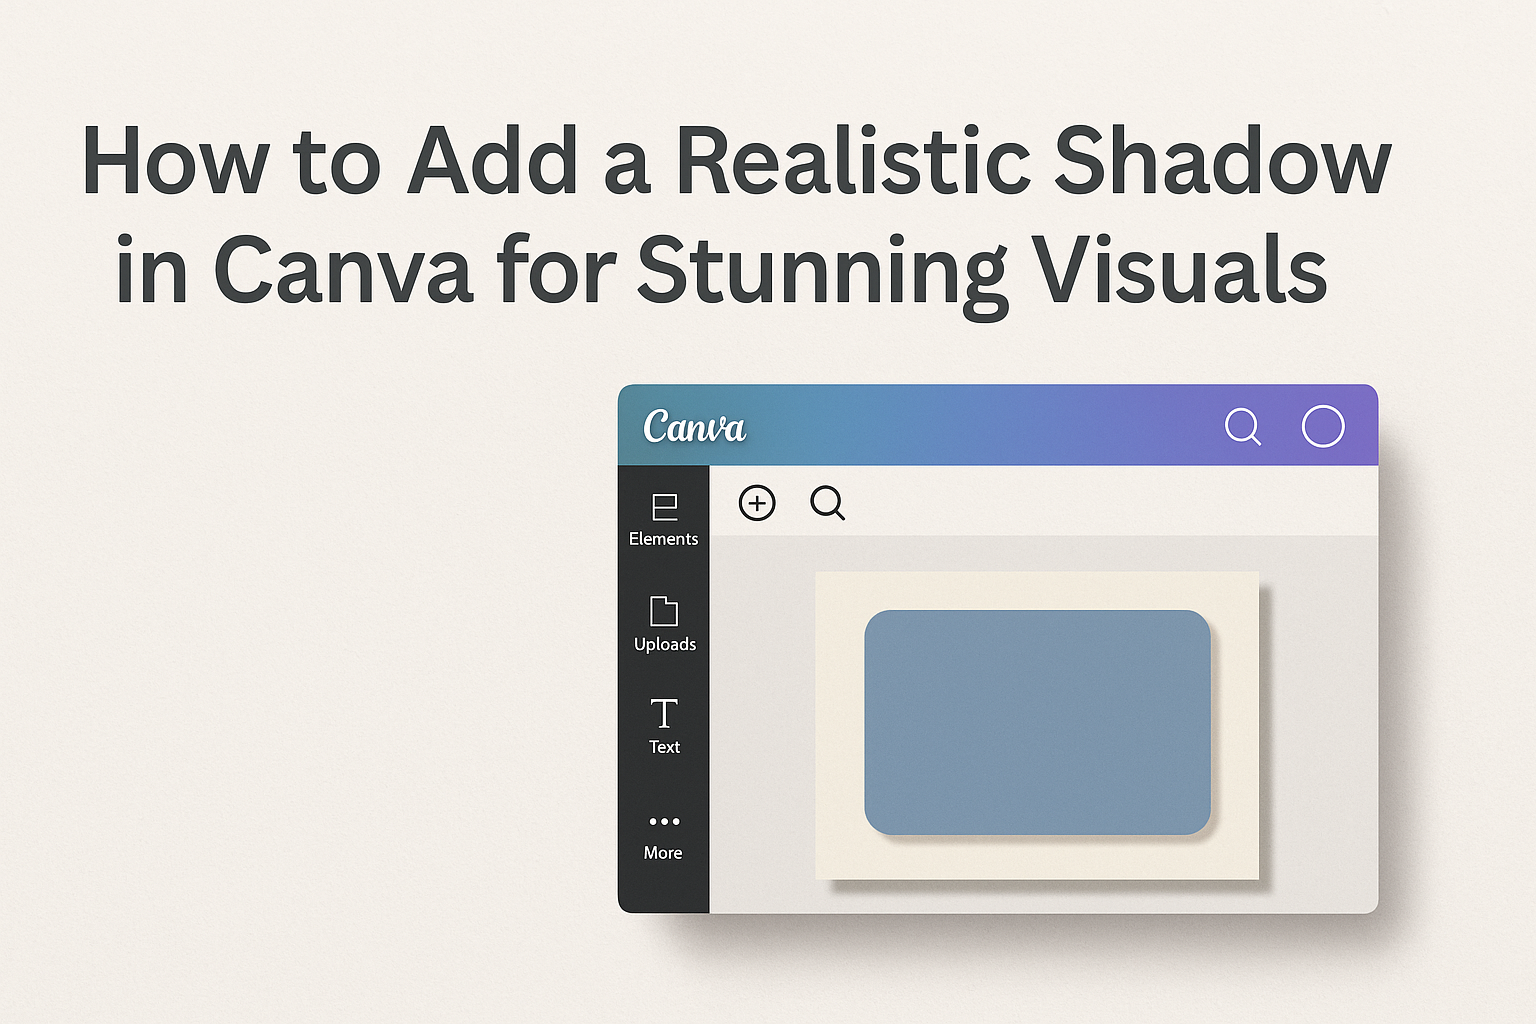
Getting Started with Canva
Canva is a user-friendly design tool that makes creating graphics simple. By learning to navigate its interface and selecting the right elements, anyone can start designing with ease.
Navigating the Interface
When first opening Canva, users will notice a clean and intuitive layout. The main dashboard features a variety of templates on the left side, which can save time and spark creativity.
Users can search for specific templates or scroll through categories.
At the top of the screen, key tools are accessible. These tools allow editing and customizing designs. Users can find options like text, images, and elements easily.
Familiarity with the toolbar is essential. By hovering over each icon, users can see what each tool does. This knowledge will help in quickly finding features to enhance designs.
Selecting the Right Elements
Choosing the right elements is crucial for a successful design in Canva. Users can start by selecting shapes, images, or icons that match their project’s theme.
To make a design stand out, they should look for high-quality graphics. Canva offers a library filled with various elements, including illustrations and photographs.
Filters can help sort through the options based on color or type. This helps in finding the perfect match.
It’s also helpful to keep consistent styles. Using similar fonts, colors, and graphics ensures a cohesive look for any project. By being selective, users can create appealing designs that effectively communicate their message.
Creating a Realistic Shadow
Adding a realistic shadow in Canva is a simple process that can enhance design projects. It involves selecting the right shadow settings and making adjustments for a natural look.
Adding the Initial Shadow
To start, the user should select the object they want to add a shadow to. This could be an image, shape, or text.
After selecting the object, they will locate the “Effects” button in the top menu. Clicking this will reveal the shadow options.
The user should then choose “Shadow” to apply the initial effect. This adds a basic shadow underneath the selected item. A preview allows them to see how it looks before making further adjustments.
Adjusting Shadow Settings
Once the initial shadow is applied, it’s time to customize it. The user can adjust key settings like angle, blur, and transparency.
- Angle: This determines the shadow’s direction. Users can rotate it to simulate different light sources.
- Blur: Increasing blur can create a softer, more realistic shadow. Conversely, a sharp blur creates a more defined look.
- Transparency: Lowering transparency makes shadows lighter and less overwhelming.
Making these adjustments helps achieve a look that fits the design better.
Fine-Tuning for Realism
After setting the initial adjustments, fine-tuning is essential. The user should pay attention to how the shadow interacts with the object.
- Distance: Adjusting the distance between the object and its shadow adds depth.
- Color: Using a shadow color that matches the overall design can enhance realism. Often, shadows can be a shade darker than the background.
To complete the effect, the user can experiment with layering objects. This adds complexity and makes the shadow appear more natural. Overall, a little practice with these settings can lead to impressive results.
Advanced Shadow Techniques
To create more depth and realism in designs, advanced shadow techniques can be very effective. By layering elements and using blending modes, designers can achieve stunning effects that enhance their artwork.
Layering Elements
Layering elements is a great way to add realistic shadows. By placing shapes or images on top of one another, he can create complex shadows that mimic how light interacts with objects.
- Select the Base Layer: Start with the base element. This could be a shape or an image.
- Add Shadows: He should use the shadow feature to apply a shadow to the base element.
- Layer Additional Elements: Then, he can add another layer, slightly offset from the base, to give a sense of depth.
It’s important to adjust the shadow settings, like angle and blur, for each layer to achieve the most convincing look.
Blending Modes and Transparency
Using blending modes and adjusting transparency can significantly enhance shadow effects. These techniques allow for smoother transitions and a more integrated appearance.
-
Access Blending Modes: After selecting an element, he can find blending mode options in the top menu.
-
Choose the Right Mode: Modes like ‘Multiply’ or ‘Overlay’ work well for shadows. Multiply darkens the underlying layer, while Overlay can enhance colors.
-
Adjust Transparency: Lowering the transparency helps the shadow look more natural. A shadow shouldn’t be too solid—it needs to mimic real-life light behavior.
Combining these techniques makes shadows versatile and creates a polished final product.