Timing text elements in Canva can enhance a viewer’s experience by making content more engaging and organized. By properly adjusting the timing, a designer can control when each text appears, ensuring that it aligns perfectly with their visual story. This skill not only adds professionalism but also keeps the audience’s attention focused.
Many users find timing text elements a bit tricky at first. With a few simple steps, anyone can learn to manipulate the timing of their text and other design elements effectively.
This blog post will guide readers through the process, providing clear instructions and helpful tips along the way.
Whether creating a presentation, video, or social media post, mastering this technique can save time and improve the overall impact of the design. Readers will discover how easy it is to time text elements and make their projects shine.
Getting Started with Canva
Canva is a user-friendly tool that helps anyone create beautiful designs.
Before diving into timing text elements, it’s important to learn how to sign up and explore the dashboard. Choosing the right template will also lay a solid foundation for creating the perfect visuals.
Signing Up and Navigating the Dashboard
To start using Canva, one must first create an account. Users can sign up using their email, Google, or Facebook accounts.
Once logged in, they will see the dashboard, which is designed for easy navigation.
The dashboard showcases various design categories like social media, presentations, and flyers. Users can access their past projects from the “Your Projects” section.
On the left side, there’s a toolbar with options like “Templates,” “Elements,” and “Uploads.” This layout allows users to quickly find needed resources. Exploring these features will make the design process smoother and more fun.
Selecting the Right Template
Choosing the right template is key for any design project. Canva offers thousands of pre-made templates for users to select from.
To find a suitable template, users can either browse through categories or use the search bar. Keywords like “presentation” or “Instagram post” will yield specific results.
Once a template is selected, clicking on it opens the design page. Here, users can customize text, images, and other elements.
It’s easy to swap out colors and fonts to match the user’s vision.
Having a well-suited template helps streamline the design process and makes it more enjoyable.
Mastering Text Tools in Canva
Canva offers powerful tools to enhance text elements in designs. By understanding how to add and customize text, users can make their projects stand out.
Adding Text to Your Design
To start, users can add text by selecting the Text option from the sidebar. Clicking on Add a heading, subheading, or body text gives access to various text styles.
Once the text box appears, it can be easily moved by dragging it. Users can resize the text box by clicking and dragging the corners.
For quick access, using the keyboard shortcut T also creates a text box. This feature saves time, especially for adding multiple text elements throughout the design.
Customizing Font Styles and Sizes
Customizing font styles and sizes is essential for creating a unique look.
In the top toolbar, users can choose from a wide range of fonts.
After selecting the desired text, adjusting the size is simple. Using the dropdown menu, they can scale the font up or down to fit the design’s needs.
Bold or italic options can be applied to emphasize specific words. Color changes can also be made using the text color icon, allowing for bright and engaging designs.
By applying these tools, users can create text that complements their visuals perfectly.
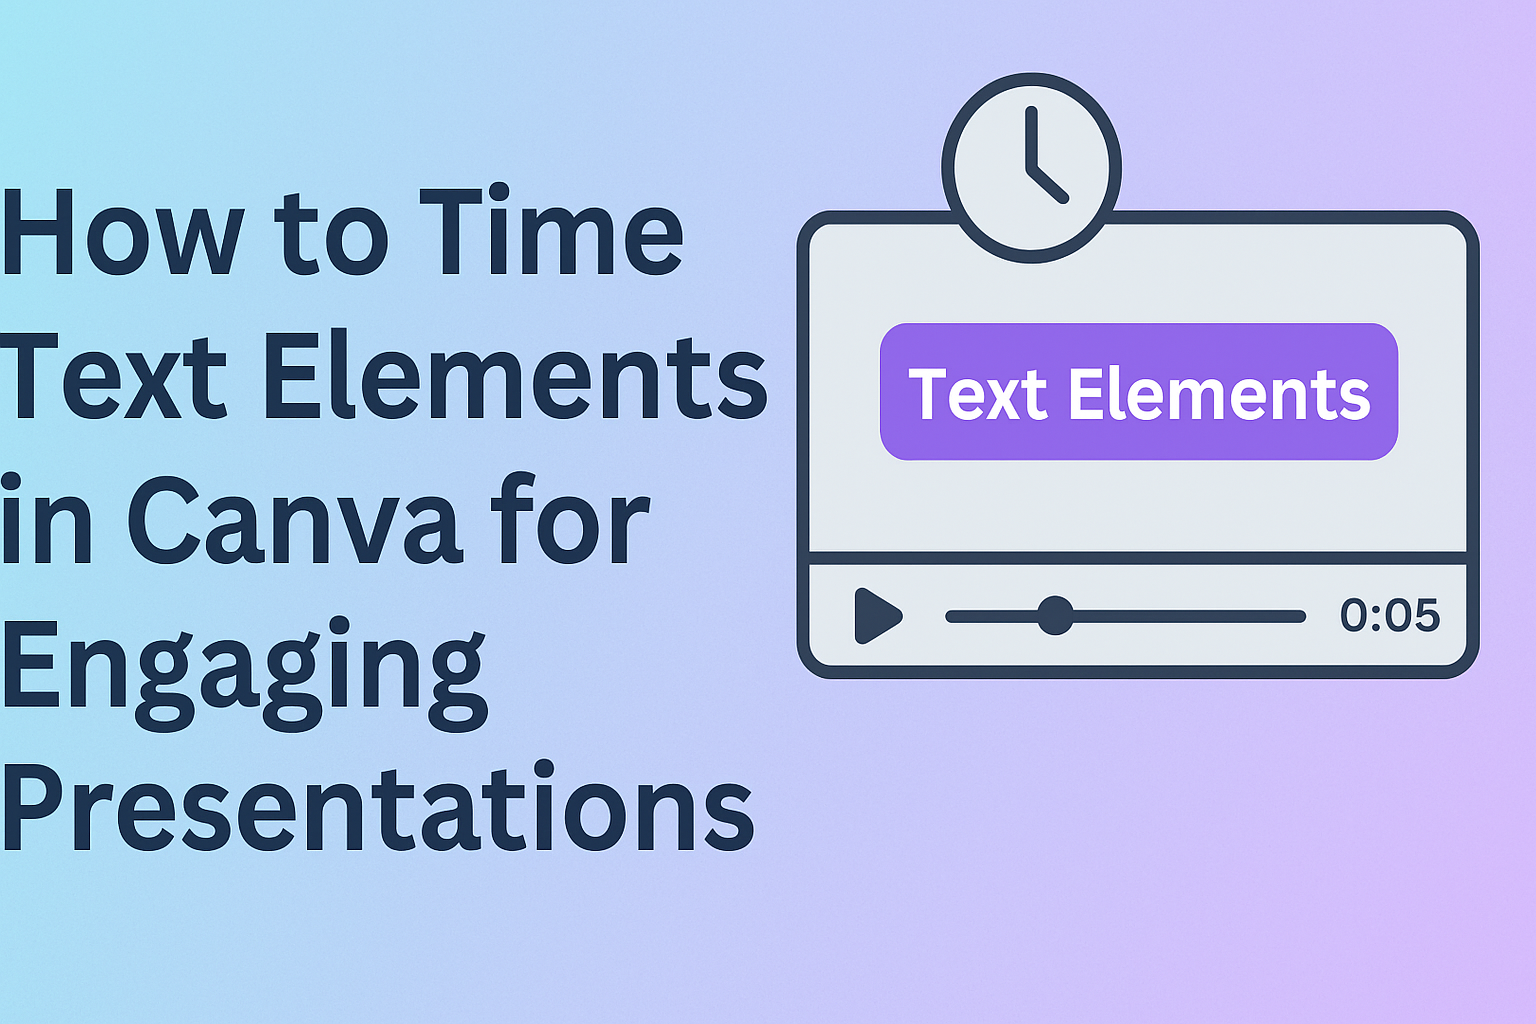
Timing Text Elements
Timing text elements in Canva is essential for creating engaging designs. Proper timing enhances the visual flow and ensures that messages are clear. This section covers animation functions, setting display duration, and synchronizing text with visuals.
Understanding Animation Functions
Animation functions in Canva allow users to add dynamic effects to text elements. These animations can make text appear, disappear, or move on the screen. The choice of animation affects how the audience perceives the message.
To add animation, a user selects the text they want to animate and clicks on the “Animate” option in the toolbar.
From there, various animation styles can be chosen, such as “Fade In,” “Slide,” or “Pop.”
Each animation type has a different feel. For example, “Slide” gives a sense of movement, while “Fade In” offers a softer entrance. Users should consider the tone of their design when choosing an animation.
Setting the Duration of Text Display
Setting the duration helps control how long text stays visible on the screen. This is crucial for viewer readability. A good rule of thumb is to keep text on screen long enough for viewers to read it comfortably.
Users can adjust the duration by selecting the text element and then accessing the timing options.
The duration can be modified by dragging the edges of the timeline. A duration of 1-2 seconds is often effective for simple messages.
For more complex ideas, slightly longer durations may be necessary. It’s vital to check if the timing matches the content to maintain clarity and engagement.
Synchronizing Text with Visual Elements
Synchronizing text with visual elements creates a cohesive and engaging experience.
This involves ensuring that text appears in harmony with images, videos, or other graphics. It helps draw attention and reinforces the message.
To synchronize elements, a user should first determine the key points in the visuals.
They can then adjust the text timing to align with these moments. This might mean having text pop up as a visual element becomes important or fades out when a new scene appears.
Practicing good synchronization will lead to smoother transitions in the final design.
Timing and alignment between text and visuals can greatly impact how the audience interacts with the content.