Adding a personalized touch to emails can make a significant difference in how messages are received.
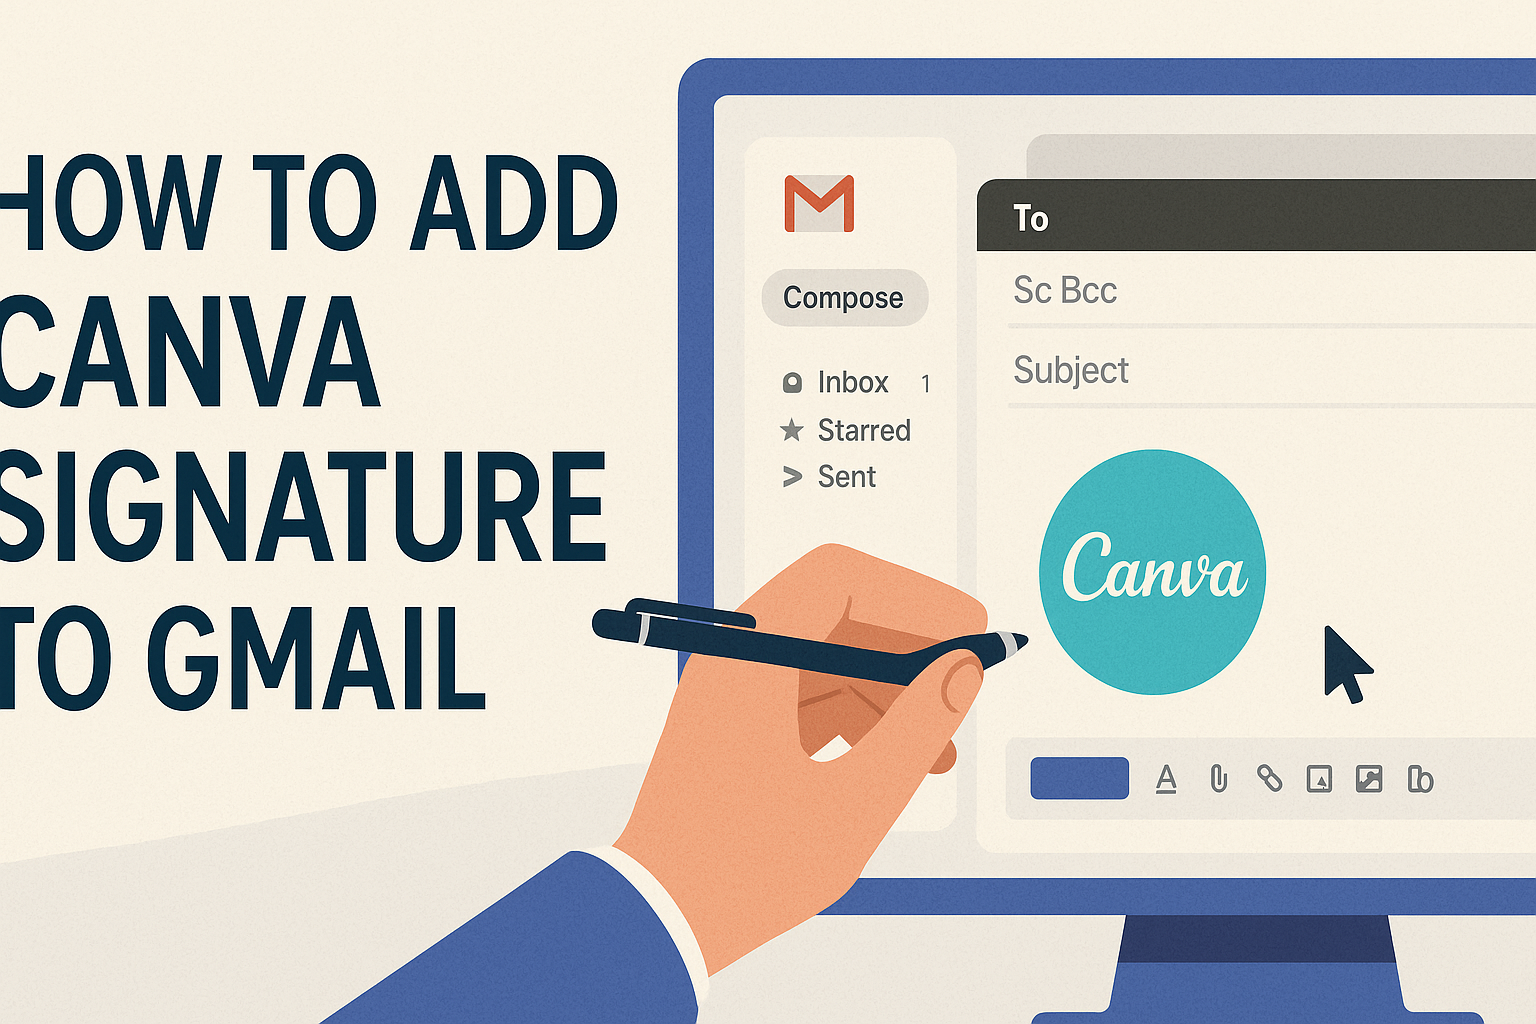
To add a Canva signature to Gmail, simply design your signature in Canva, download it as an image, and upload it to your Gmail settings. This not only enhances professionalism but also showcases individual branding.
Many people overlook the importance of an email signature, yet it serves as a digital business card that can leave a lasting impression.
With Canva’s easy-to-use tools, anyone can create a unique signature that fits their style. By following the steps provided in this guide, he or she will learn how to easily integrate their Canva design into Gmail.
Whether for business or personal use, a great email signature helps convey personality and information in one neat package.
Readers will find useful tips and tricks to ensure their signature stands out and works smoothly across email platforms. The process is simple and rewarding, making every email feel a bit more special.
Understanding Canva Signatures
Canva signatures are personalized email signatures created using Canva’s design tools. These signatures can enhance an email’s appearance and provide important contact information.
They often include unique elements that reflect one’s style or brand.
Benefits of a Canva Signature
Using a Canva signature has several advantages. First, it helps to create a professional image. A well-designed signature can leave a lasting impression on recipients.
Second, Canva allows users to customize their signatures easily. They can choose from various templates and design elements, making it simple to express their personal or brand identity.
Additionally, a Canva signature can contain clickable links, such as a website or social media profiles. This feature encourages recipients to connect further. With these benefits, a Canva signature can significantly enhance communication.
Components of a Canva Signature
A Canva signature typically includes several key components. These include the user’s name, job title, and company name. Adding these details establishes professionalism.
Next, incorporating contact information is essential. This includes an email address, phone number, and possibly a physical address.
Visual elements also play a crucial role. Users can add logos, images, or icons that represent their brand.
Color choices and fonts should match the overall branding for consistency. Finally, links to social media profiles can make it easier for recipients to engage. Each component works together to create an effective signature.
Creating Your Canva Signature
Creating a signature in Canva is a simple and enjoyable process. This section will cover the steps for designing your signature and how to save it for use in Gmail.
Designing Your Signature in Canva
To get started, the user should log into Canva and search for “Email Signature” in the template section. Canva offers many templates tailored for this purpose. They can choose one that reflects their personal style or brand.
After selecting a template, they can customize it by adding their name, job title, and contact information.
Users can also change colors, fonts, and images to make the signature unique.
Canva allows them to upload their logo or any image they want to include. This adds a professional touch. Once satisfied with the design, it can be adjusted to fit neatly in an email format.
Saving Your Signature
Once the signature is designed, saving it properly is crucial.
The user can download the signature as a PNG file for better quality. To do this, they click on the “Download” button in the top right corner and select “PNG.”
It is essential to save the file in a location where it can be easily accessed later, like the desktop or a dedicated folder. After downloading, it is ready to be uploaded into Gmail.
With these steps, creating a Canva signature is quick and fun.
Adding Your Signature to Gmail
Adding an email signature to Gmail helps create a professional touch in communications. This process involves accessing Gmail settings and inserting your signature image properly.
Accessing Gmail Settings
To access Gmail settings, the user needs to log into their Gmail account. Once logged in, they should look for a gear icon in the top right corner.
Clicking on this gear icon opens a dropdown menu where they can select “See all settings.”
In the settings menu, the user should navigate to the “General” tab. Scrolling down will reveal the “Signature” section. Here, they can create a new signature by clicking on the “Create new” button. It’s essential to give the signature a name for easy identification later.
Inserting the Signature Image
Once the signature is created, the user can insert the image.
They should click on the image icon in the signature editor. This opens a window to upload the signature image saved on their computer.
The user needs to select the PNG file, which is the recommended format for clear images.
After the image uploads, it can be resized as needed.
Finally, the user must ensure to save the changes at the bottom of the settings page. This step will apply the new signature to all outgoing emails.